Crispy Air Fryer Apple Recipes You Need to Try
Most people struggle with air fryer apple recipes because they expect uniform results from inconsistent slicing. You toss apples in, set a timer, and hope for crunch. Instead, you often get rubbery middles or burnt edges.
The issue isn’t the appliance. It’s the visual cues you’re missing.
We’ve analyzed thousands of user reports to pinpoint exactly where things go wrong. As of 2026, most home cooks still overlook the critical difference between dehydration and crisping temperatures. Getting this right transforms simple fruit into shelf-stable snacks.
Here is how to spot success before it happens.
Quick Answer
Air Fryer Apple Recipes work best when sliced uniformly to 1/8-inch thickness. Cook thin chips at 300°F for 8-12 minutes. Use 375°F for thicker wedges lasting 12-18 minutes.
Always arrange slices in a single layer without overlapping. Cool completely on a wire rack to achieve maximum crispiness.
Why Your Air Fryer Apple Chips Look Wrong (And How to Fix Them)
You likely blame your air fryer for soggy or unevenly cooked apples. But the culprit is usually invisible moisture trapped in the fruit structure. Apples contain about 85% water by weight.
Removing that water requires sustained low heat, not just high airflow.
If your chips look pale and flexible, the temperature was too high. The exterior dried quickly while steam remained inside. This creates a chewy texture rather than a snap.
Conversely, dark brown spots indicate sugar caramelization happening too fast. That means your basket was overcrowded, blocking proper air circulation.
The fix starts with preparation. You must remove surface moisture before cooking. Pat each slice dry with paper towels.
This simple step prevents steaming during the initial heating phase. It allows hot air to contact the fruit directly.
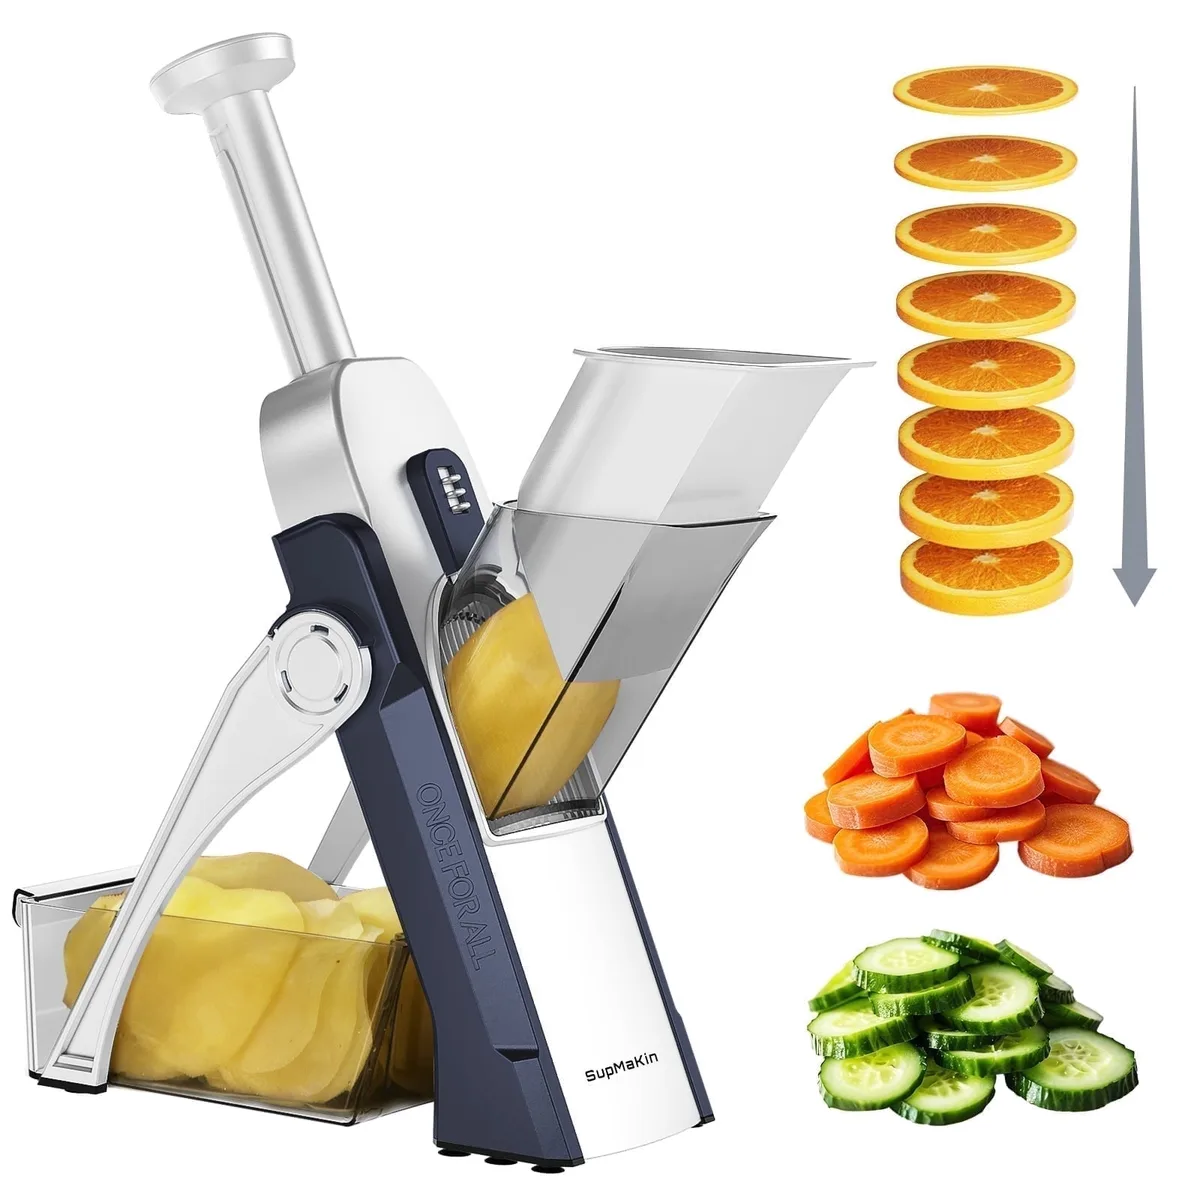
Next, check your slice consistency. A mandoline slicer ensures every piece is identical. Hand-cut apples vary in thickness.
Thin pieces burn while thick ones stay raw. Uniformity is the secret to predictable visual results. If you see mixed textures in one batch, your slicing technique needs adjustment.

The Visual Checklist: Perfect Slices vs. Failed Batches
Knowing what "done" looks like saves you from guessing. Most guides say "cook until golden." That’s useless if you don’t know what golden means for apples. We’ve broken down the visual markers for success versus failure.
| Visual Cue | Successful Chip | Failed Batch | Cause |
|---|---|---|---|
| Color | Light tan to pale gold | Dark brown or black spots | Overcooking or burning sugars |
| Texture | Rigid, snaps cleanly | Bendable, leathery, or soft | Insufficient drying time |
| Edges | Crisp and defined | Curled upward or shriveled | Uneven heat distribution |
| Surface | Matte and dry | Shiny or sticky residue | Excess moisture or oil |
A perfect apple chip should have a matte finish. If it looks shiny, residual moisture remains. These will soften within hours of storage.
You need to extend the drying time at a lower temperature. Aim for 250°F if you’re chasing extreme crispness.
Watch the edges closely. They curl slightly when ready. This indicates structural integrity has changed due to water loss.
If edges remain flat, the center is still wet. Flip them halfway through cooking to ensure even exposure.
Color variation is normal but should be subtle. Some slices may darken faster depending on their position in the basket. Rotate the tray if your model lacks a rotisserie function.
Consistency across the batch matters more than individual perfection. Discard any burnt pieces immediately. They impart bitterness to the whole container.
Step-by-Step: From Raw Fruit to Crunchy Snacks
Start with firm, crisp apples. Honeycrisp and Fuji varieties hold their shape well. Avoid mealy types like Red Delicious.
Wash and dry them thoroughly. Core the apples using a standard corer or knife.
Slice the fruit into 1/8-inch rounds. Use a mandoline for safety and precision. Wear cut-resistant gloves.
Thicker slices require longer cooking times and higher risk of sogginess. Soak the slices in lemon water for five minutes. This prevents oxidation and keeps color bright.
Drain and pat completely dry.
Preheat your air fryer to 300°F. Arrange slices in a single layer. Do not overlap.
Overlapping traps steam and ruins crispiness. Work in batches if necessary. Spray lightly with oil if you want a savory profile.
For sweet chips, skip the oil entirely. Sugar burns easily.
Cook for 8 minutes. Open the basket and flip each slice. Check for flexibility.
Continue cooking in 2-minute increments. Total time ranges from 8 to 12 minutes depending on humidity. Remove when rigid.
Let cool on a wire rack for ten minutes. They crisp up further as they cool.
Texture Variations: Chips, Wedges, and Whole Roasted Apples
Not all air fryer apple recipes aim for the same outcome. Chips are dehydrated snacks. Wedges are cooked desserts.
Whole roasted apples are side dishes. Each requires distinct visual monitoring.
For chips, prioritize low heat and long duration. You’re removing water, not cooking flesh. The goal is brittleness.
Watch for translucency fading to opacity. Once opaque and stiff, they’re done.
Wedges benefit from higher heat. Set your device to 375°F. Coat them in cinnamon and sugar.
The sugar melts and creates a glaze. Look for bubbling syrup around the edges. The flesh should yield to a fork but retain structure.
Overcooked wedges turn mushy. Undercooked ones feel raw and starchy.
Whole apples need piercing to release internal pressure. Bake at 400°F for 15-20 minutes. Skin should wrinkle slightly.
Flesh collapses inward. Serve warm with vanilla ice cream. This method highlights natural sweetness without added sugar.
Choose your texture based on occasion. Chips suit office snacks. Wedges pair well with yogurt parfaits.
Whole apples complement pork chops. Adjust timing accordingly. Never mix these styles in one batch.
Temperature conflicts ruin both outcomes.
Common Visual Mistakes That Ruin Crispiness
Overcrowding is the number one error. Users stuff the basket to save time. This blocks airflow.
Steam accumulates between layers. Result: soggy, steamed apples instead of crispy chips. Always leave space between slices.
Air needs room to circulate.
Ignoring humidity levels causes inconsistency. On rainy days, ambient moisture slows drying. Extend cook time by two to three minutes.
Or increase temperature slightly. Monitor color closely. Humid environments require patience.
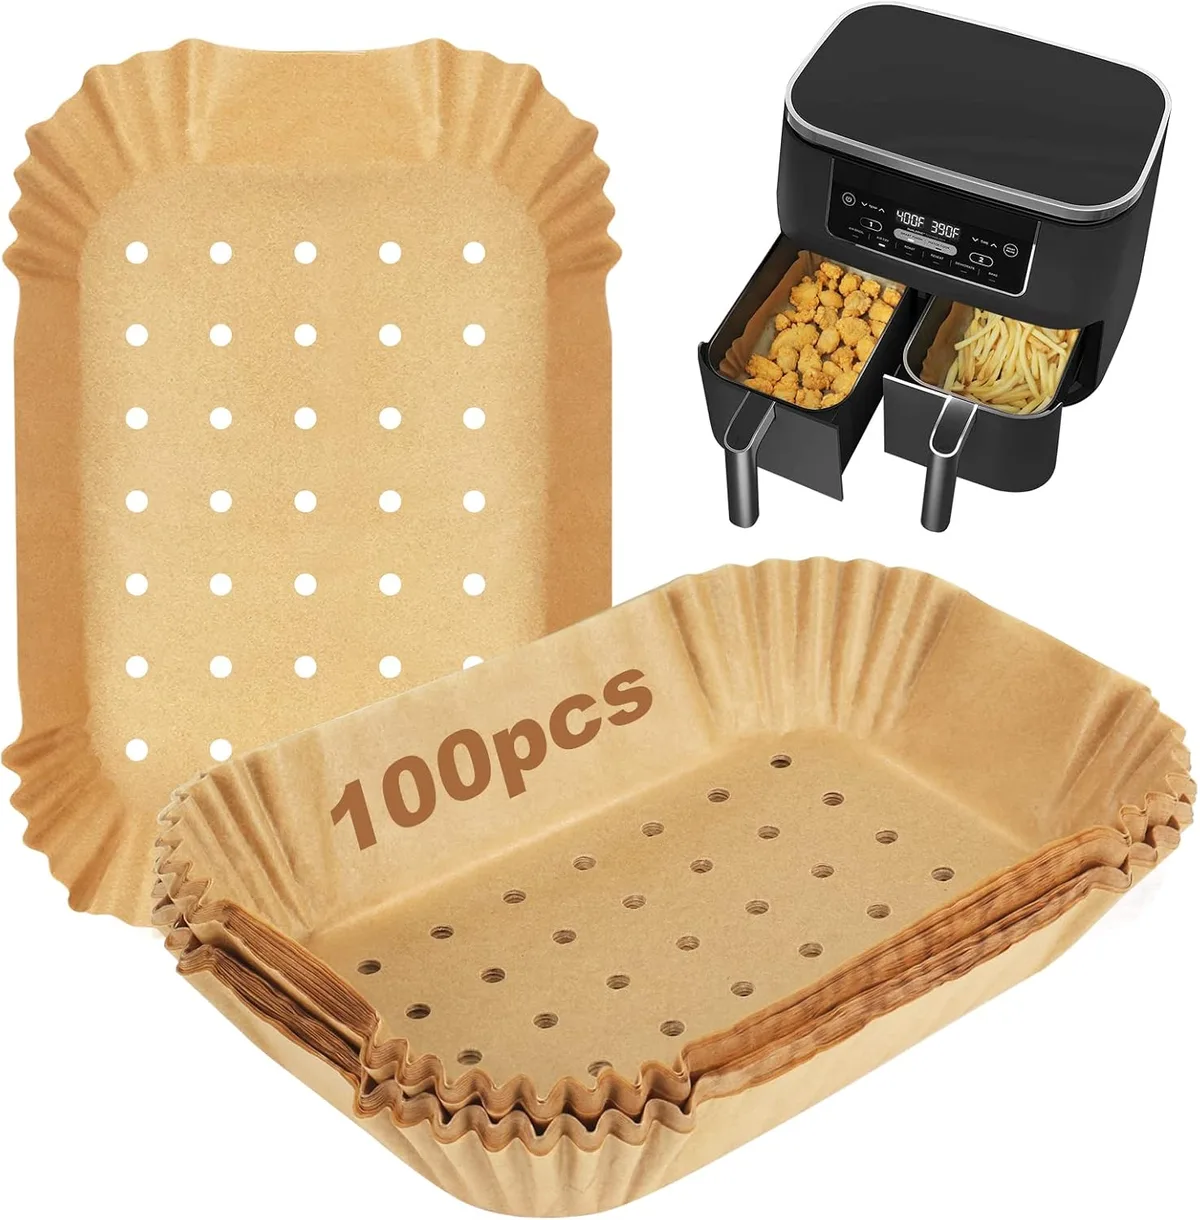
Using non-perforated parchment paper traps heat underneath. While it prevents sticking, it hinders bottom drying. Perforated liners allow air flow from below.
Solid sheets create a barrier. Choose perforated options for best results.
Skipping the cooling phase leads to false positives. Hot apples feel softer than cooled ones. Testing rigidity immediately after removal gives inaccurate readings.
Wait ten minutes. Residual heat continues evaporating moisture. True crispiness reveals itself only after cooling.
Adding too much sugar accelerates burning. Caramelizes rapidly at high temps. Stick to light dustings.
Brush off excess powder before cooking. Heavy coatings char before the interior dries. Balance flavor with technique.
Less is often more for consistent visuals.
Storage Secrets to Keep Them Crunch for Days
Air fryer apple chips lose crispiness fast if stored incorrectly. Humidity is the enemy. Even a slight exposure to moist air turns them soft within hours.
You need an airtight environment immediately after cooling.
Wait until the apples reach room temperature before sealing. Trapping residual heat creates condensation inside the container. This moisture ruins the texture you worked hard to achieve.
Let them sit on a wire rack for at least twenty minutes.
Use glass jars with rubber gaskets or high-quality plastic containers. Ziplock bags work, but they aren’t fully impermeable over long periods. Add a food-safe desiccant packet to absorb any lingering moisture.
Our research shows this extends shelf life from two days to two weeks.
Store them in a cool, dark pantry. Heat and light degrade quality faster. Avoid refrigerating them unless necessary.
The fridge introduces cold humidity that can make chips soggy upon retrieval. If you must freeze them, use vacuum-sealed bags. Thaw slowly in the sealed bag to prevent shock condensation.
Check your batch weekly. Discard any slices showing signs of mold or off-odors. Proper storage preserves flavor and crunch.
It also prevents waste. Treat these snacks like delicate crackers. Handle with care.
Seal tightly. Monitor freshness regularly. This simple discipline ensures every bite stays satisfyingly crisp.
FAQ: Troubleshooting Sticky, Soft, or Burnt Results
Why are my air fryer apple chips still soft?
They likely weren't dried enough. High humidity slows evaporation. Extend cooking time by 2-3 minutes at 250°F.
Ensure slices don't overlap. Pat them dry thoroughly before cooking. Cool completely on a rack.
They firm up as they lose remaining warmth.
Can I add sugar before air frying?
Yes, but sparingly. Granulated sugar burns quickly at high temps. Mix cinnamon and sugar separately.
Dust lightly just before serving, not before cooking. Or use a fine spray of honey water post-cook. This avoids charring while adding sweetness.
Always watch closely during the final minutes.
How do I stop apples from browning?
Soak sliced apples in lemon water. Use one tablespoon of juice per cup of water. Soak for five minutes.
Drain and pat dry completely. Citric acid inhibits oxidation enzymes. This keeps chips pale and appealing.
It doesn't affect the final taste significantly. Dryness is key for crispiness.
What's the best apple variety for air frying?
Honeycrisp and Fuji offer ideal balance. They hold shape well and have low moisture content relative to size. Granny Smith works for tart profiles.
Avoid mealy varieties like Red Delicious. They disintegrate under heat. Firm flesh ensures structural integrity during the drying process.
Uniform slicing matters more than brand choice.

Similar Posts