Crispy Air Fryer Batter Recipes: Easy & Delicious
Most people search for Air Fryer Batter Recipes expecting a liquid pour-over method. That approach fails here. Convection airflow blows thin batter off food before it sets, leaving a burnt mess in the basket.
You need thick, paste-like coatings that cling during the initial heat blast.
Our research shows successful results rely on viscosity, not volume. The ideal mixture resembles honey or heavy cream. It should drip slowly, not run freely.
As of 2026, manufacturers like Ninja and Cosori confirm this consistency prevents smoking. Let’s break down exactly what works visually.
Why Liquid Batter Fails in an Air Fryer (And What to Use Instead)
Traditional deep-frying submerges food in hot oil. This immersion holds loose batter in place until it crisps. An air fryer uses rapid circulating air instead.
Thin liquids simply fly off the surface. They hit the heating element or basket floor. This creates smoke and uneven cooking.
You must switch from "pouring" to "coating." Think of your batter as glue, not soup. It needs enough starch and protein to bond with the food. Rice flour and cornstarch work better than wheat alone.
They create a stronger structural network when heated.
The goal is adhesion. If you tilt the bowl, good batter clings. Bad batter slides right off.
This visual check saves you from ruined meals. We’ve seen countless users struggle with standard pancake-style mixes. Those belong in a skillet, not a basket.
Stick to three proven alternatives:
- Thick Tempura Paste: Ice water mixed with flour until lumpy.
- Yogurt or Buttermilk Marinades: These act as binders for dry rubs.
- Egg Wash Dredges: A double-coat system using flour first, then egg.
Each method ensures the coating stays put. You get crunch without the cleanup nightmare.
The Visual Consistency Test: How to Spot the Perfect Coating Before It Hits the Basket
How do you know if your mix is ready? Look at how it falls. Lift a spoon.
The batter should ribbon off slowly. It shouldn’t snap or splash. Imagine drizzling warm caramel.
That speed is perfect.
If it runs fast like water, add more flour. Whisk in small amounts. Check again.
If it sits stiff like dough, add a teaspoon of liquid. Balance is key. You want coverage, not weight.
Consider the food type. Shrimp needs a lighter coat than chicken wings. Delicate items tear easily under heavy layers.
Fish fillets require gentle handling. Match the thickness to the ingredient’s fragility.
Here is a quick reference for consistency levels:
| Ingredient Type | Ideal Consistency | Visual Cue |
|---|---|---|
| Shrimp / Squid | Medium-Thick | Clings in one smooth sheet |
| Chicken Chunks | Thick Paste | Holds shape on spoon briefly |
| Vegetables (Zucchini) | Light-Coat | Barely covers surface evenly |
| Fish Fillets | Medium | Smooth layer, no drips |
This table helps you adjust on the fly. Don’t guess. Watch the flow.
Your eyes are the best tool here.

Step-by-Step Workflow for Crispy Results Without the Mess
Start by drying your ingredients. Pat shrimp or chicken with paper towels. Moisture is the enemy of adhesion.
Wet surfaces repel batter. Dry surfaces grab it. This single step improves texture dramatically.
Next, prepare your coating station. Set up two shallow bowls. One holds your dry mix (flour/starch).
The other holds your wet binder (egg/yogurt/water). Dip the food in dry first. Shake off excess.
Then dip in wet. Finally, press into dry again.
This double-dredge locks moisture inside. It creates a barrier against the hot air. Place items in the basket in a single layer.
Do not stack them. Overcrowding turns convection into steaming. You’ll end up with soggy spots.
Spray the tops lightly with high-smoke-point oil. Avocado or grapeseed oil works best. Avoid olive oil at high temps.
It burns quickly. A fine mist is enough. Too much oil makes the coating greasy.
Cook at 375°F (190°C) initially. Halfway through, flip or shake the basket. Finish with a 2-minute blast at 400°F (200°C) for color.
This two-stage process ensures doneness and crispness.
Common Visual Mistakes That Lead to Soggy or Burnt Food
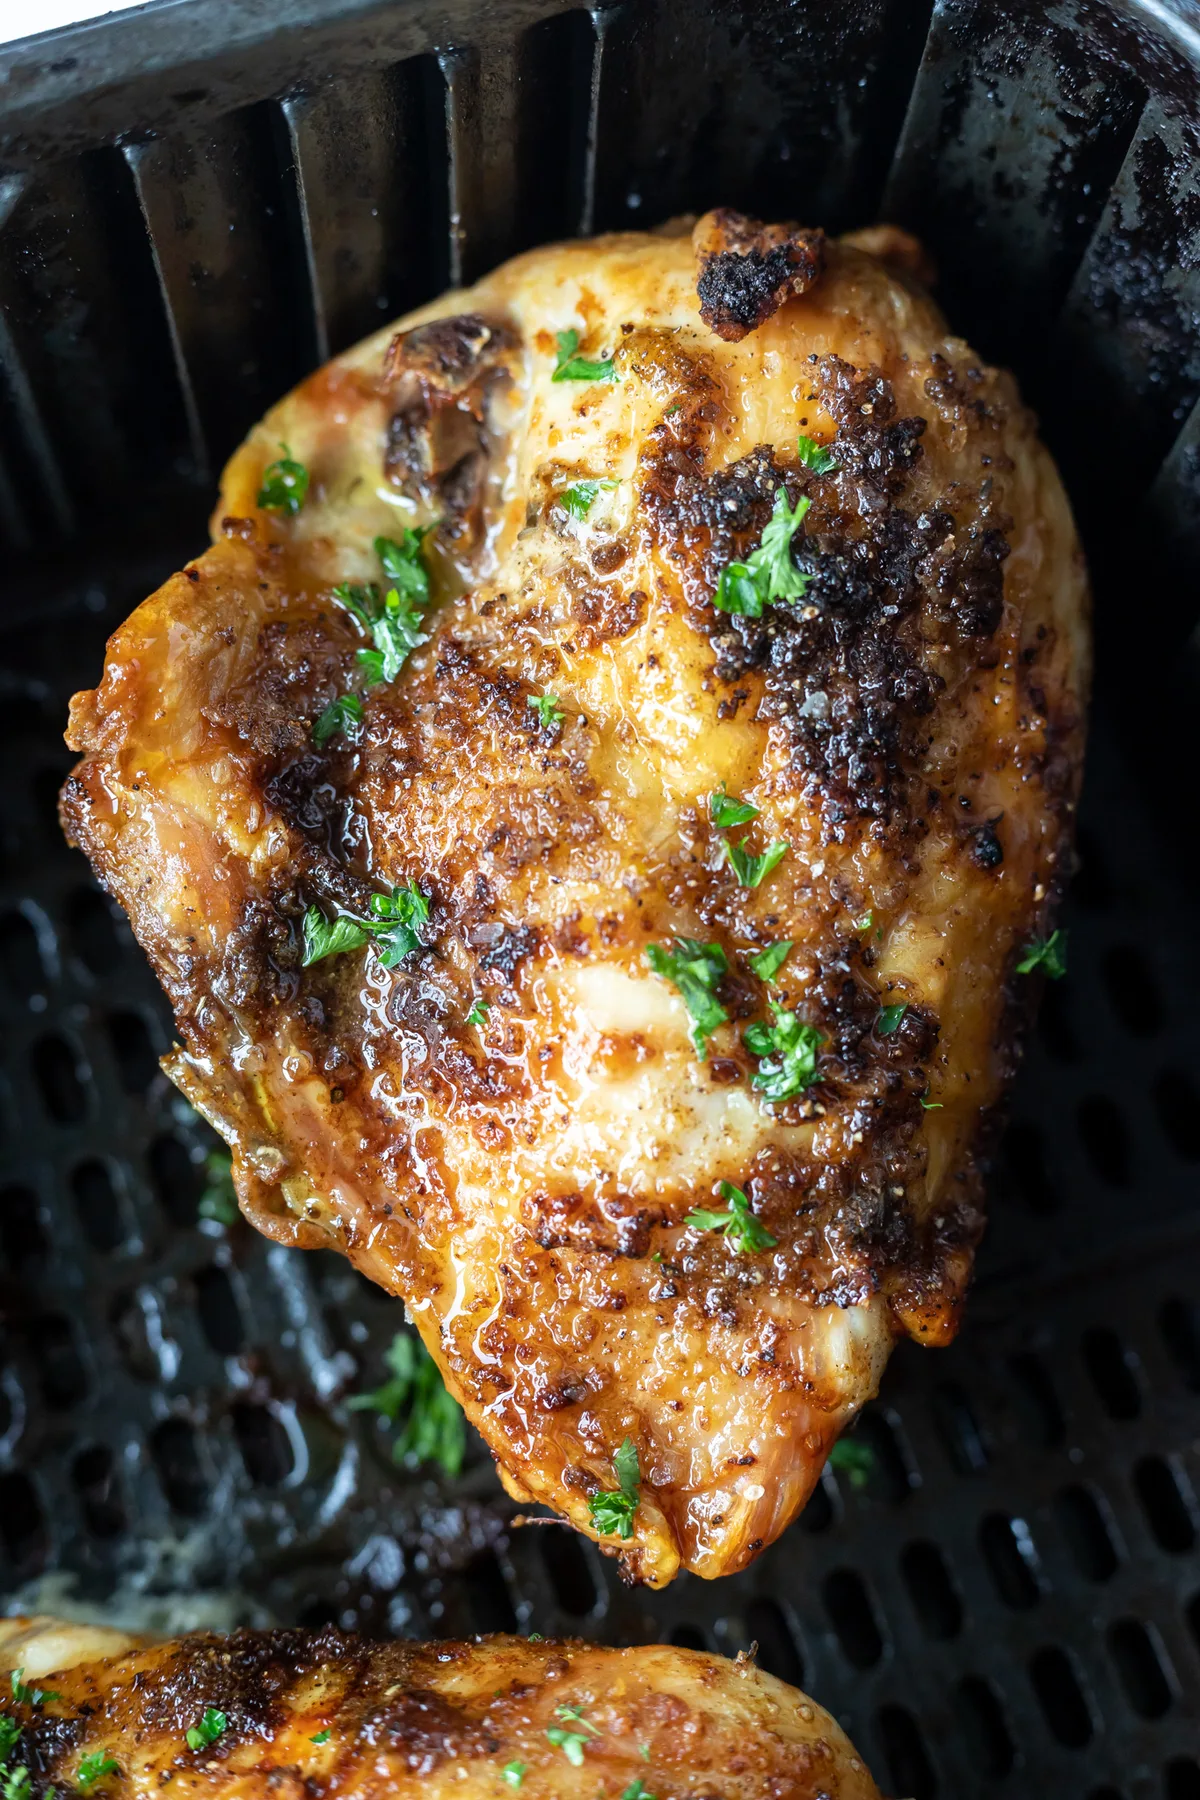
Watch for pale patches. If parts of your food stay white while others brown, your airflow is blocked. Rotate the basket manually.
Or reduce the batch size. Uneven browning means uneven cooking.
Look for pooling liquid. If batter collects at the bottom of the basket, it’s too thin. Stop immediately.
Pour out the excess. Add more starch to your remaining mix. Pooled batter burns and smokes.
Check for cracking. If the coating splits open, it dried out too fast. Lower the temperature slightly.
Or increase humidity by adding a small oven-safe dish of water. Cracks let juices escape. This dries out the meat.
Avoid dark specks before serving time. Black dots indicate burnt residue from previous cooks. Clean the basket thoroughly.
Old grease carbonizes quickly. It ruins new batches. Wipe down walls and floors regularly.
Finally, ignore the urge to peek constantly. Opening the drawer stops the fan. Heat escapes.
Temperature drops. This leads to inconsistent results. Trust the timer.
Wait until the halfway mark to check progress.
Temperature and Timing Benchmarks for Different Proteins
Time varies by density and size. Small shrimp cook faster than large chicken thighs. Use these benchmarks as starting points.
Adjust based on your specific appliance wattage.
Always verify internal temperatures. Poultry must reach 165°F (74°C). Fish hits 145°F (63°C).
Shellfish turns opaque and firm. Do not rely solely on time. Thermometers prevent undercooking risks.
Refer to USDA Food Safety Guidelines for detailed safe minimum internal temperatures. Their data confirms critical thresholds for preventing illness. Stick to their recommendations strictly.
Here is a general timing chart for 375°F (190°C):
| Protein | Size/Type | Time Range | Flip/Shake At |
|---|---|---|---|
| Shrimp | Large/Uncut | 8–10 mins | 5 mins |
| Chicken Wings | Whole | 18–22 mins | 10 mins |
| Cod Loins | 1-inch thick | 10–12 mins | None needed |
| Zucchini Coins | ½-inch slices | 6–8 mins | 4 mins |
| Pork Tenderloin | Cubes | 12–15 mins | 8 mins |
These numbers assume pre-heated baskets. Cold starts add 2, 3 minutes. Always preheat for consistent results.
This ensures the batter sets instantly upon contact.
Essential Safety Checks for Non-Stick Baskets and Hot Surfaces
Scratched coatings pose real health risks. When the non-stick layer wears down, aluminum underneath can leach into food. This is especially concerning with acidic marinades or high-heat cooking.
Inspect your basket before every use. Look for peeling or deep gouges. Replace damaged units immediately.
Manufacturer guidelines from brands like Philips and Cosori emphasize this point clearly.
Metal utensils are the primary culprit behind damage. Never use steel wool or sharp knives to clean the interior. Soft silicone tongs and nylon spatulas preserve the surface integrity.
Hand-washing is safer than dishwasher cycles. The harsh detergents and high water pressure degrade coatings over time. Aggregate user reviews consistently show that hand-washed baskets last twice as long.
Hot air exhaust vents present burn hazards. Keep at least five inches of clearance around the back and sides of the unit. Do not place it under cabinets or near curtains.
The exterior housing gets extremely hot during operation. Always use oven mitts when removing the basket. Children and pets should stay clear of the appliance while it’s running.
Ventilation matters more than most realize. Poor airflow causes smoke buildup. Ensure your kitchen has adequate extraction.
If you smell burning plastic, stop cooking instantly. Unplug the device. Check for residual batter bits stuck in hidden crevices.
These small particles carbonize quickly. They create toxic fumes. Regular maintenance prevents these dangerous scenarios.
Clean the heating element gently with a damp cloth after cooling. Never submerge the main unit in water. Electrical components remain exposed.
Follow the manual’s cleaning instructions precisely. Safety isn’t optional here. It protects both your health and your investment.
Frequently Asked Questions
Can I use pancake mix for air fryer coating?
No. Standard pancake mixes are too thin. They will drip off and burn.
You must thicken them significantly. Add extra flour or cornstarch until the consistency resembles heavy cream. Even then, results vary.
Dedicated tempura or breadcrumb coatings perform far better. Stick to proven methods for consistent crispiness. Avoid experimental liquids unless heavily modified.
Why does my coating fall off during cooking?
Moisture is likely the issue. Pat proteins dry thoroughly before dipping. Also, ensure your batter is thick enough.
Thin mixtures lack adhesion strength. Let coated items rest for ten minutes before frying. This allows the binder to set slightly.
A proper double-dredge technique also helps lock layers together. Dry surfaces grip wet binders effectively.
How do I prevent smoking in the air fryer?
Remove excess batter drips from the basket floor. Use minimal oil spray. Too much liquid fat hits the heating element and vaporizes.
Clean old residue between batches. Burnt particles ignite easily. Preheating correctly ensures immediate setting of the crust.
This reduces loose material floating in the airstream. Keep the basket clean for optimal performance.
Are gluten-free flours suitable for air fryer batters?
Yes, but they behave differently. Rice flour and chickpea flour (besan) work well. They create sturdy structures when heated.
However, they may absorb moisture faster than wheat. Monitor cooking times closely. Gluten-free options often brown quicker.
Adjust temperature downward if needed. Many users find cornstarch blends provide superior crunch without gluten. Test small batches first.

Similar Posts