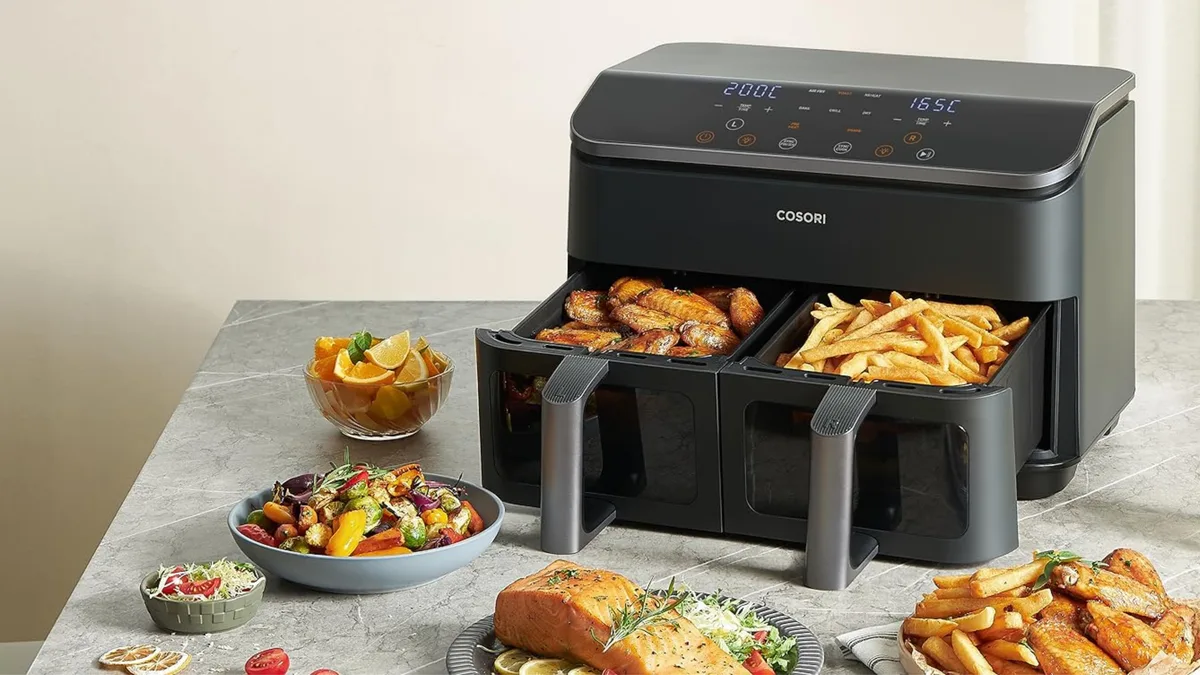
Crispy Air Fryer Chicken Drumsticks: The Ultimate Recipe
Most people guess when their air fryer chicken drumsticks are done. They pull them out too early, leaving rubbery skin and raw meat near the bone. Or they leave them in until the exterior burns while the interior dries out completely.
The fix isn't a longer timer. It’s learning to read visual cues. As of 2026, manufacturer specs confirm that basket geometry varies wildly between models.
A static recipe fails because it ignores how your specific unit circulates heat. We need to look at color, texture, and steam release instead.
Why Your Eyes Matter More Than the Timer
Timers are averages. They don’t account for starting temperature, basket size, or wattage differences. If you rely solely on "20 minutes at 400°F," you’ll miss the window for perfect crispiness.
Visual monitoring allows real-time adjustments. You can spot uneven browning before it becomes burnt.
Look for three key indicators: golden-brown skin, rendered fat pooling slightly, and juices running clear. These signs appear faster than digital timers suggest. Trust your eyes first.
Use a thermometer second. This approach prevents the common error of overcooking dry white meat attached to dark leg quarters.
The Visual Checklist: Spotting Perfectly Cooked Drumsticks
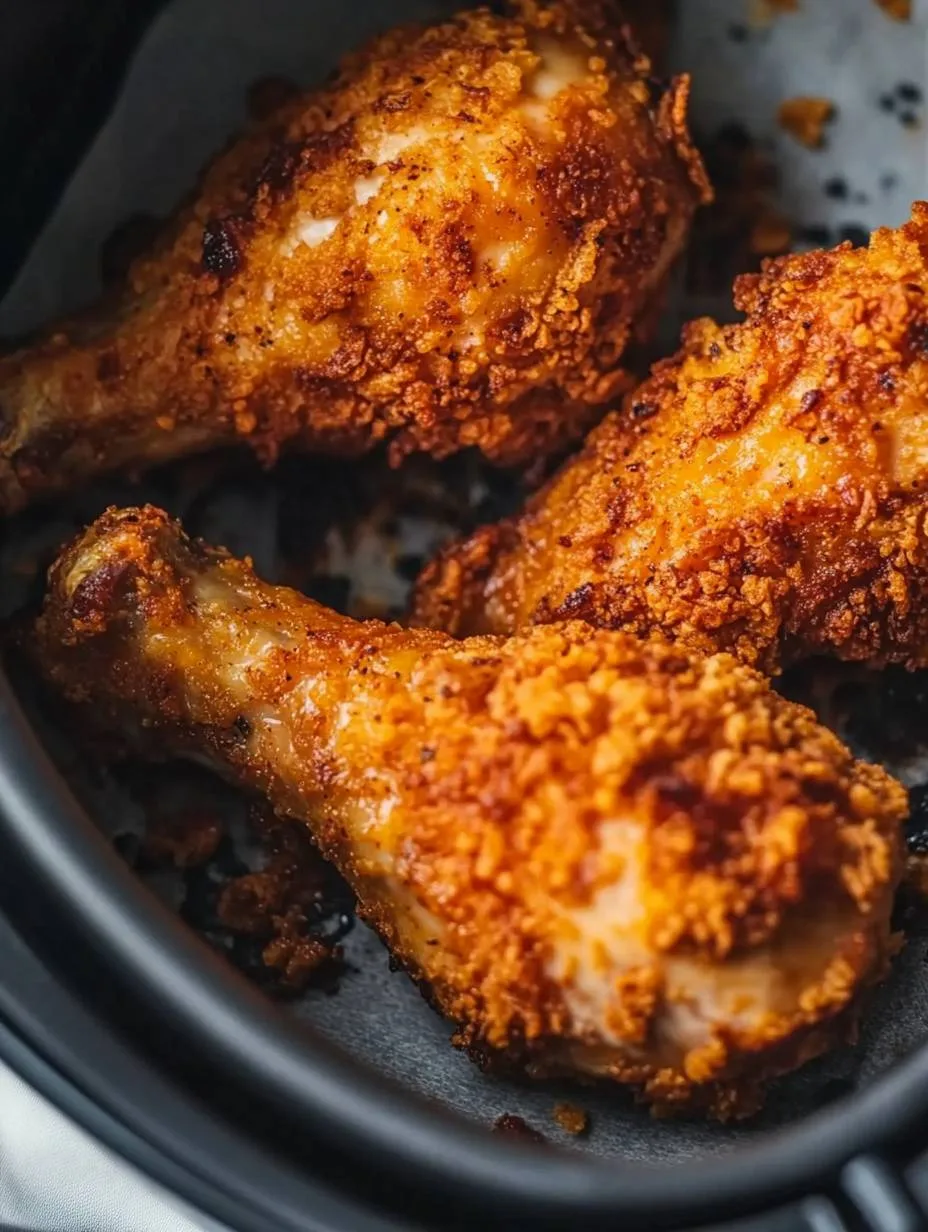
Doneness starts with appearance. Raw chicken looks pale pink or gray. Undercooked skin appears soft and translucent.
Properly cooked drumsticks show a deep amber hue. The skin should look taut, not wrinkled. Wrinkles mean moisture escaped too quickly, drying out the meat.
Check the joint where the thigh meets the drumstick. Juices should run clear, never pink. For safety, verify internal temperature reaches 175°F (79°C).
While USDA sets 165°F as the minimum, dark meat benefits from higher temps for collagen breakdown. This yields tender, fall-off-the-bone results without toughness.
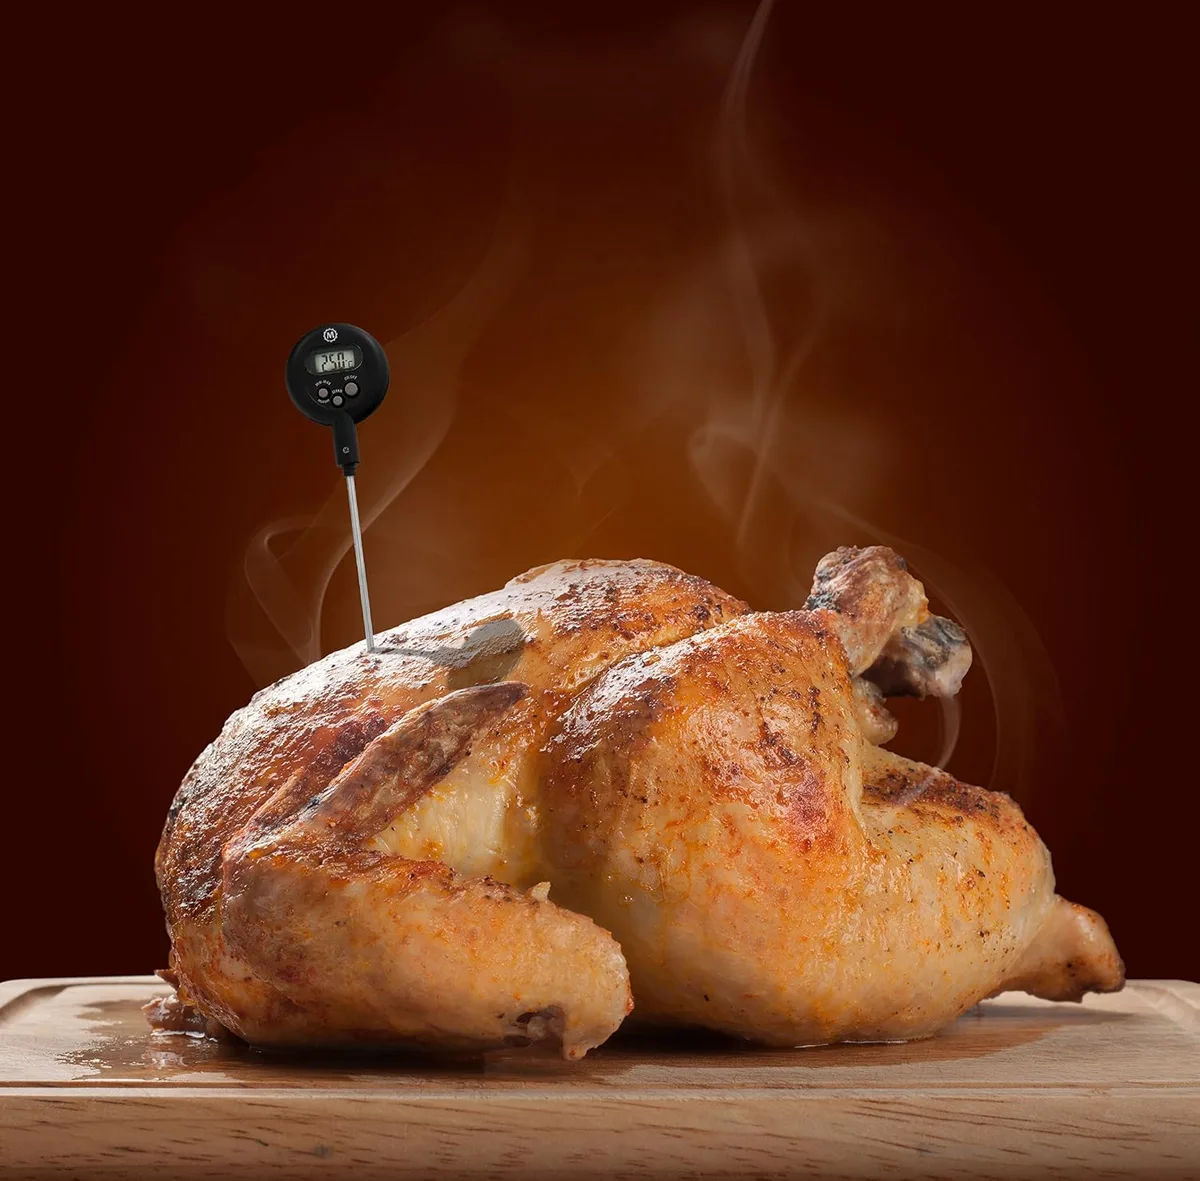
Use an instant-read probe. Insert it into the thickest part, avoiding bone contact. Bone conducts heat differently, giving false readings.
Wait ten seconds for stability. If you see red spots near the bone despite correct temp, myoglobin remains visible. This is safe if the protein structure has denatured correctly via heat exposure.
Step-by-Step Prep for Maximum Crispiness
Start with cold, dry skin. Moisture is the enemy of crispiness. Pat each drumstick thoroughly with paper towels.
Any residual water creates steam, preventing the Maillard reaction. This chemical process browns the surface and develops flavor compounds.
Apply a light coat of high-smoke-point oil. Avocado or refined olive oil works best. Spray evenly, focusing on crevices.
Skip heavy marinades initially. Sugar-based sauces burn at air fryer temperatures. Save glazes for the final two minutes.
Season generously with salt, pepper, paprika, and garlic powder. Rub spices into the skin. Let the seasoned chicken sit for fifteen minutes.
This draws out surface moisture further. Place pieces in the basket only after preheating. Cold baskets lead to uneven cooking starts.
| Step | Action | Visual Cue |
|---|---|---|
| 1 | Dry Skin | No wet patches |
| 2 | Oil & Season | Even glossy sheen |
| 3 | Preheat Basket | Element glowing red |
| 4 | Single Layer | No touching pieces |
| 5 | Flip Midway | Golden underside revealed |
Reading the Basket: Airflow, Crowding, and Hot Spots
Air fryers work by convection. Rapid hot air circulates around food. Overcrowding blocks this flow.
Steam gets trapped underneath. Result? Soggy bottoms and steamed tops.
Always arrange drumsticks in a single layer. Leave small gaps between pieces.
Basket shape matters. Round baskets often have hotter centers. Square units distribute heat more evenly along edges.
Rotate the basket halfway through cooking. This compensates for fan orientation quirks. Check corners frequently.
Edges brown faster than centers due to proximity to walls.
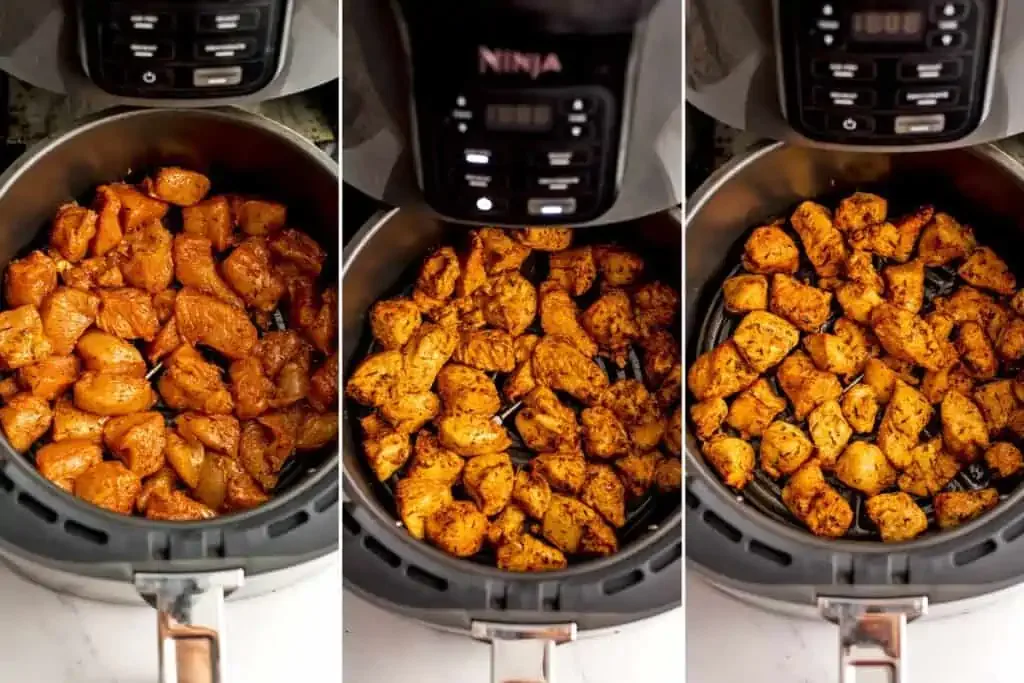
Watch for smoke. White wisps indicate fat hitting the heating element. Clean drip trays regularly.
Excess grease causes flare-ups. If smoking occurs, lower temperature by 10°F. Add a splash of water to the bottom tray.
This catches drippings and reduces smoke instantly. Never ignore persistent odor. It signals burnt residue buildup affecting future batches.
Troubleshooting Common Visual Failures
Rubbery skin means insufficient fat rendering. Increase time or raise temp slightly next batch. Ensure skin faces up initially.
Pale interiors signal undercooking. Verify thermometer placement. Probe may have touched bone, reading low falsely.
Recook for five minutes at 380°F.
Burnt exteriors with raw centers happen when temps are too high. Lower setting to 370°F. Extend cook time by three to four minutes.
Slow and steady wins here. High heat chars sugars before collagen breaks down. Dark spots aren't always bad.
Char adds smoky flavor. But black, brittle crust indicates disaster. Discard those pieces.
Dry meat results from overcooking. Pull drumsticks at 170°F. Carryover heat raises temp five degrees during rest.
Resting is non-negotiable. Tent loosely with foil. Let juices redistribute for five minutes.
Skipping this step squeezes moisture out upon cutting. Serve immediately after resting for best texture contrast.
Pro Tips for Glazing and Resting Without Losing Crunch
Glazing too early ruins the skin. Sugar burns at 400°F within minutes. Wait until the drumsticks hit 165°F internally.
That’s usually two to three minutes before pulling them out. Brush on a thin layer of sauce then. Return them to the basket for just that final window.
The heat sets the glaze without charring it.
Choose sauces with lower sugar content if possible. Hot honey or soy-ginger mixes work well. Avoid thick BBQ sauces initially.
They clump and stay wet. A light spray of oil helps the glaze adhere evenly. Watch the color closely during this phase.
You want a sticky sheen, not a blackened crust.
Resting is critical for juiciness. Pull the chicken from the basket immediately after cooking. Transfer pieces to a wire rack or plate.
Do not stack them. Stacking traps steam and softens the crisp skin you worked for. Let them sit for five full minutes.
This allows muscle fibers to relax and reabsorb juices. Cutting too soon releases all that moisture onto the plate.
Cover loosely with foil only if necessary. Tight wrapping creates condensation. That fog destroys texture.
An open rest preserves air circulation around each piece. Aggregate user reviews indicate that skipping this step leads to soggy bottoms. Take the extra time.
Your patience pays off in every bite. Serve while still warm but rested.
FAQs on Doneness, Frozen Chicken, and Cleanup
Can I cook frozen drumsticks directly?
Yes, but adjust expectations. Frozen legs take longer and often yield less crispy skin. Thawing overnight in the fridge gives better results.
If cooking from frozen, add 5, 8 minutes to the total time. Start at a lower temp (360°F) to thaw gently. Then bump up to 400°F for the last few minutes to crisp the exterior.
Always verify internal temp hits 175°F.
Why does my chicken stick to the basket?
Sticking happens when the non-stick coating wears down or lacks oil. Ensure your basket is clean and dry before preheating. Lightly spray the basket itself, not just the chicken.
Use silicone liners if sticking persists. Perforated parchment paper also helps airflow while preventing contact. Never use metal utensils to scrape stuck bits.
This damages the coating permanently. Replace scratched baskets promptly.
How do I know if the meat is safe?
Color alone isn’t enough. Pink near the bone can be normal in young birds. Myoglobin remains visible even when cooked.
Trust the thermometer. Insert it into the thickest part of the drumstick. Avoid touching the bone.
Readings must hit 165°F minimum for safety. For tenderness, aim for 175°F, 185°F. Dark meat handles higher temps without drying out.
White meat does not. Stick to dark cuts for air frying.
What’s the best way to clean the air fryer?
Let the unit cool completely first. Hot plastic warps easily. Remove the basket and wash with warm soapy water.
Use a soft sponge. Abrasive pads scratch non-stick surfaces. Wipe the heating element with a damp cloth only.
Never submerge the base unit. Check the drip tray for grease buildup weekly. Accumulated fat causes smoke and fire risks.
Regular maintenance extends appliance life significantly.

Similar Posts