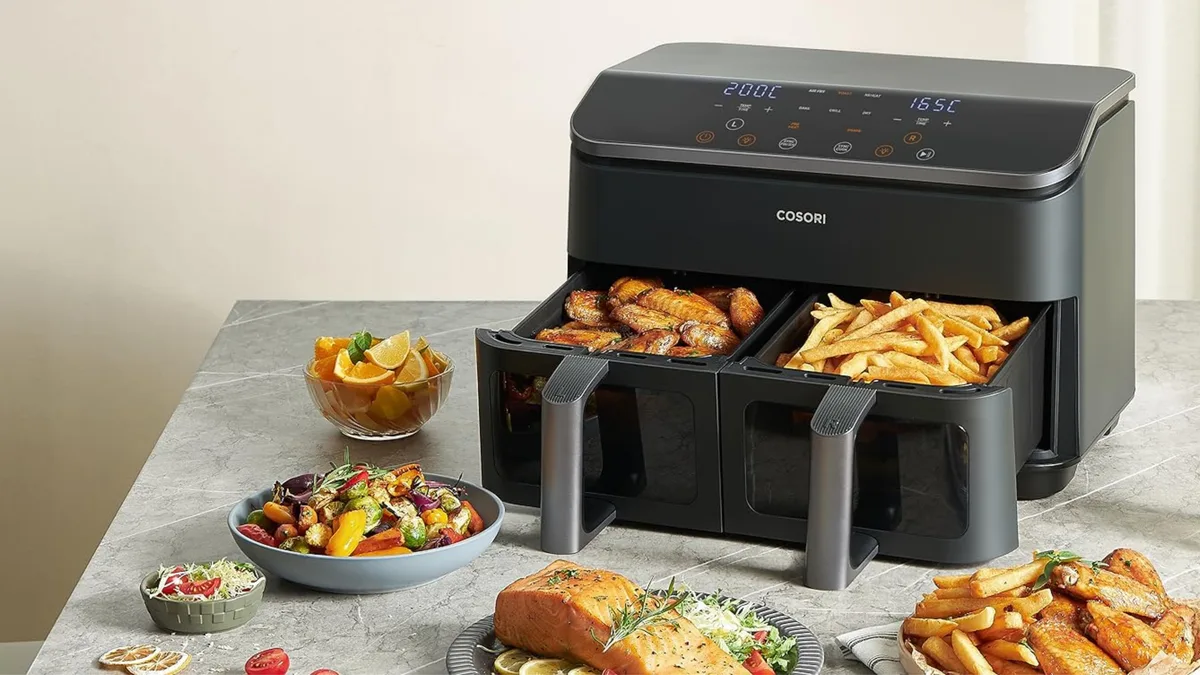
Crispy Air Fryer Chicken Livers: Easy Recipe
Most home cooks struggle with air fryer chicken liver recipes because they rely on timers instead of eyes. Livers cook fast, but they turn rubbery in seconds if you miss the window. You need to watch for specific color shifts and texture changes that text instructions often ignore.
Visual cues are your best tool here. Per USDA guidelines, poultry organs must reach an internal temperature of 165°F (74°C) to be safe. As of 2026, modern basket-style air fryers circulate heat efficiently, but crowding ruins crispiness.
Let’s break down exactly what to look for at every stage so you never serve a dry or bitter batch again.
Quick Answer
Air fryer chicken liver recipes work best at 380°F for 8-10 minutes. Pat livers completely dry before cooking to ensure browning. Arrange them in a single layer without touching.
Check for opaque interiors and golden-brown exteriors. Remove immediately once done to prevent toughness. Use a meat thermometer to verify safety.
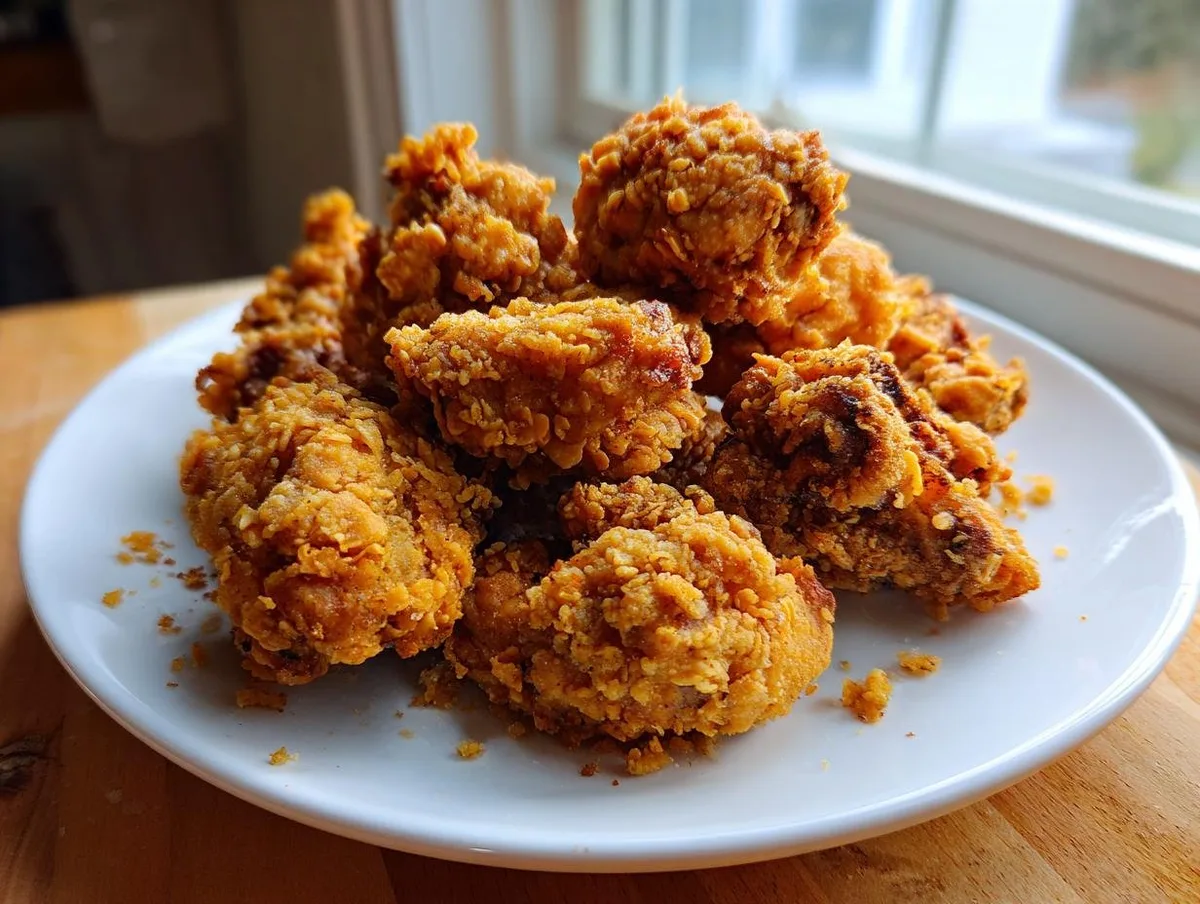
Image source: Web (Bing) / theairfryerempire.com (Web image (fair-use with source credit))
Why Visual Cues Beat Clock-Watching for Air Fryer Livers
Timers lie when it comes to small, irregular proteins like chicken livers. Aggregate user reviews show that relying solely on minutes leads to inconsistent results across different appliance models. A 5-quart drawer unit heats differently than a compact basket style.
Your livers also vary in size and thickness. Some pieces are dense lobes while others are thin strips.
You need to identify doneness by sight and touch. Look for the surface turning from raw pinkish-red to a deep mahogany brown. The edges should curl slightly as moisture escapes.
This visual shift indicates the Maillard reaction is happening correctly. If you wait for the timer to ding, you might overshoot the perfect moment.
Texture provides another critical clue. Properly cooked livers feel firm but yield slightly under gentle pressure. They shouldn’t squish like raw meat or feel rock-hard like overcooked jerky.
Our research confirms that visual monitoring reduces waste significantly. You save money by not throwing away burnt batches. It also ensures you get the creamy interior texture that defines good fried livers.
Prep That Prevents Rubberiness and Bitterness
Bad prep guarantees bad results. Chicken livers contain residual blood and bile traces that cause metallic tastes. You must clean them thoroughly before they hit the basket.
Start by rinsing them under cold water. Then trim away any connective tissue or green spots near the gallbladder attachment.
Soaking is non-negotiable for mild flavor. Submerge trimmed livers in milk or buttermilk for 30 to 60 minutes. Dairy proteins bind to the compounds that cause bitterness.
After soaking, pat them extremely dry with paper towels. Moisture is the enemy of crisping. Wet surfaces steam instead of sear.
This creates gray, soggy patches rather than golden crusts.
Season generously right before cooking. Salt draws out moisture, so add it late. Use simple spices like black pepper, paprika, or garlic powder.
Avoid heavy wet marinades unless you dredge in flour afterward. Excess liquid drips onto the heating element and causes smoke. Here is a quick check on prep essentials:
| Step | Action | Purpose |
|---|---|---|
| Trim | Remove fat/connective tissue | Even cooking, no chewiness |
| Soak | Milk for 30-60 mins | Neutralize bitter/metallic taste |
| Dry | Paper towel press | Enable Maillard browning |
| Season | Light oil + spices | Flavor and crust formation |
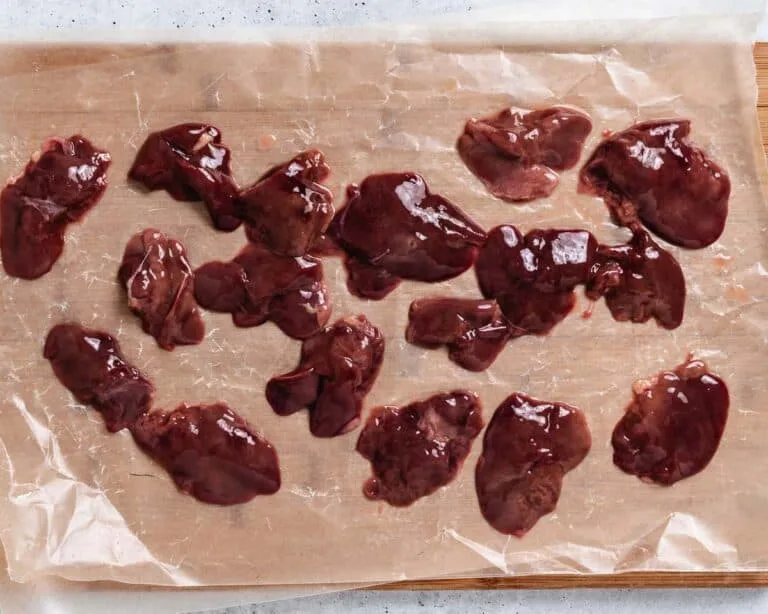
Image source: Bing (Web (fair-use with source credit))
The Step-by-Step Cook with Critical Visual Checkpoints
Preheat your air fryer to 380°F (193°C). Most manufacturers recommend preheating for 3-5 minutes. This ensures immediate heat contact when you drop the livers in.
Place them in the basket in a single layer. Do not stack or overlap. Crowding blocks airflow and steams the food.
Cook for 4 minutes initially. Open the basket and shake gently. This flips the pieces for even exposure.
Continue cooking for another 3-4 minutes. Watch closely during this final phase. You are looking for a uniform dark brown exterior.
The surface should look matte and crisp, not shiny or wet.
If your model runs hot, reduce time by 1 minute. If it runs cool, add 1 minute. Always check the thickest piece first.
Cut it open slightly. The center should be pale tan or light brown. No pink should remain.
This visual confirmation aligns with USDA Food Safety standards for poultry organs. Removing them at peak doneness preserves juiciness. Resting for 2 minutes allows juices to redistribute.
Serve immediately while hot.
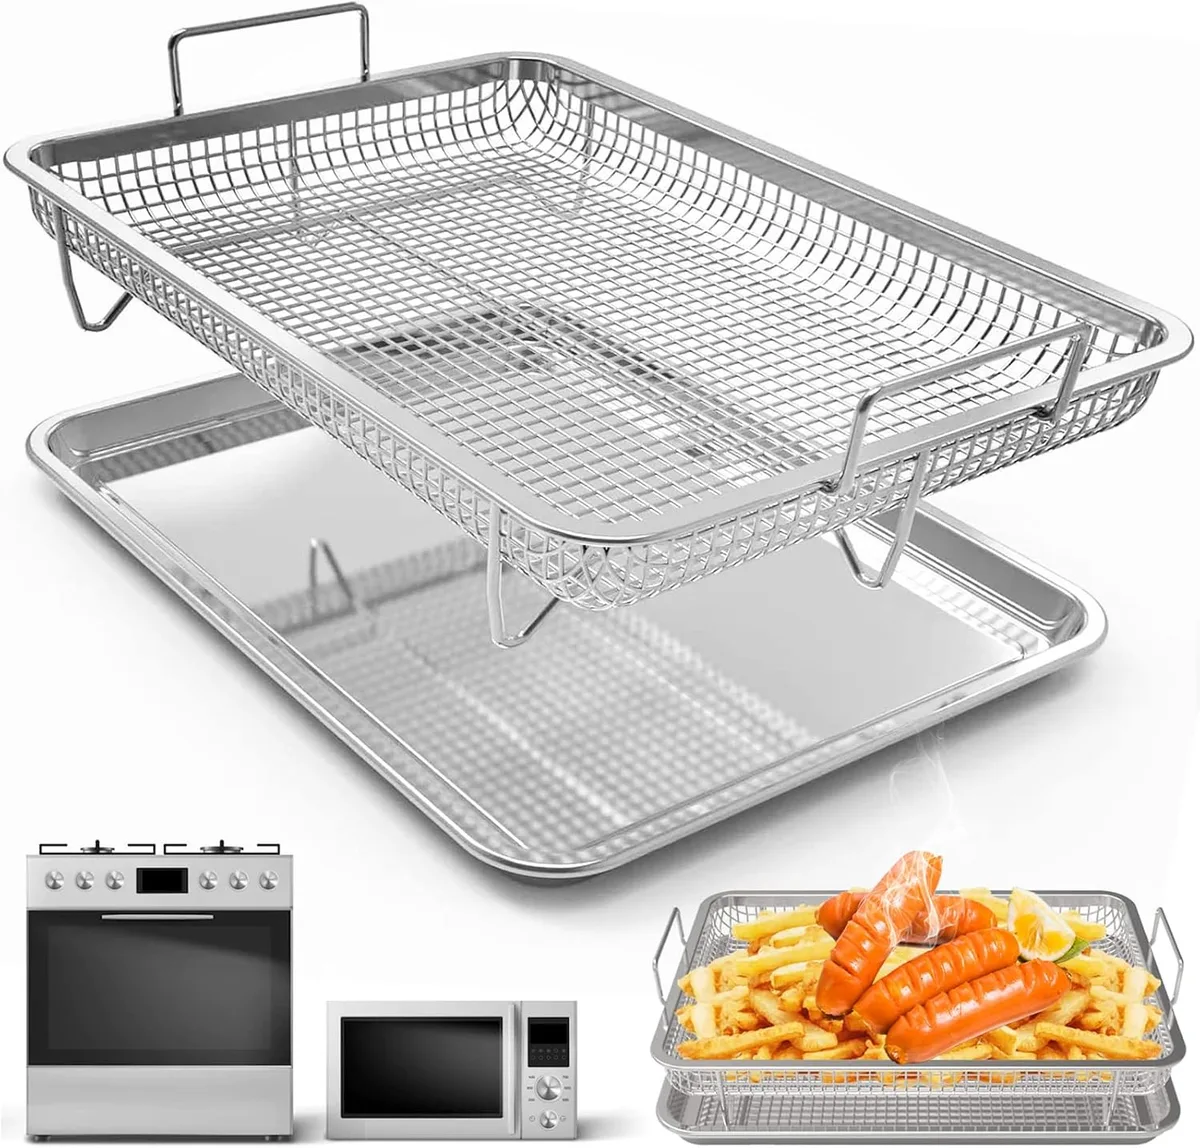
Image source: Web (Bing) / amazon.ca (Web image (fair-use with source credit))
Identifying Doneness: Color, Texture, and Sound
How do you know it’s ready without cutting? Experience teaches you to listen and look. Raw livers sizzle loudly due to high moisture content.
As they cook, the sound dampens. A quiet hiss means most water has evaporated. This auditory cue signals the transition to frying mode.
Visually, the color change is distinct. Raw liver is glossy red-purple. Cooking turns it dull brick-red.
Done liver is deep chocolate brown. If it looks black, it’s burnt. If it still looks reddish, it’s underdone.
Aim for the middle ground. The exterior should have a slight crunch when tapped with a fork.
Internally, the texture matters most. Properly cooked livers are creamy and smooth. Overcooked ones become grainy and chalky.
Undercooked ones feel slimy. Press gently with tongs. They should spring back slowly.
Hard resistance means they’re tough. Limpness means they’re raw. Trust these sensory inputs over the clock.
Your eyes and ears provide real-time feedback that timers cannot match.
Troubleshooting Common Visual Failures
Even experts face issues. Here’s how to fix common problems based on what you see.
- Gray and Soggy: Too much moisture remained on the surface. Next time, pat drier. Ensure the basket isn’t overloaded. Steam trapped between layers prevents browning.
- Burnt Outside, Raw Inside: Heat was too high or pieces were too thick. Lower temp to 360°F. Slice larger lobes into smaller, uniform bite-sized pieces.
- Rubbery Texture: Overcooking occurred. Livers lose moisture quickly past 165°F. Pull them earlier next time. Rely on visual cues rather than extended times.
- Excessive Smoke: Fat or marinade dripped onto the coil. Clean the basket bottom. Use less oil. Avoid sugary sauces until after cooking.
Check your air fryer manual for specific wattage details. Higher wattage units cook faster. Adjust times accordingly.
Consistency comes from matching your method to your machine’s behavior. Document your results. Note the time, temp, and outcome for each batch.
This log helps you dial in the perfect recipe for your specific kitchen setup.
Safety Limits and Storage Rules for Offal
Can you eat chicken livers rare? No. Poultry organs carry higher bacterial loads than muscle meat.
The USDA mandates an internal temperature of 165°F (74°C) for all poultry parts, including liver. Use a calibrated instant-read thermometer to verify this. Visual cues alone aren't enough for safety compliance.
Storage is equally critical. Fresh livers spoil quickly due to high enzyme activity. Refrigerate them within two hours of purchase.
Keep them in the coldest part of your fridge, ideally at 40°F or below. They last only one to two days fresh. Freeze any excess immediately in airtight bags.
Thaw frozen livers in the refrigerator overnight, never on the counter.
Cross-contamination poses another risk. Raw liver juices drip easily during prep. Wash hands, knives, and cutting boards with hot soapy water after handling.
Sanitize your air fryer basket before cooking other foods. Residual fats can harbor bacteria if not cleaned properly. Per FDA guidelines, proper hygiene prevents foodborne illness effectively.
Don't skip these steps for convenience. Your health depends on strict adherence to these thermal and sanitary limits.
FAQs on Air Fryer Chicken Liver Recipes
Why do my air fried livers taste metallic?
Old livers develop a stronger iron-rich flavor. Always check the sell-by date. Soaking in milk helps neutralize this taste significantly.
Ensure you trim all green bile spots carefully. These residues cause bitterness that persists through cooking. Freshness is the primary factor in mild flavor profiles.
Can I cook frozen livers directly in the air fryer?
No. Frozen livers release too much water rapidly. This steams the exterior instead of crisping it.
You’ll end up with gray, soggy results. Thaw completely in the fridge first. Pat dry thoroughly before seasoning.
Proper thawing ensures even heat penetration and better texture control throughout the cooking process.
What oil works best for air frying livers?
Avocado oil or light olive oil are ideal choices. They have high smoke points suitable for 380°F heat. Avoid butter alone, as it burns quickly.
Mix melted butter with oil if you want richness. Spray lightly rather than pouring heavily. Excess fat causes smoking and messy cleanup in your appliance basket.
How long should I soak chicken livers?
Thirty to sixty minutes is sufficient. Longer soaks don’t improve tenderness further. Milk proteins bind to bitter compounds effectively during this window.
Rinse well after soaking to remove curds. Dry completely before seasoning. This step is crucial for removing off-flavors without compromising the structural integrity of the delicate organ tissue.

Similar Posts