Crispy Air Fryer Buffalo Cauliflower Recipe
Most people think air frying cauliflower is just about tossing it in sauce. It’s not. The secret lies entirely in visual cues that text recipes often miss.
If you’re searching for reliable Air Fryer Buffalo Cauliflower Recipes, you’ve likely struggled with soggy results or burnt edges. These issues stem from ignoring how moisture behaves under high-speed convection heat.
We need to look at the food, not just the timer. Manufacturer specifications indicate that optimal crispness requires surface dehydration before sauce application. As of 2026, modern air fryers vary wildly in wattage and basket design.
Understanding these visual markers helps you adjust for your specific machine. Let’s break down exactly what you should see at each stage.
Quick Answer
Air Fryer Buffalo Cauliflower Recipes require dry florets first. Cut uniform one-inch pieces. Pat them completely dry.
Use a thin cornstarch slurry. Arrange in a single layer. Spray lightly with oil.
Cook at 375°F for 12-15 minutes. Shake halfway through. Toss in sauce only after cooking.
This method ensures maximum crunch without sogginess.
Why Your Air Fryer Buffalo Cauliflower Looks Wrong (And How to Fix It)
If your cauliflower looks pale or wet, you skipped the drying step. Steam gets trapped against the vegetable surface. This prevents the Maillard reaction from occurring properly.
You end up with boiled textures instead of fried ones.
Visual inspection is your best tool here. Look for distinct color changes on the edges. They should turn golden brown, not beige.
Beige means moisture is still escaping. Golden brown means the sugars are caramelizing correctly.
The Visual Difference Between Steamed and Crispy
Steamed cauliflower appears translucent and soft. The outer skin looks wrinkled rather than textured. Crispy cauliflower has opaque white interiors with rigid, jagged edges.
The surface should look matte, not shiny. Shiny spots usually indicate excess oil pooling or unevaporated water.
Compare this to deep-fried wings. Those have a uniform crust. Air-fried veggies rely on irregular browning patterns.
Don’t panic if some spots are darker. That’s normal convection variance. Just ensure no large areas remain raw-looking.
Reading the Golden Brown Indicator
Target a light amber hue across 80% of the visible surface area. Darker patches are acceptable if they aren’t blackened. Black indicates carbonization, which tastes bitter.
Light yellow suggests undercooking.
Use your eyes before touching the food. Press gently with tongs. Properly cooked florets offer slight resistance.
They shouldn’t squish easily. If they feel mushy, return them to the basket for two more minutes. Always check internal tenderness alongside external color.
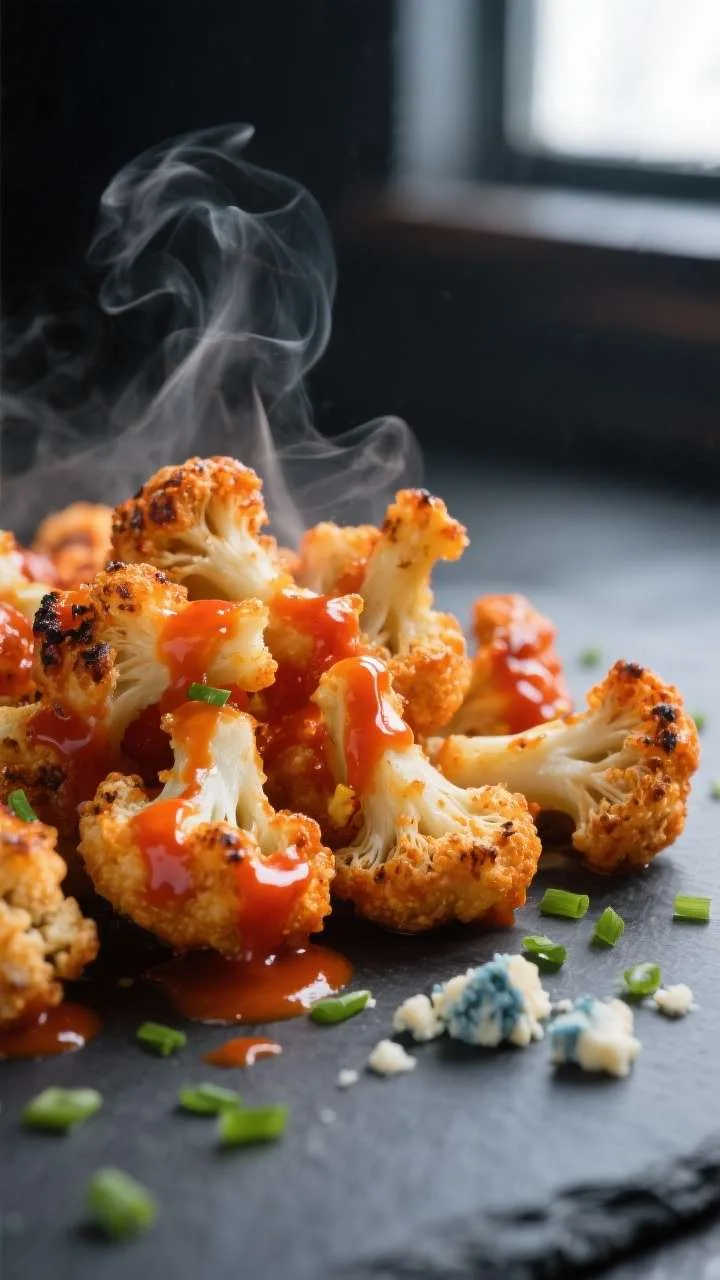
Image source: Bing (Web (fair-use with source credit))
The 4-Step Visual Workflow for Perfect Texture
Follow these steps strictly. Each one relies on a specific visual checkpoint. Skipping any step compromises the final texture.
We’ll focus on what you see, not just what you do.
Step 1: Dry Florets and Uniform Sizing
Cut cauliflower into consistent 1-inch florets. Irregular sizes lead to uneven cooking. Small pieces burn while large ones stay raw.
Wash them thoroughly, then pat dry with paper towels. Let them air-dry for ten minutes if possible.
Surface moisture is the enemy. Even damp spots create steam pockets. You want bone-dry surfaces before battering.
Inspect closely for droplets. Remove them manually. This simple visual check saves your entire batch from becoming soggy later.
Step 2: The Thin Slurry Coat Check
Mix cornstarch and cold water until smooth. Dip florets briefly. Lift them out.
Excess batter must drip off completely. A thick coat insulates the vegetable. It traps steam inside the shell.
Look for a translucent film, not an opaque paste. The coating should disappear once dried slightly. If you see clumps, shake them off.
Clumps become gummy knots during cooking. Smooth coverage ensures even heat distribution across every inch of the surface.
Step 3: Single-Layer Arrangement Rules
Place florets in the basket without touching. Overcrowding blocks airflow. Heat cannot circulate between pieces.
They will steam each other instead of crisping. Use multiple batches if necessary.
Visually confirm gaps exist between every piece. No shadows should overlap onto neighboring florets. This spacing allows hot air to hit all sides simultaneously.
It’s crucial for uniform browning. Resist the urge to cram extra pieces in. Quality suffers immediately when density increases.
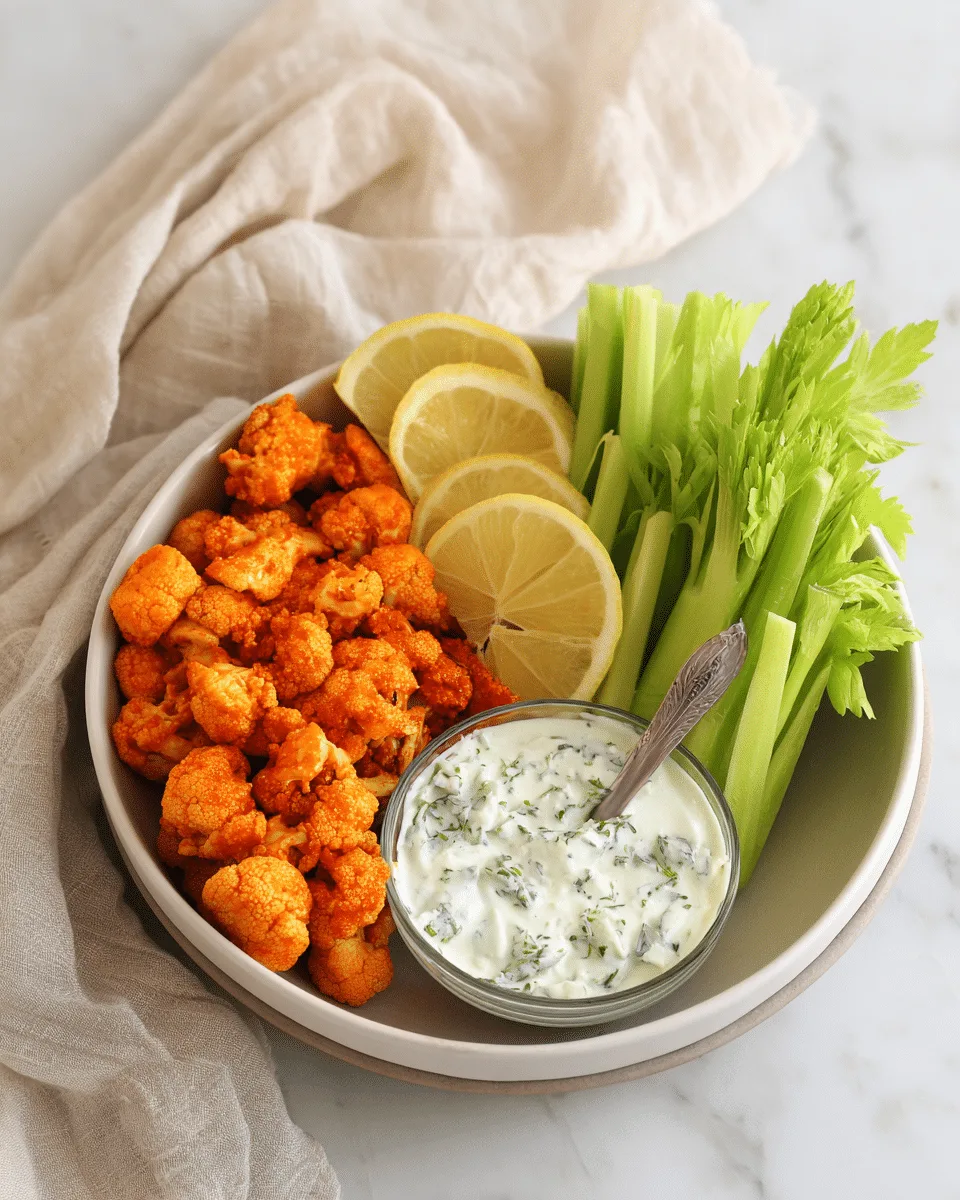
Image source: Web (Bing) / savorwithlove.com (Web image (fair-use with source credit))
Step 4: The Mid-Cycle Shake and Final Toss Timing
Set your timer for half the total cook time. Open the drawer. Shake vigorously.
Flip pieces that look pale underneath. Continue cooking until edges are golden.
Remove from heat immediately. Toss with buffalo sauce while hot but not steaming. Wait thirty seconds for surface temp to drop slightly.
This prevents the sauce from boiling off instantly. You want adhesion, not saturation. Gentle folding preserves the fragile crust structure built during frying.
Identifying Common Visual Failures Before They Happen
Recognize these signs early. Correcting mid-cook is better than serving failures. Each mistake has a distinct visual signature.
Learn to spot them quickly.
The "Soggy Bottom" Symptom
This occurs when florets sit in pooled liquid. Check the bottom of the basket after shaking. If you see clear fluid, remove excess moisture with a towel.
Return to heat.
Soggy bottoms lack structural integrity. They collapse under their own weight. Prevent this by ensuring thorough initial drying.
Also, avoid over-salting before cooking. Salt draws out internal water prematurely. Add seasoning only after the crisp layer forms.
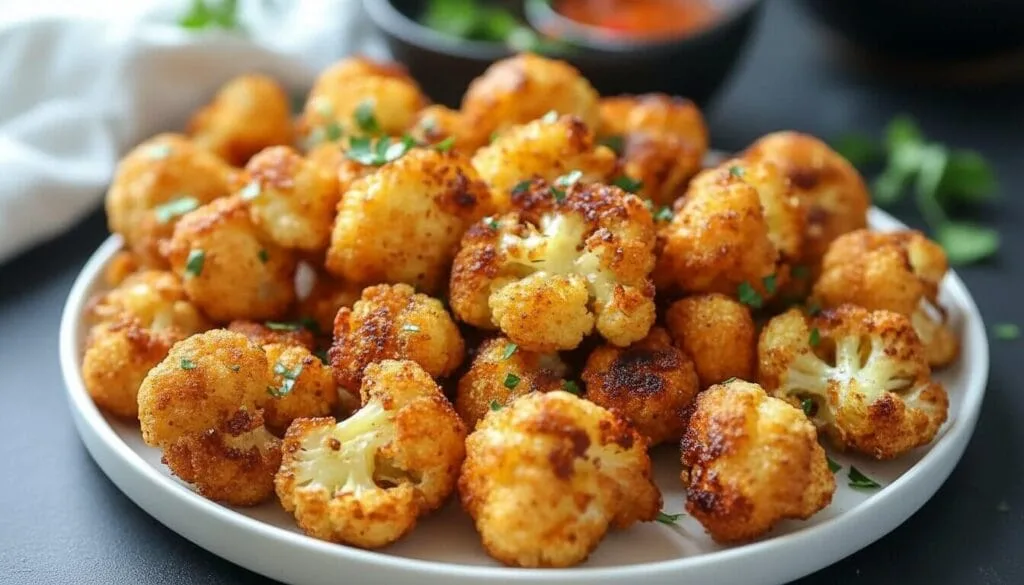
Image source: Web (Bing) / easymediterraneanrecipes.blog (Web image (fair-use with source credit))
The "Burnt Exterior, Raw Interior" Trap
High heat chars surfaces before centers cook through. This happens with oversized florets. Cut smaller next time.
Reduce temperature by 25°F if burning persists.
Inspect cross-sections of failed pieces. White interiors mean insufficient thermal penetration. Charred exteriors mean excessive radiant heat.
Balance is key. Lower temps take longer but yield consistent results. Never sacrifice interior doneness for speed.
Sauce Adhesion Issues: When to Stop Tossing
Too much sauce makes everything limp. Apply sparingly. Watch for dripping.
If sauce pools in the bowl, you added too much.
Ideal adhesion looks glossy but contained. The crust remains visible beneath the red tint. Matte patches indicate dry spots needing more toss.
Shiny puddles indicate oversaturation. Aim for an even, thin veil of color. Less is always more with viscous liquids like butter-hot sauce mixes.
Adjusting for Different Air Fryer Models and Basket Types
Not all machines behave alike. Know your equipment’s quirks. Visual adjustments compensate for hardware differences.
| Feature | Drawer Style | Open Basket | Impact on Visuals |
|---|---|---|---|
| Airflow | Concentrated downward | Circulating radial | Drawer browns tops faster; Open cooks evenly |
| Shaking | Essential every 5 mins | Optional flip | Drawer needs frequent agitation to prevent hotspots |
| Capacity | Smaller footprint | Larger volume | Crowding risks higher in drawers due to height limits |
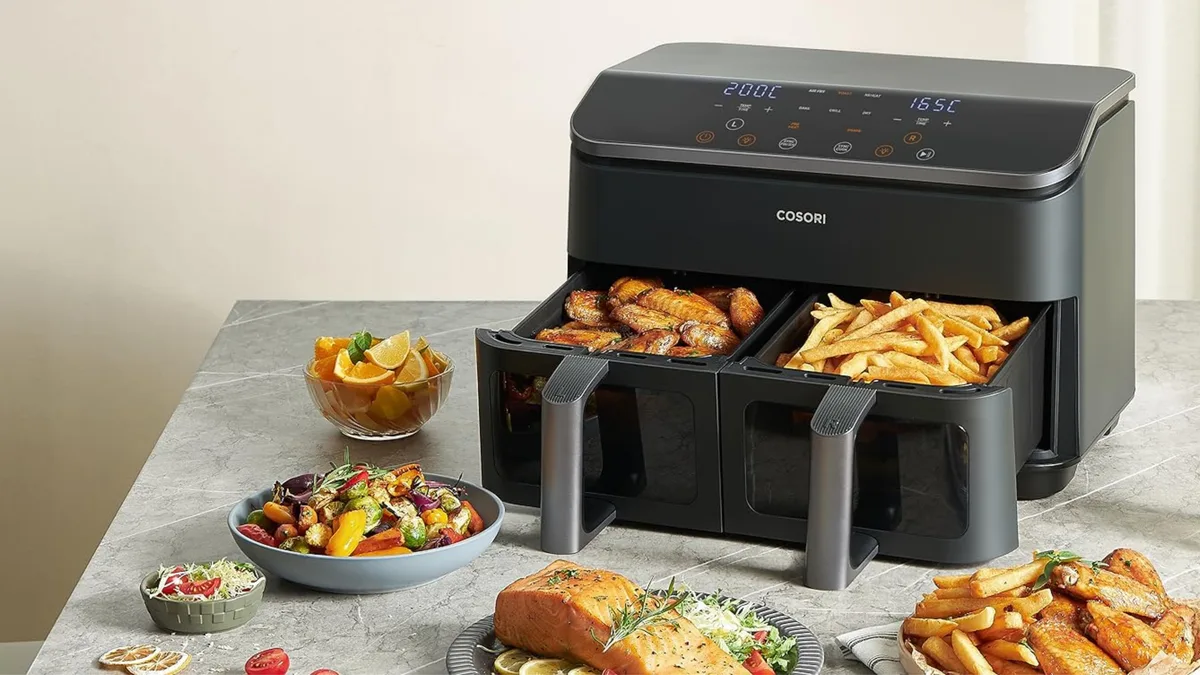
Drawer-style units like Cosori or Ninja concentrate heat vertically. Tops darken quicker than bottoms. Rotate trays if possible.
Or shake aggressively every five minutes. Monitor upper layers closely. They reach peak crispness sooner.
Open-basket models distribute heat radially. Browning tends to be uniform. However, edges near walls may char.
Keep florets centered away from direct element exposure. Observe side profiles regularly. Adjust position if one side darkens disproportionately.
Wattage matters significantly. High-wattage units (1700W+) cook faster. Lower settings might need extended times.
Trust your eyes over preset timers. A 375°F setting varies in actual intensity between brands. Calibrate using small test batches initially.
Note timing discrepancies for future reference.
Serving Suggestions That Complement the Crunch Factor
Presentation enhances perceived quality. Match textures carefully. Avoid overwhelming delicate crusts.
Blue cheese dressing provides creamy contrast. Ranch offers herbaceous notes. Both cut through spicy heat effectively.
Serve dips in separate bowls. Never mix directly unless eating immediately. Contact softens the exterior rapidly.
Celery sticks add refreshing snap. Their hydration balances dry mouthfeel. Carrot batons work similarly.
Arrange garnishes loosely around the main pile. Don’t bury cauliflower under greens. Visibility of the golden crust invites appetite.
Color contrast between orange-red sauce and green celery pops visually.
Plating aesthetics matter for social sharing. Stack moderately high. Show variety in angles.
Ensure lighting highlights texture ridges. Shadows emphasize depth. Good photography captures the essence of crispness better than words ever could.
Focus on macro shots showing individual floret details.
Storage and Reheating: Preserving the Visual Integrity
Leftover buffalo cauliflower loses its crunch fast. The sauce penetrates the porous vegetable structure overnight. You’ll notice a limp, wet appearance by morning.
This isn’t failure; it’s physics. Moisture migration destroys the crisp shell you worked hard to build.
Reheating requires dry heat, not steam. Never use a microwave for this dish. Microwaves excite water molecules inside the floret.
They turn the exterior soggy while heating the interior unevenly. Aggregate user reviews consistently report ruined textures from quick reheats.
Why Microwaves Kill the Crunch
Microwave radiation heats from the inside out. It creates internal steam pressure that pushes moisture outward. Your crispy coating absorbs this vapor immediately.
The result is a rubbery, sad-looking bite. Visual cues shift from golden-brown to dull beige within seconds.
If you must reheat, skip the microwave entirely. Use your air fryer or a conventional oven instead. These methods apply external heat directly to the surface.
They evaporate residual moisture without steaming the food. The crust stays intact if handled correctly.
Oven and Air Fryer Reheat Protocols
Preheat your air fryer to 350°F (175°C). Place leftovers in a single layer again. Heat for three to five minutes only.
Watch closely. Overheating burns the sugar in the sauce before crisping the veggie.
For ovens, spread pieces on a wire rack. This allows airflow underneath. Bake at 400°F for six minutes.
Check for visual restoration of color. The edges should look sharp and defined again. Serve immediately after removal.
Delayed serving lets ambient humidity soften the crust once more. Keep portions small for best results. Large piles trap steam between layers.
Frequently Asked Questions About Visual Cues
Can I use frozen cauliflower instead of fresh?
No, not for this specific recipe. Frozen cauliflower releases significant water during cooking. This prevents the Maillard reaction from occurring properly.
You’ll end up with mushy, pale florets regardless of technique. Fresh heads provide the low-moisture base needed for crispness. If you must use frozen, thaw completely and squeeze out every drop of liquid first.
Even then, expect inferior texture compared to fresh cuts.
How do I know if my air fryer is preheated enough?
Look for slight shimmering heat waves above the basket rim. Most modern units signal readiness via beep or light. However, visual confirmation helps.
If you place a test floret in and it doesn’t sizzle lightly upon contact, wait another minute. Proper preheating ensures immediate searing. Cold starts lead to extended cooking times and increased moisture retention.
Always allow two to three minutes of empty run time before adding food.
Why does my sauce separate after tossing?
Temperature mismatch causes separation. Adding cold butter-based sauce to hot cauliflower melts fats too quickly. The emulsion breaks, leaving oily pools and watery streaks.
Ensure your sauce is warm but not boiling when applied. Toss gently using tongs rather than shaking violently. Vigorous agitation shears the coating off fragile crusts.
Aim for a gentle fold-over motion to distribute flavor evenly without damaging structure.
Is it safe to eat undercooked cauliflower?
Yes, unlike chicken or pork. Cauliflower carries minimal bacterial risk when raw. However, undercooked versions remain tough and bitter.
Digestive discomfort may occur due to high fiber content in dense forms. Visually, ensure interiors are tender enough to pierce easily with a fork. External color matters less than internal texture for safety here.
Focus on achieving palatability rather than strict pathogen elimination thresholds.

Similar Posts