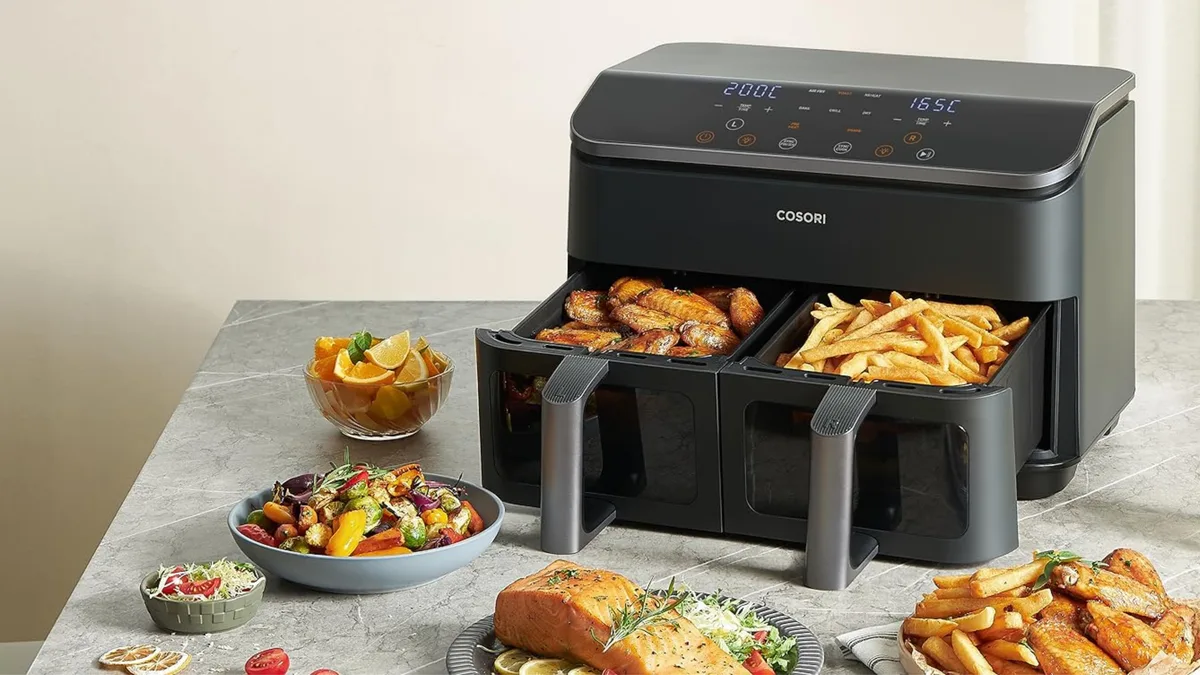
Juicy Air Fryer Burgers: Easy & Crispy Recipe
Most people treat air fryer burger recipes like a set-and-forget task. They punch in the time, walk away, and hope for the best. That’s usually where things go wrong.
The fan moves fast, but it doesn’t know if your patty is thick or thin. It can’t see when the cheese starts to bubble over. You need eyes on the food, not just a timer.
We’ve found that visual cues are far more reliable than minutes alone. A golden-brown crust tells you more about flavor than a digital clock ever could. As of 2026, manufacturers emphasize this shift toward sensory cooking.
Let’s break down exactly what you should be looking for at every stage.
Quick Answer
Air fryer burger recipes work best when you watch for color changes, not just time. Cook patties at 375°F (190°C) for 8, 10 minutes. Flip halfway through.
Add cheese in the last minute. Look for a dark brown crust. Check internal temp hits 160°F (71°C).
Toast buns separately for crispness. Avoid overcrowding the basket. This ensures juicy meat and crunchy bread.
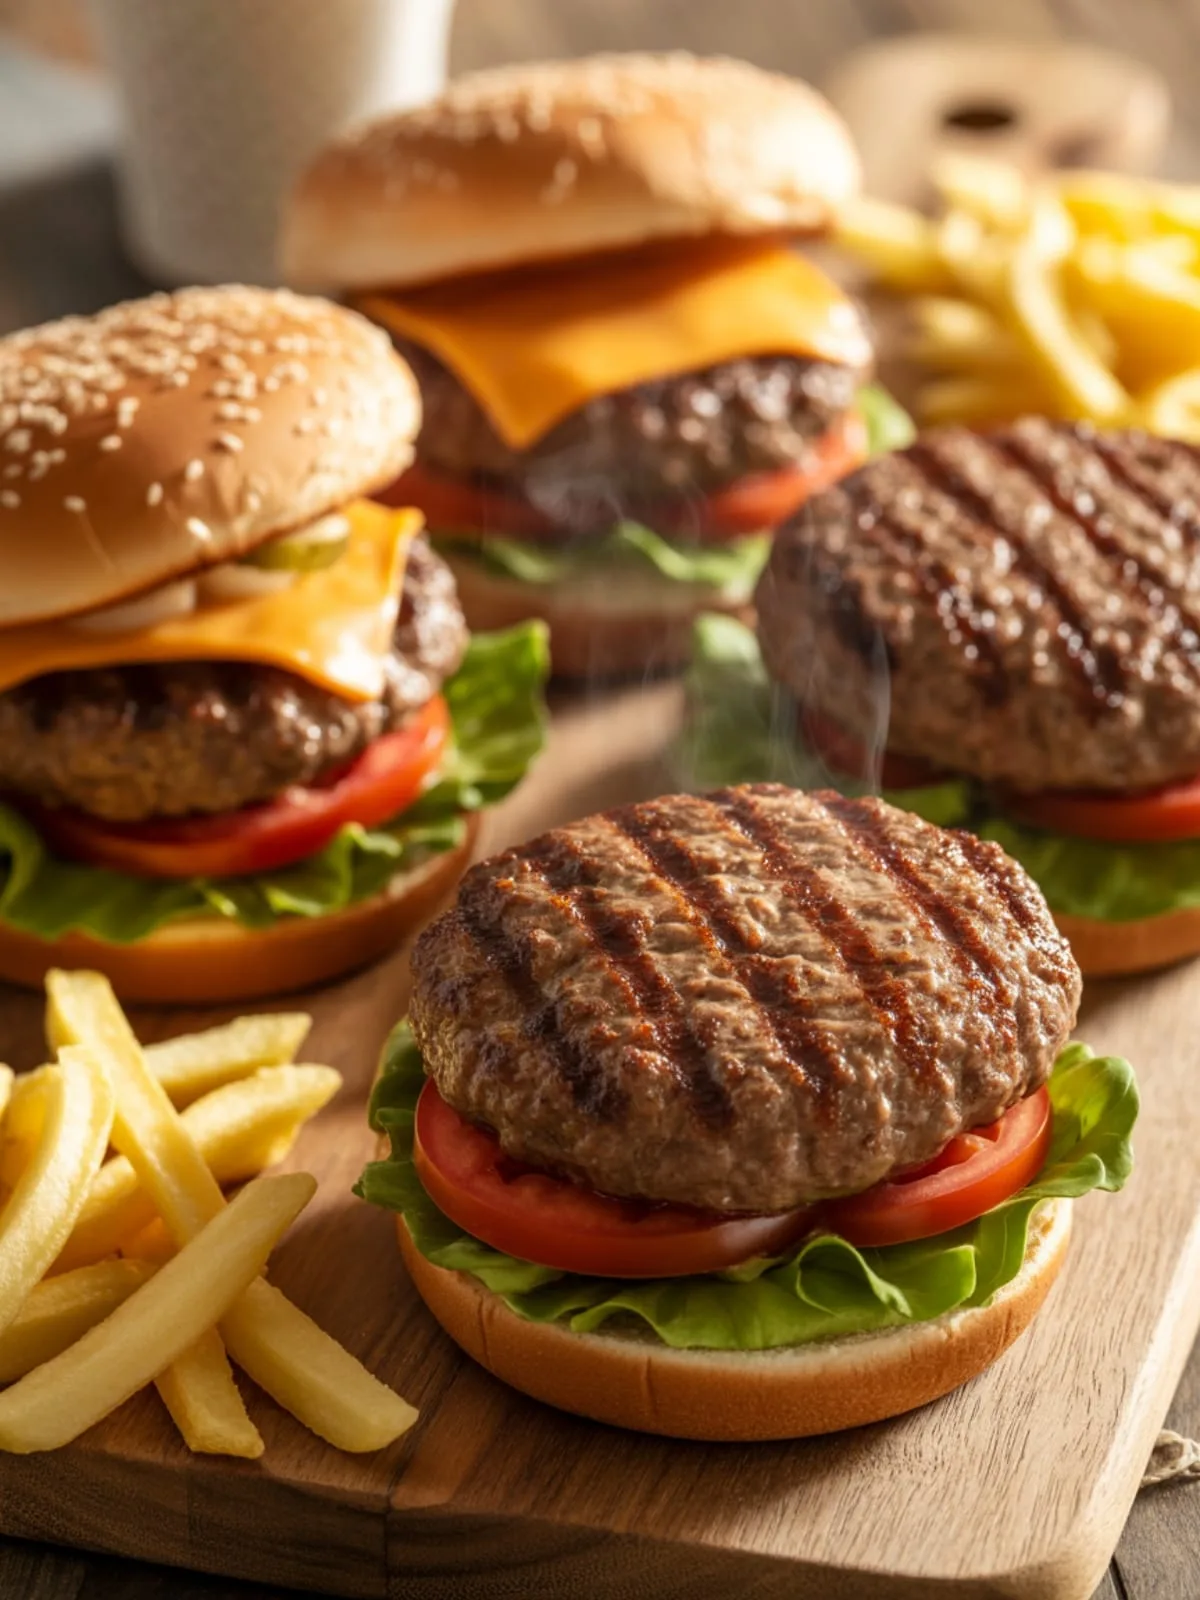
Image source: Web (Bing) / worldkitchentools.com (Web image (fair-use with source credit))
Why Your Eyes Matter More Than the Timer
Timers are blunt instruments. They don’t account for patty density or starting temperature. A frozen patty takes longer than a fresh one.
Even two identical fresh patties can cook differently based on their shape. Relying solely on minutes leads to dry, gray meat. Or worse, burnt exteriors with raw centers.
Your eyes catch these nuances instantly. You can spot the Maillard reaction happening in real-time. This chemical process creates that savory, roasted flavor we all crave.
It requires specific heat levels and surface contact. If you miss the window, you lose the taste. Visual monitoring allows you to adjust on the fly.
Pull the basket out early if browning looks too aggressive. Leave it in longer if the center still feels soft.
This approach reduces waste. Nobody wants to throw away a ruined dinner. Watching the food also helps you learn.
Over time, you’ll recognize the perfect shade of brown for your preferred doneness. You stop guessing and start knowing. It builds confidence in the kitchen.
Plus, it prevents smoke alarms from going off due to excessive grease buildup. See USDA Food Safety for safe internal temperatures.
The Visual Checklist: Spotting Perfect Doneness at Every Stage
Knowing what "done" looks like saves your meal. Here is the breakdown by component.
| Component | Visual Cue for Success | Warning Sign |
|---|---|---|
| Patty Exterior | Deep mahogany brown crust | Pale gray or black char spots |
| Patty Interior | Pinkish-red juice runs clear | Red blood or pink juices remain |
| Cheese | Fully melted, slight bubbling edges | Separated oil pools or hard skin |
| Bun Bottom | Golden toasted ring around edge | Soggy white center or burnt rim |
| Fat Render | Clear liquid in bottom tray | White solidified chunks sticking |
Start with the patty. A proper sear means the proteins have bonded tightly. This locks in moisture.
If the surface stays pale, the heat wasn’t high enough initially. You missed the crust formation phase. Check the juices next.
Press lightly with a spatula. Clear liquid means well-done. Pink means medium-rare.
But never eat ground beef below 160°F unless it’s whole-muscle steak. Ground meat mixes bacteria throughout.
Look closely at the cheese. It should drape over the sides smoothly. If it separates into oily puddles, it was added too early.
High heat breaks down emulsifiers in processed slices. Natural cheeses behave differently. They might clump instead of melt evenly.
Watch the bun toast. It needs structural integrity to hold sauces. A soggy bun collapses under pressure.
A perfectly toasted bun offers resistance. Finally, inspect the grease trap. Excess fat causes smoking.
Wipe it down between batches if necessary. These small details define the final bite quality.
Step-by-Step Air Fryer Burger Workflow with Key Visual Cues
Follow this sequence for consistent results.
- Preheat the basket. Set it to 375°F (190°C). Wait three minutes. The air inside must be hot before meat touches it. Cold baskets steam food instead of frying it.
- Season generously. Salt both sides right before cooking. Pepper adds aroma. Do not mix seasonings into the meat beforehand. This alters protein structure and texture.
- Place single layer only. Never stack patties. Airflow must circulate freely around each one. Crowding creates steam pockets. Steam makes surfaces wet and gray.
- Cook undisturbed for 4 minutes. Resist the urge to flip early. Let the crust form completely. Peek through the window if available. Look for uniform browning on the top side.
- Flip carefully. Use tongs, not a fork. Piercing releases precious juices. Rotate the patty 90 degrees if possible. This evens out hot spots from the heating element.
- Add cheese immediately after flipping. Place slice on top. Close the drawer quickly. Trapping heat melts the cheese faster. Open again after 2, 3 minutes. Check for full melt coverage.
- Toast buns separately. Wrap halves in foil or place on upper rack. Run for 1, 2 minutes max. Monitor closely. Bread burns much faster than meat. Remove once golden brown appears.
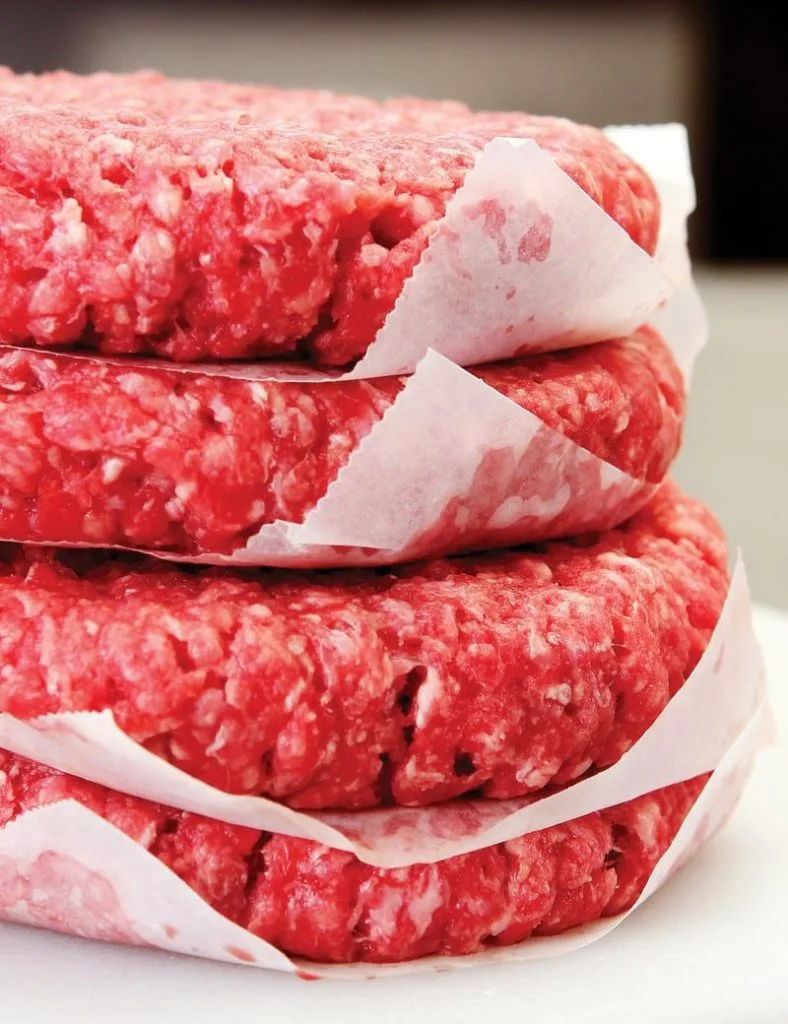
Image source: Web (Bing) / storage.googleapis.com (Web image (fair-use with source credit))
Rest the burgers for five minutes. This lets juices redistribute. Cutting too soon floods the plate with liquid.
Assemble with cold toppings to contrast warmth. Lettuce and tomatoes stay crisp. Sauces adhere better to textured buns.
Enjoy while hot. The texture difference between crispy bun and tender meat peaks now.
Common Visual Mistakes That Ruin Texture and Flavor
Even experienced cooks slip up here. Recognizing errors prevents repeat failures.
Overcrowding is the biggest culprit. Three patties in a four-quart basket often touch. Contact points remain pale and steamed.
You get uneven cooking across a single patty. Always leave space between items. If needed, cook in batches.
Patience pays off in texture.
Ignoring the drip tray leads to smoke. Fat accumulates rapidly. When it hits the heating coil, it vaporizes.
Black smoke fills the kitchen. It stains walls and triggers detectors. Empty the tray halfway through cooking.
Wipe residue with a damp cloth. This keeps airflow clean and odor-free.
Adding cheese too early causes separation. Processed slices contain oils that split under prolonged heat. They turn greasy and rubbery.
Add them only during the final minute. Residual heat finishes the job gently. Natural cheeses may burn if left exposed too long.
Cover loosely with foil if needed.
Flipping multiple times disrupts crust formation. Each flip resets the browning process. Frequent turning yields a pale, boiled appearance.
Stick to one flip per side. Trust the initial sear. Constant movement agitates the meat fibers.
This squeezes out moisture prematurely. Dry burgers result from impatience, not bad ingredients.
Image source: Bing (Web (fair-use with source credit))
Neglecting bun prep ruins the experience. Raw buns absorb juices instantly. They become mushy within seconds of assembly.
Always toast them. Even briefly. This creates a barrier against sogginess.
Dry buns crack when bitten. Wet buns collapse. Find the middle ground.
Light gold color indicates optimal readiness. Dark brown tastes bitter. Adjust time accordingly for future batches.
Pro Tips for Maximizing Browning and Juice Retention
Small tweaks yield big improvements. Try these techniques for restaurant-quality results.
Use an ice cube trick. Press a small ice cube into the center of the patty before cooking. It melts slowly, keeping the core moist.
This counters the drying effect of rapid air circulation. Ensure the ice is fully embedded. Loose cubes fall out and create mess.
This method works best for thicker pub-style burgers. Thin smash burgers don’t need it. Their high surface area cooks fast anyway.
Brush buns with butter. Not margarine. Real butter browns beautifully.
It adds richness and flavor depth. Apply thinly to avoid burning. Too much fat drips onto coils.
Smoke follows. Focus on the cut side. Edges rarely need extra help.
This enhances crunch without overpowering the meat. Combine with garlic powder for aromatic boost.
Pre-sear on stovetop optionally. For extreme crust lovers, pan-sear first. Get a deep char.
Finish in air fryer to cook through. This hybrid method maximizes flavor complexity. Be careful though.
Double cooking risks dryness. Keep air fryer time short. Just enough to reach safe internal temp.
Most home cooks skip this step successfully. Pure air frying achieves great results if timed right.
Monitor ambient humidity. Humid days affect crisping. Moisture in air slows browning.
Increase temperature slightly by 10°F. Compensate for slower evaporation. Dry climates allow lower temps.
Experiment with your local weather patterns. Note adjustments in a journal. Track success rates per condition.
Data drives improvement over guesswork.
Safety Warnings: Handling Hot Baskets and Grease Hazards
Air fryers get dangerously hot, especially the basket handle. Always use silicone mitts or tongs to remove it. The exterior casing can reach temperatures above 140°F (60°C).
Touching bare metal causes immediate burns. Keep children and pets away from the unit during operation.
Grease accumulation is a fire risk. Rendered fat drips into the bottom tray. If too much builds up, it can ignite near the heating element.
Check the drip pan after every two burgers. Pour out excess oil carefully into a heat-safe container. Never dump hot grease down the sink.
It solidifies in pipes and causes clogs.
Internal temperature verification is non-negotiable for ground beef. Visual cues alone aren't enough for safety. Use a calibrated instant-read thermometer.
Insert it into the thickest part of the patty. The USDA mandates a minimum internal temperature of 160°F (71°C). This kills harmful bacteria like E. coli and Salmonella.
Let the appliance cool completely before cleaning. Residual heat lingers for twenty minutes or more. Cleaning a hot unit damages non-stick coatings.
Warped plastic parts may not fit correctly afterward. Unplug the device when not in use. This prevents accidental activation and electrical hazards.
Regular maintenance extends the lifespan significantly. Inspect power cords for fraying monthly. Replace damaged units immediately to avoid shock risks.
Frequently Asked Questions
Can I cook frozen patties in an air fryer?
Yes, but adjust your timing and expectations. Frozen burgers take longer, typically 12, 15 minutes at 375°F (190°C). You won’t get the same crust as fresh meat.
The surface steams initially while thawing. Flip halfway through cooking. Add cheese only in the final minute.
Expect a softer texture overall. Fresh patties always yield superior browning and flavor.
Why did my burger smoke heavily?
Excess fat hitting the heating element causes smoke. This happens if the drip tray is full. Or if you used very high-fat ground beef (like 70/30).
Clean the tray between batches. Consider using leaner meat (85/15 or 90/10). Place a slice of bread under the patty.
It absorbs some grease and reduces splatter. Ensure your air fryer has adequate ventilation space around it.
How do I keep buns from getting soggy?
Toast them separately right before assembly. Do not place cold buns under hot patties. Steam rises and softens bread instantly.
Wrap bun halves in foil for even heating. Or place them on the top rack if available. Toast for just 1, 2 minutes until golden.
Apply condiments to the bottom bun first. This creates a moisture barrier against meat juices. Assemble quickly to maintain crispness.
What’s the best size patty for air frying?
Quarter-pound (4 oz) patties work optimally. They fit well in standard baskets without crowding. Thinner smash burgers dry out too fast.
Thicker half-pound patties may remain raw inside. Stick to uniform thickness for even cooking. About ¾-inch thick is ideal.
Press a dimple in the center. This prevents bulging during cooking. Consistent sizing ensures predictable visual doneness cues.

Similar Posts