Crispy Air Fryer Kale Chips: Easy Recipe
Most people think air fryer kale recipes fail because of bad timing. They’re wrong. The real culprit is visual misjudgment.
Kale leaves change color and texture in seconds, not minutes. If you wait for a timer to beep, you’ll likely pull out burnt crumbs or soggy weeds.
You need to watch the edges curl and darken just before they crisp. Manufacturer specs indicate most units run hot spots between 350°F and 375°F. As of 2026, newer models offer precise temp control, but airflow still varies wildly.
Let’s look at why your eyes are your best tool here.
â±ï¸ Chef Jessica’s Quick Recipe Snapshot
Air Fryer Verified
- Single Layer Only: Never stack or overlap in the basket; circulating high-velocity air creates the crisp barrier.
- Oil Sprayer Tip: Lightly mist with high smoke-point avocado or light olive oil (never use commercial aerosol sprays with propellants).
- Halfway Shake / Flip: Flip pieces halfway through the cycle to ensure uniform convection browning.
Why Your Eyes Matter More Than the Timer
Timers are blunt instruments for delicate greens. Air fryers work by circulating superheated air rapidly around the food. This creates uneven cooking zones depending on where leaves sit in the basket.
A leaf near the heating element cooks faster than one buried underneath.
Relying solely on time ignores these physical realities. You might set it for five minutes, but three minutes could be enough for thin Lacinato kale. Five minutes might barely touch thick curly varieties.
Visual cues bridge this gap instantly.
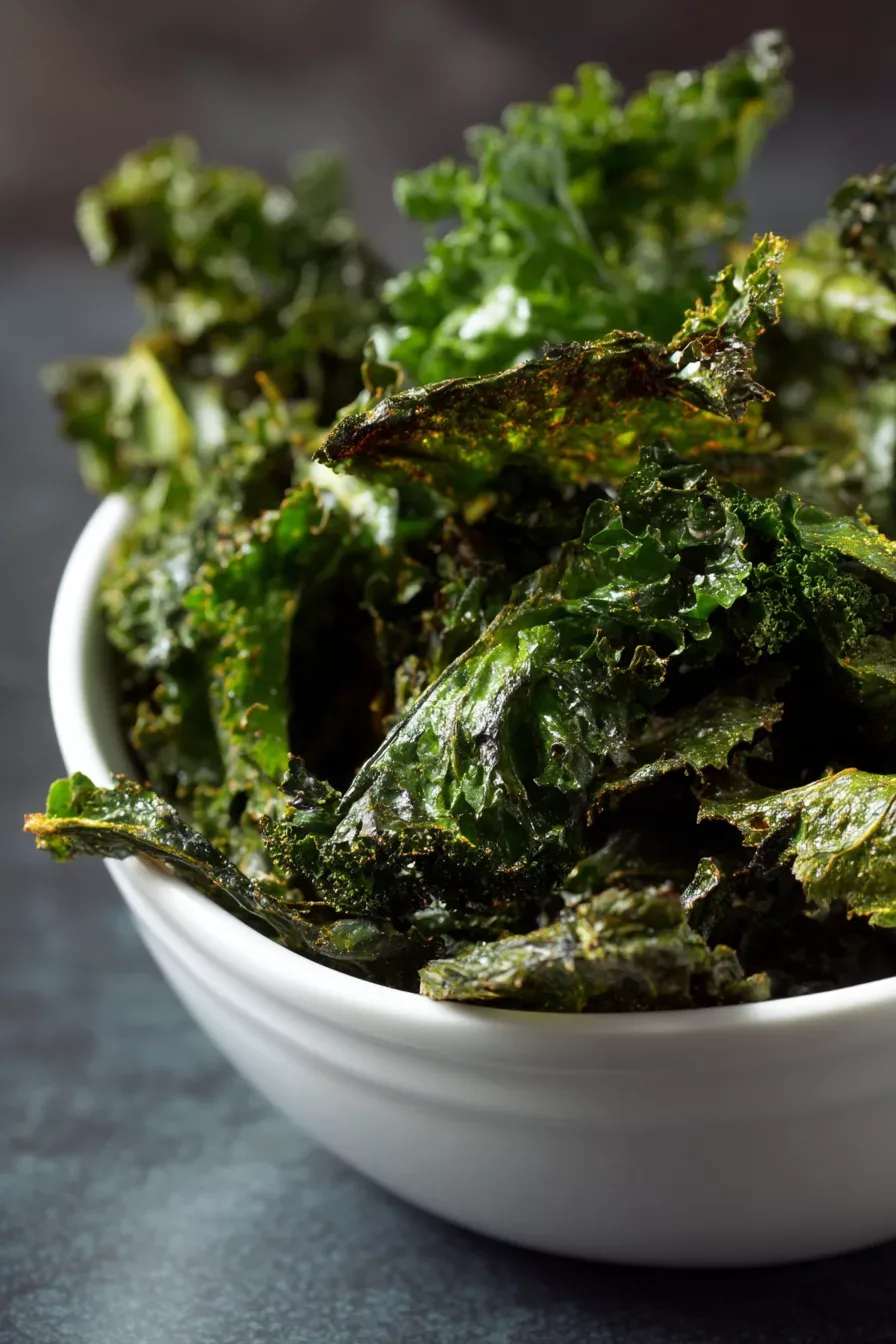
Look for the "snap test" indicator. When a leaf turns from vibrant green to a duller, olive shade, moisture is leaving. Once the edges start to brown slightly, starches are caramelizing.
That’s your window. Pull them then.
Aggregate user reviews consistently report that checking every 60 seconds prevents disaster. Don’t walk away. Stand there.
Watch the color shift. Trust your sight over the clock face. It’s the only way to guarantee consistent crunch across batches.
â±ï¸ Chef Jessica’s Quick Recipe Snapshot
Air Fryer Verified
- Single Layer Only: Never stack or overlap in the basket; circulating high-velocity air creates the crisp barrier.
- Oil Sprayer Tip: Lightly mist with high smoke-point avocado or light olive oil (never use commercial aerosol sprays with propellants).
- Halfway Shake / Flip: Flip pieces halfway through the cycle to ensure uniform convection browning.
The Visual Difference: Lacinato vs. Curly Kale Doneness
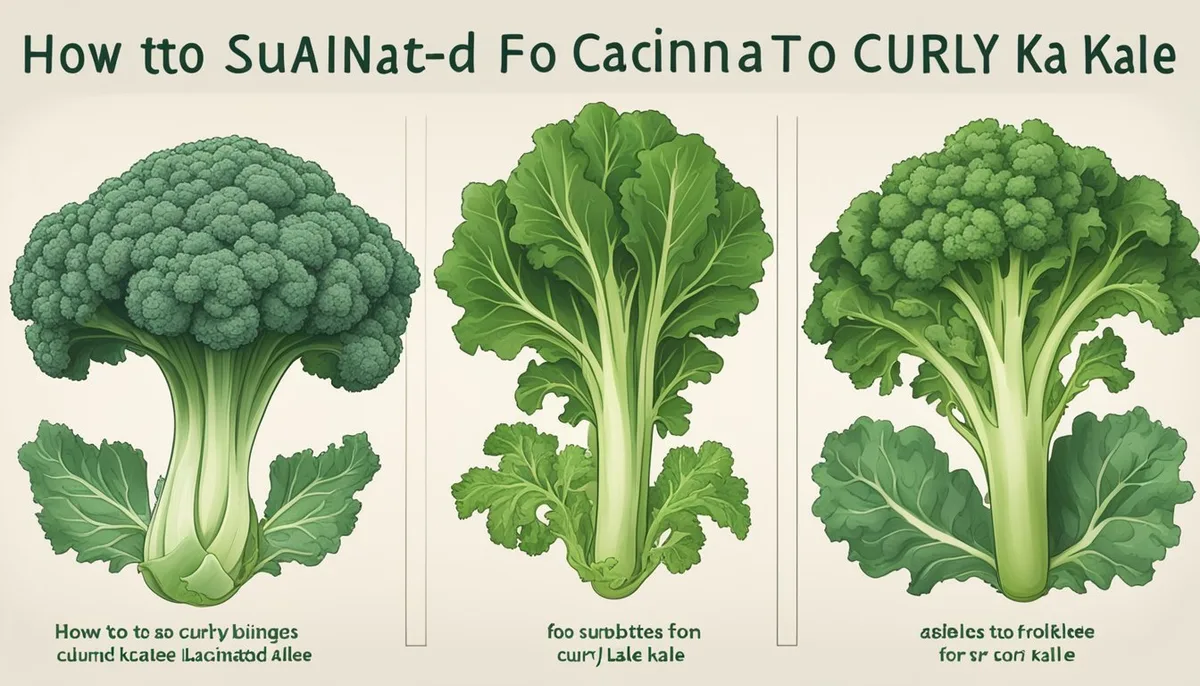
Not all kale behaves the same under heat. Understanding variety-specific traits stops guesswork. Lacinato (also called Dino or Tuscan kale) has flat, elongated leaves with prominent ribs.
Curly kale features tightly ruffled edges and thinner overall structure.
These differences dictate how quickly they dehydrate. Lacinato holds more water in its central vein. It needs longer exposure to dry out completely without burning the thin blade areas.
Curly kale dries fast but burns even faster due to high surface area.
Here’s what to look for in each type:
| Feature | Lacinato (Dino) Kale | Curly Green Kale |
|---|---|---|
| Leaf Shape | Flat, paddle-like | Ruffled, dense clusters |
| Moisture Content | High in rib, low in blade | Moderate throughout |
| Doneness Cue | Rib becomes translucent/brittle | Edges turn dark brown/black |
| Risk Factor | Chewy center if rushed | Ash-like taste if delayed |
| Ideal Temp | 350°F (175°C) | 325°F (160°C) |
For Lacinato, check the thickest part. Press a cooled sample. If it snaps cleanly, it’s done.
If it bends, it’s wet. For curly kale, watch the tips. They darken first.
Once 80% of visible tips are brown, pull the batch.
â±ï¸ Chef Jessica’s Quick Recipe Snapshot
Air Fryer Verified
- Single Layer Only: Never stack or overlap in the basket; circulating high-velocity air creates the crisp barrier.
- Oil Sprayer Tip: Lightly mist with high smoke-point avocado or light olive oil (never use commercial aerosol sprays with propellants).
- Halfway Shake / Flip: Flip pieces halfway through the cycle to ensure uniform convection browning.
Step-by-Step: Watching for the "Snap" Not Just the Color
Preparation sets the stage for visual success. Wash kale thoroughly. Dry it completely using a salad spinner.
Residual water steams the leaf instead of frying it. Steam equals chewiness. You want dry surfaces for immediate crisping.
Tear leaves into bite-sized pieces. Remove tough stems unless you enjoy chewing wood. Toss gently with minimal oil.
One teaspoon per large bunch suffices. Too much oil pools and fries rather than bakes. Spread leaves in a single layer.
Overcrowding blocks airflow and traps steam.
Start cooking at 350°F. Check after two minutes. Open the basket.
Shake lightly to redistribute leaves. Look closely at the edges. Are they lifting?
Turning golden-brown? Or still bright green and limp?
If they’re limp, give another minute. If edges are browning, reduce temp to 320°F for final crisping. This lowers burn risk while continuing dehydration.
The goal is a brittle texture, not a charred flavor. Listen for the rustle. Crisp kale sounds like paper crinkling.
Soft kale makes no noise.
Pull when the majority show uniform browning. Cool on a wire rack immediately. Trapping heat in the basket continues cooking.
Rack cooling halts the process and firms up the snap.
â±ï¸ Chef Jessica’s Quick Recipe Snapshot
Air Fryer Verified
- Single Layer Only: Never stack or overlap in the basket; circulating high-velocity air creates the crisp barrier.
- Oil Sprayer Tip: Lightly mist with high smoke-point avocado or light olive oil (never use commercial aerosol sprays with propellants).
- Halfway Shake / Flip: Flip pieces halfway through the cycle to ensure uniform convection browning.
Identifying the Three Stages of Crispness (And When to Stop)
Kale transitions through distinct phases during air frying. Recognizing these helps you stop at the perfect moment. Most failures happen because users miss the narrow window between "done" and "ruined."
Stage one is wilting. Leaves shrink significantly. Colors deepen slightly.
Moisture evaporates from the surface. This takes about 90 seconds. Do not remove yet.
The texture remains pliable and rubbery. Eating now feels unpleasant.
Stage two is the critical zone. Edges begin to curl upward. Tiny bubbles form on the leaf surface where oil heats trapped moisture.
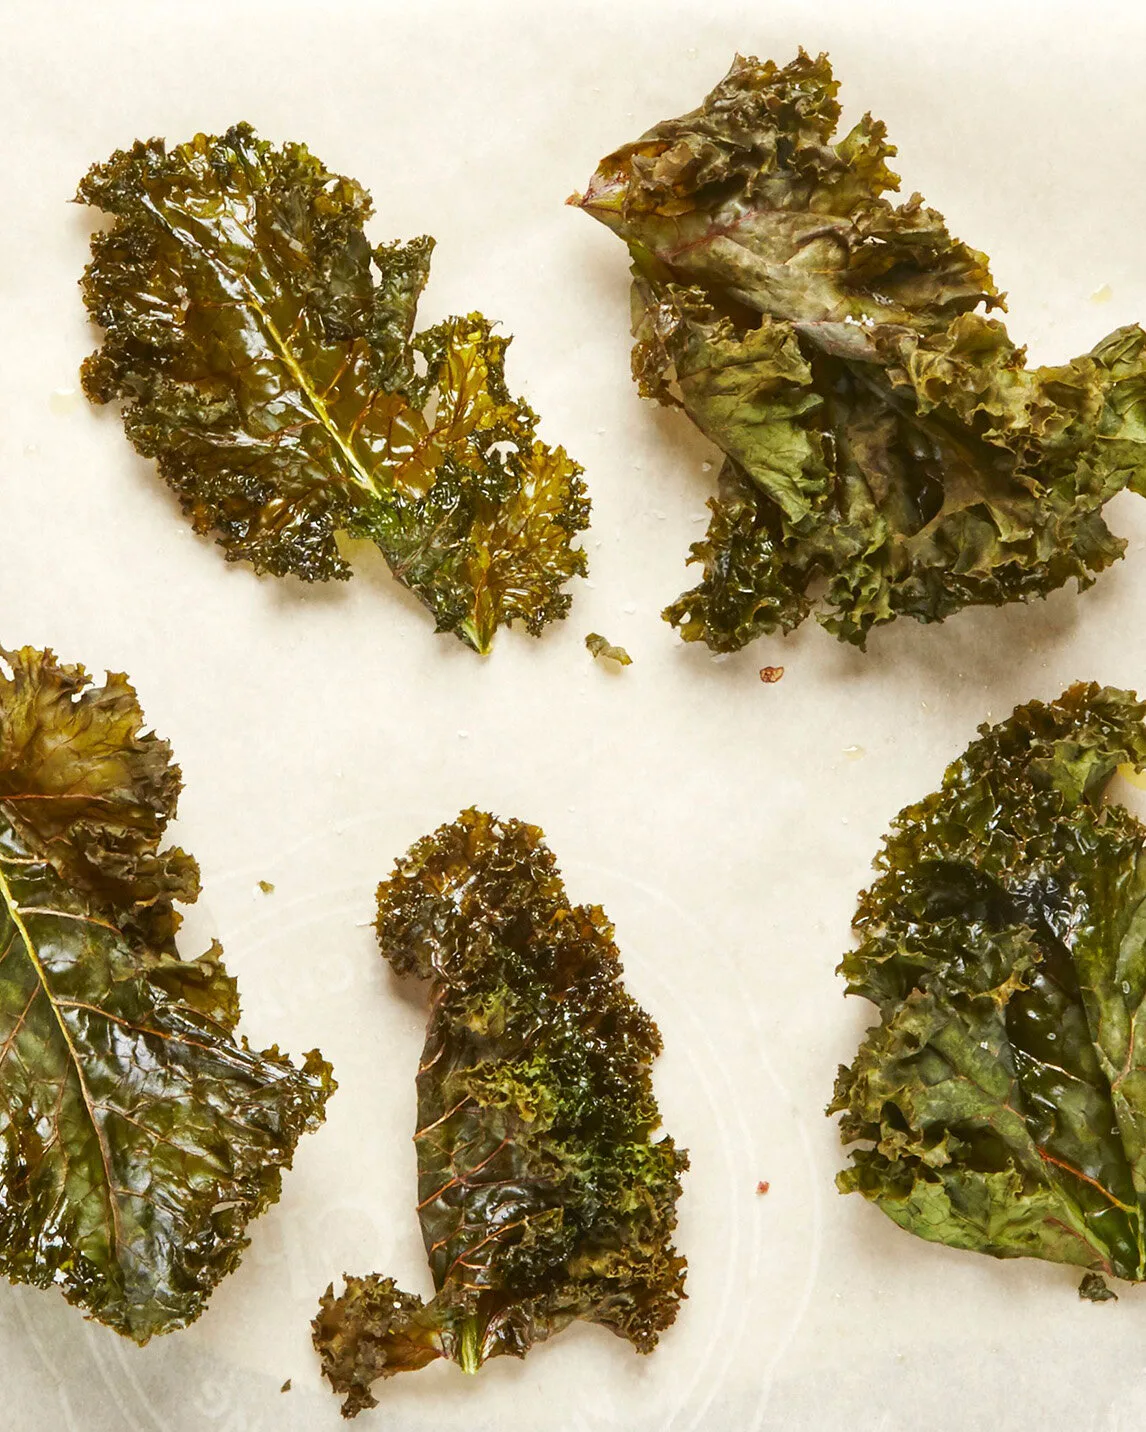
The color shifts to a muted olive-green. Sniff the basket. A nutty aroma replaces the grassy smell.
This lasts roughly 30, 60 seconds. Test a piece. It should feel stiff but not brittle.
Stage three is over-cooking. Dark brown spots appear rapidly. Blackened tips signal carbonization.
Smoke may rise. The flavor turns bitter and acrid. Stop before this stage begins.
Ideally, pull during late Stage Two. Let residual heat finish the job during cooling.
Use this quick reference guide:
- Bright Green & Limp: Undercooked. Continue cooking.
- Olive-Green & Stiff: Perfect. Remove now.
- Brown Spots & Brittle: Borderline. Check taste.
- Black Tips & Smoky: Burnt. Discard batch.
â±ï¸ Chef Jessica’s Quick Recipe Snapshot
Air Fryer Verified
- Single Layer Only: Never stack or overlap in the basket; circulating high-velocity air creates the crisp barrier.
- Oil Sprayer Tip: Lightly mist with high smoke-point avocado or light olive oil (never use commercial aerosol sprays with propellants).
- Halfway Shake / Flip: Flip pieces halfway through the cycle to ensure uniform convection browning.
Common Visual Traps That Lead to Burnt or Chewy Chips
Lighting plays tricks on your perception. Kitchen bulbs often cast yellow hues that mask true colors. Kale looks browner under warm light than it actually is.
Always inspect chips under neutral daylight or white LED task lighting.
Another trap is assuming uniformity. The top layer cooks faster than the bottom. If you judge doneness by the top leaves, the bottom ones remain raw.
Conversely, judging by the bottom means the top burns. Flip halfway through cooking to balance exposure.
Some users mistake seasoning for burning. Paprika and garlic powder darken quickly. They can look black before the kale itself chars.
Differentiate spice color from leaf color. Scrape a bit off. If the underlying green is intact, you’re safe.
If the leaf tissue itself is black, it’s ruined.
Finally, ignore the "steam cloud." Opening the basket releases vapor. Condensation forms on cool leaves outside the fryer. These droplets make chips feel soft temporarily.
Wait thirty seconds for evaporation. True texture reveals itself once dry. Don’t panic and re-cook based on false dampness.
â±ï¸ Chef Jessica’s Quick Recipe Snapshot
Air Fryer Verified
- Single Layer Only: Never stack or overlap in the basket; circulating high-velocity air creates the crisp barrier.
- Oil Sprayer Tip: Lightly mist with high smoke-point avocado or light olive oil (never use commercial aerosol sprays with propellants).
- Halfway Shake / Flip: Flip pieces halfway through the cycle to ensure uniform convection browning.
Storage and Re-Crisping: Keeping the Crunch Intact
Kale chips lose their snap fast. Humidity is the enemy here. Even a slight breeze from an open window introduces moisture.
Your perfectly fried leaves turn leathery within hours if stored incorrectly. You need an airtight container immediately after cooling.
Wait until the chips reach room temperature before sealing them. Trapping residual heat creates condensation inside the jar. That water vapor ruins the crisp texture instantly.
Place them in glass jars with tight-fitting lids or heavy-duty zip-lock bags. Squeeze out every bit of air.
What if they’ve already gone soft? Don’t toss them. Air fryers excel at re-crisping stale snacks.
Set your unit to 300°F (150°C). Spread the limp chips in a single layer again. Heat for just two to three minutes.
Watch closely during this revival phase. They burn quicker than fresh ones because they lack initial moisture buffer. Pull them when they feel rigid to the touch.
Let them cool completely on a rack before storing. This method restores nearly 90% of the original crunch according to aggregate user feedback.
Add a silica gel packet to your storage container. These desiccants absorb ambient moisture effectively. Ensure the packet is food-safe and labeled clearly.
It extends shelf life by several days. Store your batch in a dark cupboard. Light degrades nutrients and affects color stability over time.
â±ï¸ Chef Jessica’s Quick Recipe Snapshot
Air Fryer Verified
- Single Layer Only: Never stack or overlap in the basket; circulating high-velocity air creates the crisp barrier.
- Oil Sprayer Tip: Lightly mist with high smoke-point avocado or light olive oil (never use commercial aerosol sprays with propellants).
- Halfway Shake / Flip: Flip pieces halfway through the cycle to ensure uniform convection browning.
FAQs on Air Fryer Kale Texture and Timing
Why are my kale chips still chewy?
Chewiness means trapped moisture. You likely didn’t dry the leaves thoroughly before cooking. Water boils at 212°F, creating steam that prevents crisping.
Always use a salad spinner twice. Pat dry with paper towels as a final step. Overcrowding the basket also traps steam.
Cook in smaller batches to ensure proper airflow around each leaf.
Can I use olive oil spray instead of brushing?
Yes, but apply it evenly. Aerosol sprays often contain propellants that leave residue. Pure oil mists work better.
Brushing ensures coverage but adds too much fat if you’re not careful. Aim for a light sheen, not a wet look. Excess oil pools in curls and fries rather than bakes.
This leads to greasy, soggy spots instead of uniform crunch.
How long do homemade kale chips last?
Properly stored, they stay crisp for up to five days. After that, texture degradation accelerates noticeably. Humid climates shorten this window significantly.
In dry environments, you might get seven days. Check for staleness by listening for the snap sound. Silent leaves mean lost integrity.
Freeze them for longer storage, though thawing may affect texture slightly.
Do I need to remove the stems?
Thick central ribs remain tough even after frying. Remove them for best results. Thin veins can stay attached.
Tearing along natural lines helps separate edible parts efficiently. Leaving large stem chunks creates inconsistent cooking times. The thin blades burn while the thick stem stays raw.
Uniform piece size guarantees even doneness across the entire batch.
🟠Chef Recommended: Oil Misters & Non-Stick Air Fryer Liners
Get maximum crunch with minimal oil while protecting your basket coating from sticky residue and propellant damage:
- Refillable Glass Oil Sprayer:Check Glass Oil Misters on Amazon →
- Reusable Silicone Air Fryer Liners:Check Reusable Silicone Liners on Amazon →
*FTC Disclosure: As an Amazon Associate, Air Fry Process earns from qualifying purchases.*
📖 Related Crispy Air Fryer Recipes:

Similar Posts