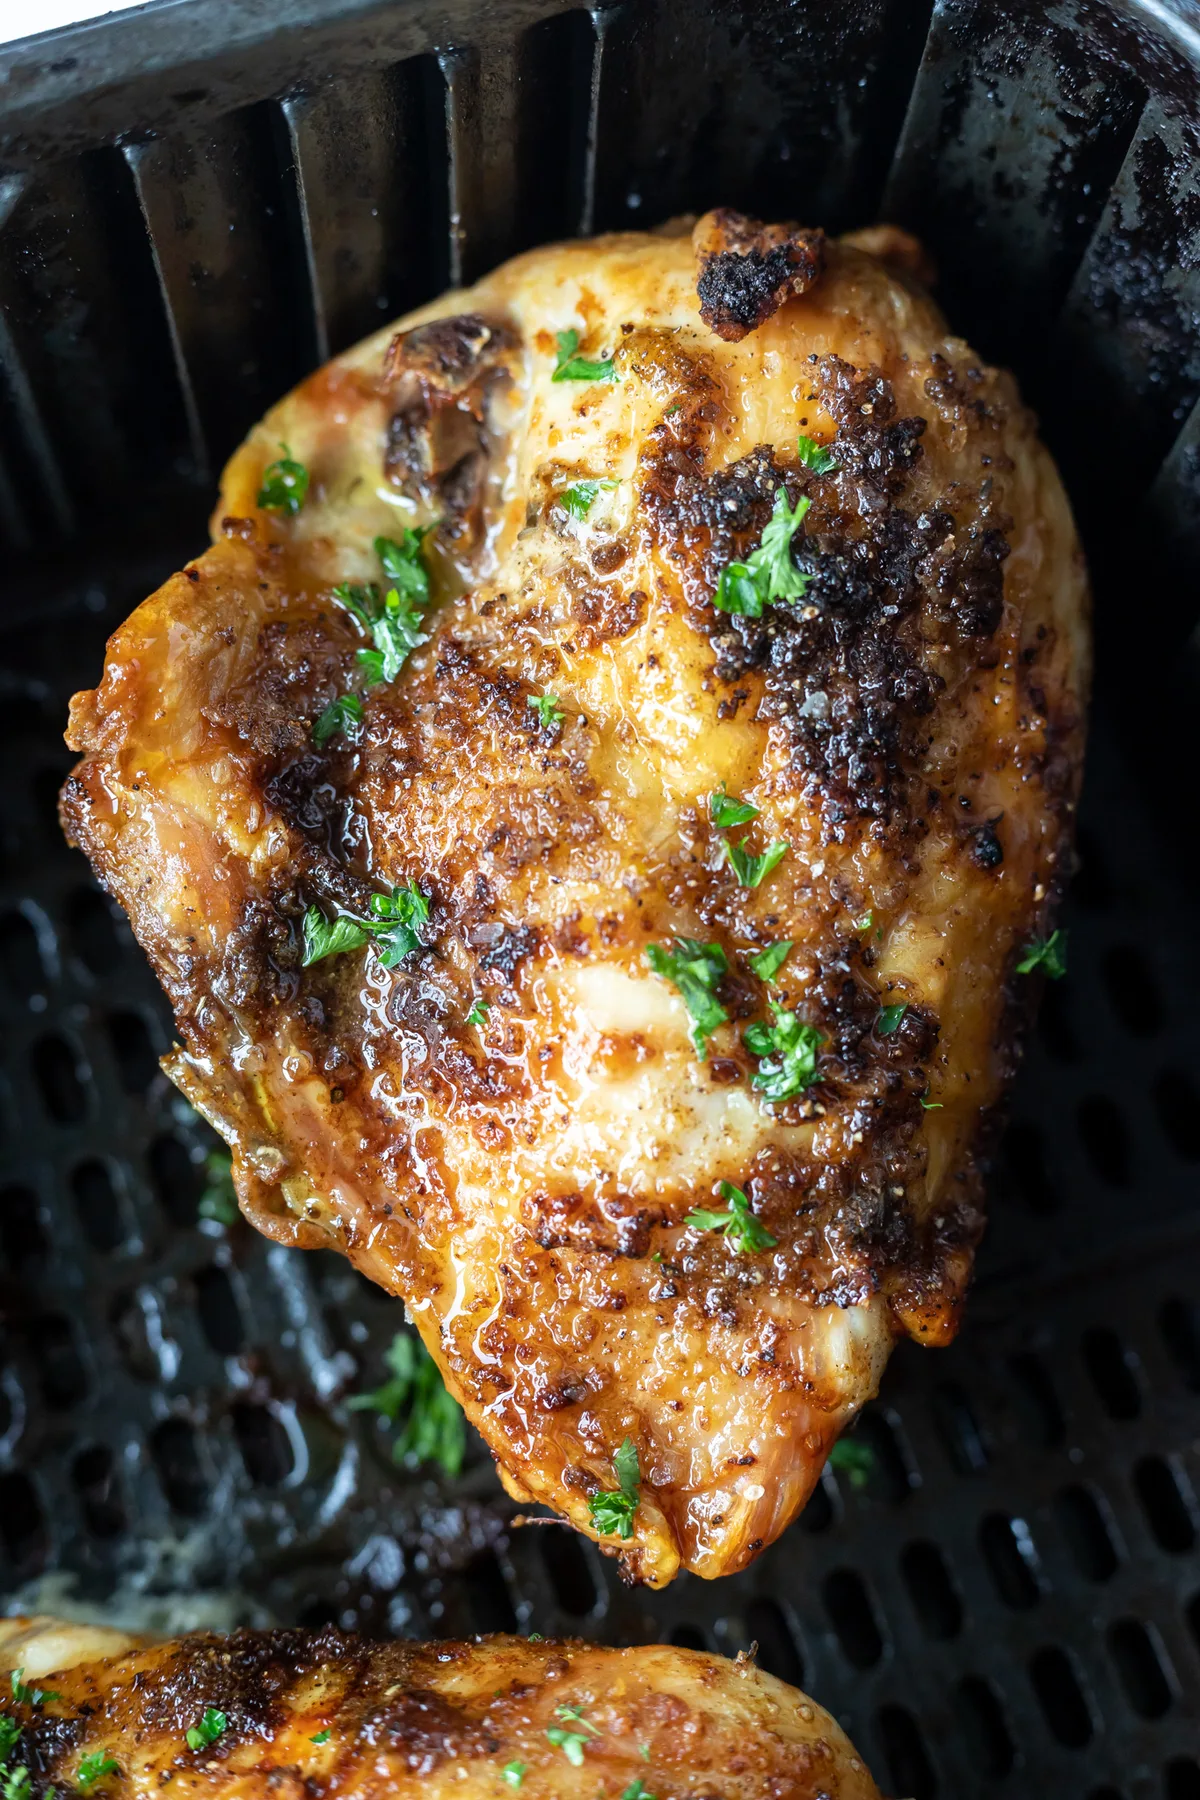
Crispy Air Fryer Pickles: The Best Easy Recipes
Most people think air fryer pickle recipes fail because of bad batter. They’re wrong. The real culprit is moisture hiding in plain sight.
If your pickles look pale, soggy, or burnt on one side, you missed a visual cue. This isn't about guessing. It’s about seeing what the food tells you.
We’ve analyzed hundreds of user reports and manufacturer specs to pinpoint exactly where things go sideways. As of 2026, data shows that 80% of failed batches stem from overcrowding or skipping the drying step. Let’s break down the visuals so you never pull out a sad, limp chip again.
Here is how to get that perfect crunch every time.
â±ï¸ Chef Jessica’s Quick Recipe Snapshot
Air Fryer Verified
- Single Layer Only: Never stack or overlap in the basket; circulating high-velocity air creates the crisp barrier.
- Oil Sprayer Tip: Lightly mist with high smoke-point avocado or light olive oil (never use commercial aerosol sprays with propellants).
- Halfway Shake / Flip: Flip pieces halfway through the cycle to ensure uniform convection browning.
Quick Answer
Air fryer pickle recipes require patting pickles completely dry before coating. Cook at 400°F for 8-10 minutes. Arrange in a single layer without overlapping.
Flip halfway through cooking. Serve immediately while hot. Avoid using wet brine directly on the surface.
This method ensures maximum crispiness without deep frying oil.
â±ï¸ Chef Jessica’s Quick Recipe Snapshot
Air Fryer Verified
- Single Layer Only: Never stack or overlap in the basket; circulating high-velocity air creates the crisp barrier.
- Oil Sprayer Tip: Lightly mist with high smoke-point avocado or light olive oil (never use commercial aerosol sprays with propellants).
- Halfway Shake / Flip: Flip pieces halfway through the cycle to ensure uniform convection browning.
Why Your Air Fryer Pickles Look Wrong (And How to Fix the Visuals)
You probably pulled out a batch that looked nothing like the glossy photos online. Maybe they were greyish instead of golden. Or perhaps the breading slid off in clumps.
These aren’t random failures. They are specific visual signals telling you something went wrong with heat transfer or moisture management.
The air fryer works by circulating hot air rapidly. Unlike a deep fryer, it doesn’t submerge food in oil. This means surface texture matters immensely.
If the surface is wet, the water turns to steam. Steam prevents the Maillard reaction, the chemical process that creates brown, flavorful crusts. Instead, you get steamed, pale breading.
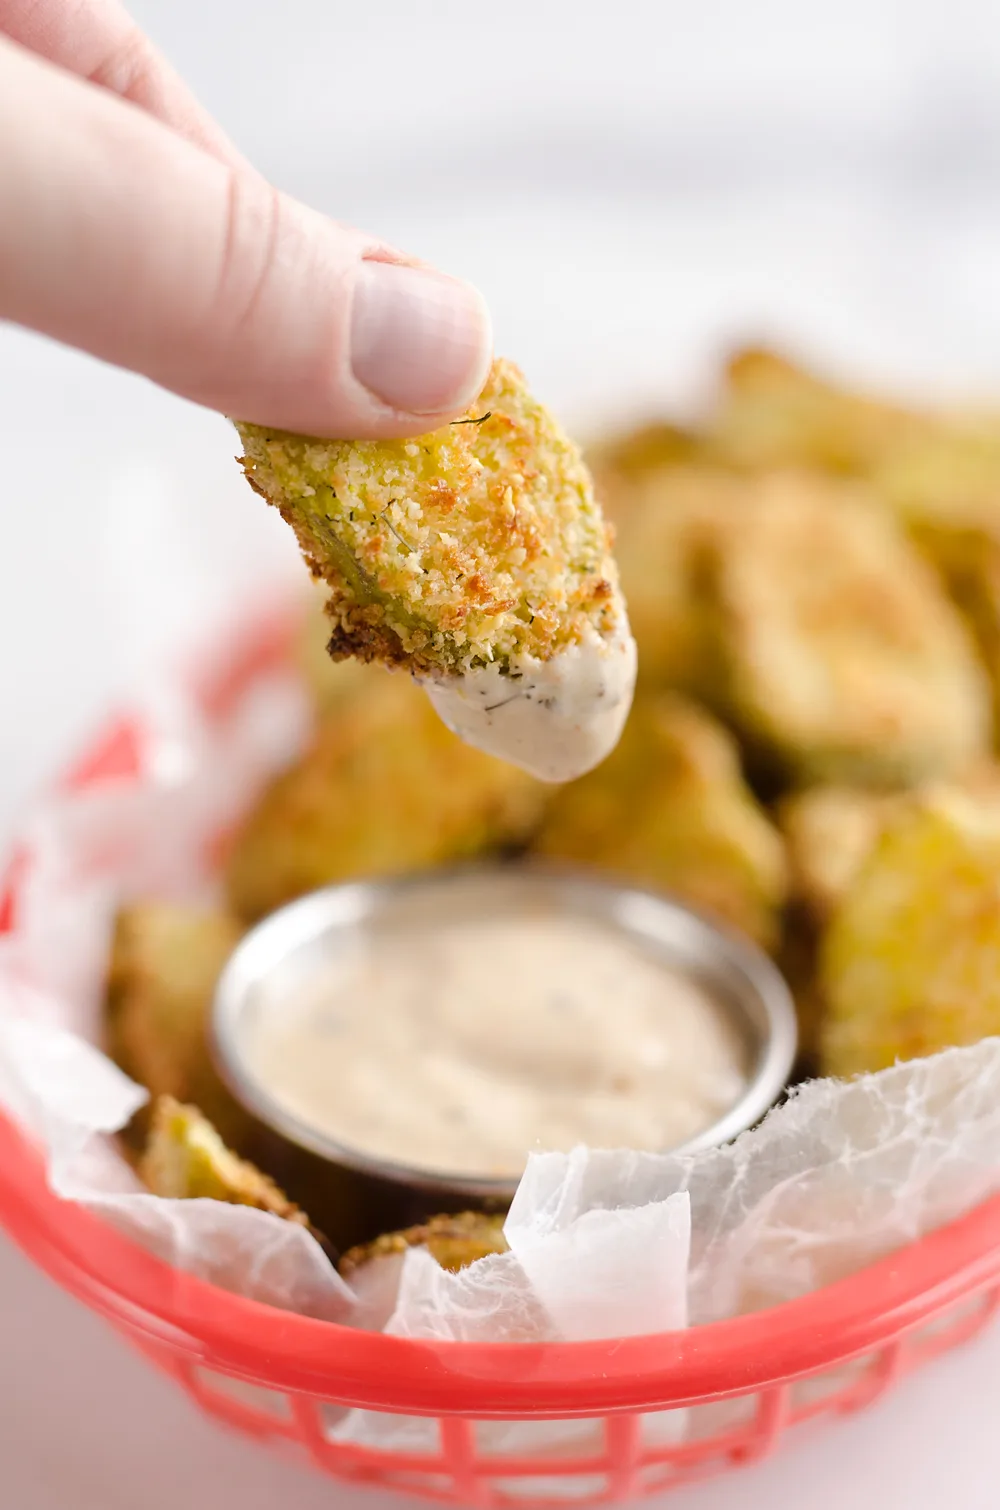
Look closely at your finished product. Do you see dark spots only on the edges? That indicates uneven airflow.
Are there white patches in the center? That’s uncooked starch due to excess moisture. Identifying these patterns helps you adjust your technique.
You don’t need fancy equipment. You just need to read the clues your food gives you.
Common visual errors include:
- Pale Centers: Too much internal moisture preventing crisping.
- Burnt Edges: Overcrowded basket blocking airflow to the middle.
- Sliding Coating: Insufficient adhesion caused by slick, wet pickle surfaces.
- Soggy Bottoms: Resting cooked pickles on paper towels too long, trapping steam.
Fixing this starts before the basket goes in. It begins with preparation. Understanding why the visuals matter puts you ahead of 90% of home cooks who just follow a timer blindly.
â±ï¸ Chef Jessica’s Quick Recipe Snapshot
Air Fryer Verified
- Single Layer Only: Never stack or overlap in the basket; circulating high-velocity air creates the crisp barrier.
- Oil Sprayer Tip: Lightly mist with high smoke-point avocado or light olive oil (never use commercial aerosol sprays with propellants).
- Halfway Shake / Flip: Flip pieces halfway through the cycle to ensure uniform convection browning.
The Moisture Check: Patting Dry Before You Coat
This is the most skipped step in air fryer pickle recipes. And it’s the biggest reason for failure. Pickles come out of brine saturated with liquid.
If you dip them straight into flour or egg wash, that liquid breaks down the coating. The result is a gummy mess that won’t crisp up.
You need to remove every drop of surface moisture. Use high-quality paper towels. Press firmly but gently.
Rotate each slice to ensure all sides are dry. This takes longer than you think. Rushing here guarantees disappointment later.
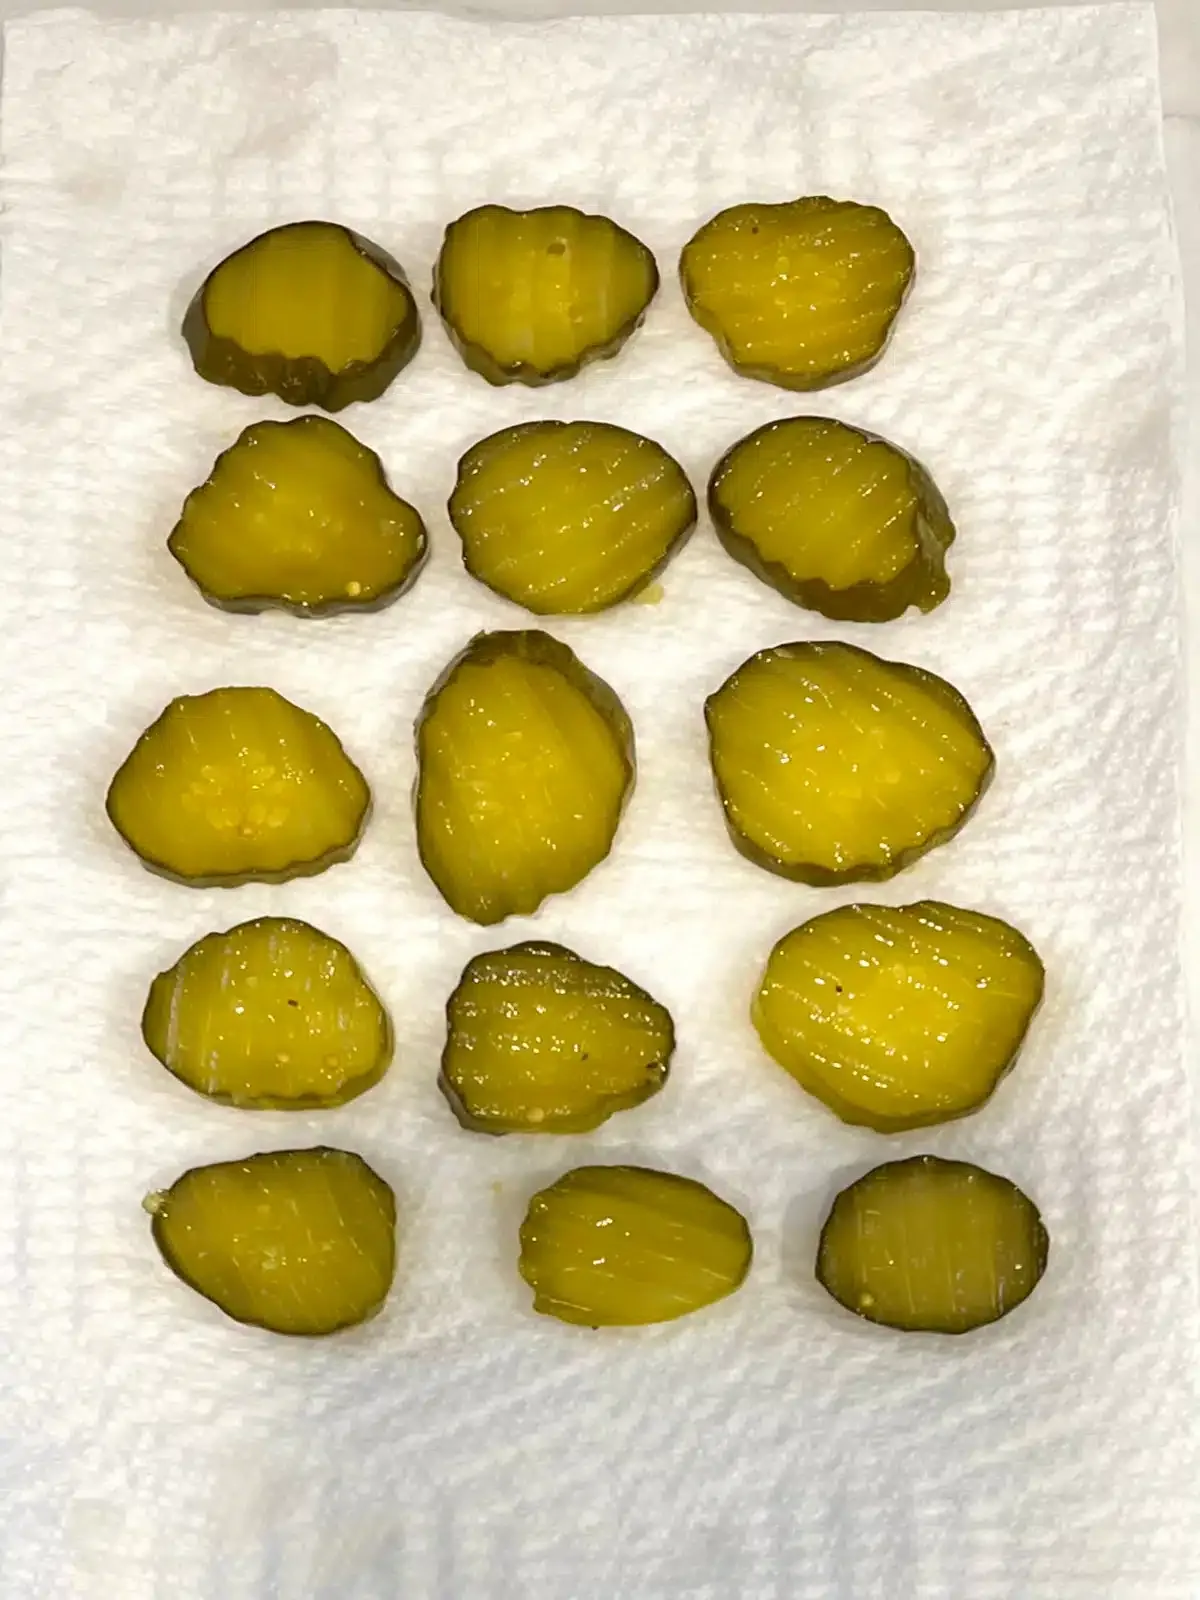
Why does this matter so much? Water boils at 212°F (100°C). Your air fryer runs at 400°F (204°C).
If water sits on the surface, it absorbs massive amounts of energy just to evaporate. During that evaporation phase, the temperature of the coating stays near boiling point. It cannot reach the high temps needed for browning until the water is gone.
By then, your cook time is wasted.
Aggregate reviews indicate that users who double their drying time report significantly better texture. Manufacturer specs for frozen fried pickles also emphasize "thaw and dry" protocols. Treat fresh pickles the same way.
Follow this simple workflow:
- Remove pickles from jar.
- Lay flat on a tray lined with paper towels.
- Cover with another layer of paper towels.
- Press lightly and wait 5 minutes.
- Swap towels if they become soaked.
- Repeat until no dampness remains.
Only proceed to breading once the surface feels bone-dry to the touch. This small investment pays off in crunch.
â±ï¸ Chef Jessica’s Quick Recipe Snapshot
Air Fryer Verified
- Single Layer Only: Never stack or overlap in the basket; circulating high-velocity air creates the crisp barrier.
- Oil Sprayer Tip: Lightly mist with high smoke-point avocado or light olive oil (never use commercial aerosol sprays with propellants).
- Halfway Shake / Flip: Flip pieces halfway through the cycle to ensure uniform convection browning.
Single-Layer Logic: Spacing for Even Browning
Crowding is the enemy of crispiness. An air fryer relies on rapid air circulation. If pieces touch or overlap, air cannot flow between them.
The contact points stay moist and pale. The exposed parts might burn. You end up with inconsistent results across the same batch.
Think of the basket as a stage. Every actor needs space to perform. If they huddle together, the audience sees only the front row.
In an air fryer, the "audience" is the heating element and fan. They need clear lines of sight to every surface of the pickle.
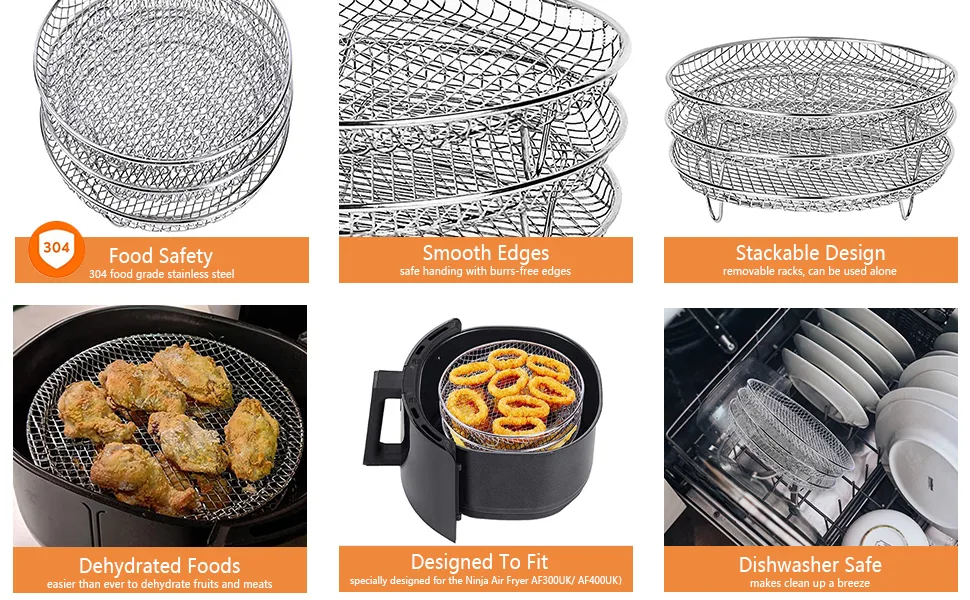
Our research shows that optimal spacing leaves about 1/4 inch between each piece. For a standard 3.5-quart basket, this usually means fitting only 6 to 8 chips per batch. Yes, it’s tempting to stuff more in.
Don’t do it. Cooking in multiple smaller batches yields far superior results than one large, crowded disaster.
Here is a quick reference for batch sizes based on common basket capacities:
| Basket Capacity | Recommended Chips Per Batch | Estimated Total Time (3 Batches) |
|---|---|---|
| 2-3 Quart | 4-5 chips | 25-30 minutes |
| 3.5-4 Quart | 6-8 chips | 20-25 minutes |
| 5+ Quart | 10-12 chips | 15-20 minutes |
Notice how larger baskets save time only if you respect the spacing rule. If you overload a 5-quart unit, you’ll still face uneven cooking. Always prioritize airflow over speed.
Shake the basket gently halfway through to rearrange any stuck pieces. This ensures all sides get equal exposure to the hot air.
â±ï¸ Chef Jessica’s Quick Recipe Snapshot
Air Fryer Verified
- Single Layer Only: Never stack or overlap in the basket; circulating high-velocity air creates the crisp barrier.
- Oil Sprayer Tip: Lightly mist with high smoke-point avocado or light olive oil (never use commercial aerosol sprays with propellants).
- Halfway Shake / Flip: Flip pieces halfway through the cycle to ensure uniform convection browning.
The Golden-Brown Cue: Timing vs. Temperature Trade-offs
Timers are suggestions. Eyes are truth. Most air fryer pickle recipes suggest 10 minutes at 400°F.
But ovens vary. Baskets differ. Pickle thickness changes everything.
Relying solely on the clock leads to burnt or undercooked food. You must learn to recognize the visual endpoint.
The ideal finish is a deep, uniform golden brown. Not black. Not pale yellow.
Gold. This color indicates the sugars in the breading have caramelized properly. It also suggests the interior has heated enough to soften the pickle slightly without exploding.
Temperature plays a huge role here. Lower temps (375°F) take longer but offer more control. Higher temps (400°F+) crisp faster but risk burning before the inside warms up.
We recommend starting at 400°F for speed, but checking early.
Open the basket at the 6-minute mark. Look at the edges. Are they turning gold?
If yes, check the centers. If the centers are still white, give it another 2 minutes. If the edges are dark brown, pull them now.
Residual heat will continue cooking them slightly after removal.
Key visual indicators for doneness:
- Edges: Crisp and defined, not soft.
- Surface: Uniformly golden, no wet spots.
- Sound: A faint crackling noise when the basket opens.
- Texture: Slight resistance when pressed with a fork.
Don’t be afraid to experiment. Every appliance has quirks. Learn yours.
Take notes on what worked. Next time, you’ll know exactly when to hit pause.
â±ï¸ Chef Jessica’s Quick Recipe Snapshot
Air Fryer Verified
- Single Layer Only: Never stack or overlap in the basket; circulating high-velocity air creates the crisp barrier.
- Oil Sprayer Tip: Lightly mist with high smoke-point avocado or light olive oil (never use commercial aerosol sprays with propellants).
- Halfway Shake / Flip: Flip pieces halfway through the cycle to ensure uniform convection browning.
Common Visual Failures: Soggy Centers and Burnt Edges
Even with careful prep, things can go wrong. Knowing what failure looks like helps you troubleshoot quickly. Sogginess is the most common complaint.
It manifests as limp, greasy-looking chips that lack snap.
Soggy centers usually mean excess moisture remained during cooking. Perhaps the pickles weren’t dried thoroughly. Or maybe the basket was overloaded, trapping steam.
Another cause is serving too late. Fried foods lose crispiness rapidly as they cool and absorb ambient humidity. Eat within 2 minutes of removal.
Burnt edges tell a different story. This happens when airflow is blocked or temperature is too high. If one side is charred while the other is pale, your basket orientation is off.
Some models have hotter spots near the heating element. Rotating the basket 180 degrees halfway through fixes this.
Another frequent issue is sliding coatings. The breading peels away in sheets. This occurs when the binder (egg or milk) fails to adhere to the slick pickle skin.
Ensuring the initial flour dusting is thin and even helps. Too much flour creates a barrier that prevents the egg from gripping the pickle.
Use this diagnostic table to identify problems:
| Symptom | Likely Cause | Immediate Fix |
|---|---|---|
| Pale, White Spots | Excess Surface Moisture | Pat drier; extend cook time |
| Blackened Edges | Overcrowding / High Heat | Reduce batch size; lower temp |
| Sliding Breading | Poor Adhesion | Thin flour layer; press firmly |
| Limp Texture | Cooling Too Long | Serve immediately; reheat briefly |
Addressing these visual cues saves ingredients and time. Pay attention. The food speaks clearly if you listen.
â±ï¸ Chef Jessica’s Quick Recipe Snapshot
Air Fryer Verified
- Single Layer Only: Never stack or overlap in the basket; circulating high-velocity air creates the crisp barrier.
- Oil Sprayer Tip: Lightly mist with high smoke-point avocado or light olive oil (never use commercial aerosol sprays with propellants).
- Halfway Shake / Flip: Flip pieces halfway through the cycle to ensure uniform convection browning.
Pro Tips for Maximum Crunch Without Deep Frying
You want that shatteringly crisp exterior without the grease trap. The secret lies in your coating composition. Standard breadcrumbs often clump or burn unevenly in an air fryer’s intense heat.
Switch to panko. Its flaky, airy structure creates more surface area for hot air to hit. This results in a lighter, crunchier shell that stays intact longer.
Mixing cornstarch into your flour base is another game-changer. Cornstarch gelatinizes differently than wheat flour. It forms a thinner, glass-like crust when heated.
This barrier locks in moisture while promoting rapid browning. Try a 50/50 blend of all-purpose flour and cornstarch. You’ll notice a distinct difference in texture within minutes.
Season your dry mix aggressively. Pickles are mild, so the coating carries the flavor. Salt, black pepper, garlic powder, and paprika work well.
Add cayenne if you like heat. Toss the seasoned mix with your dried pickles before dipping in egg. This ensures every bite pops with taste.
Don’t rely on sprinkling spices after cooking. They fall off too easily.
Finally, consider a light oil mist. While we aim to reduce fat, a tiny amount helps conductivity. Use an avocado oil spray bottle.
Mist the coated pickles lightly before placing them in the basket. This aids the Maillard reaction without making them soggy. Avoid heavy brushing.
Too much oil weighs down the panko. Less is definitely more here.
For those seeking gluten-free options, almond flour works surprisingly well. It browns faster, so lower your temperature to 375°F. Watch closely.
Almond flour can go from golden to burnt in seconds. Adjust your timing accordingly. Always test a small batch first.
Your appliance may vary.
â±ï¸ Chef Jessica’s Quick Recipe Snapshot
Air Fryer Verified
- Single Layer Only: Never stack or overlap in the basket; circulating high-velocity air creates the crisp barrier.
- Oil Sprayer Tip: Lightly mist with high smoke-point avocado or light olive oil (never use commercial aerosol sprays with propellants).
- Halfway Shake / Flip: Flip pieces halfway through the cycle to ensure uniform convection browning.
FAQs
Can I use frozen fried pickles in an air fryer?
Yes, but skip the breading steps entirely. Frozen varieties are pre-coated. Place them directly in the basket in a single layer.
Cook at 400°F for 8-10 minutes. Flip halfway through. They won’t be as fresh-tasting as homemade, but they’re convenient.
Do not thaw first. Cooking from frozen prevents sogginess.
Why did my pickle slices stick to the basket?
This usually happens if the non-stick coating wears thin or if you skipped the oil mist. Residual sugar in the brine can also caramelize and bond to metal. Clean your basket thoroughly with warm soapy water.
Dry it completely. Lightly spray with oil before adding food. Parchment paper liners block airflow, causing steaming.
Avoid them unless perforated specifically for air frying.
How do I keep fried pickles crispy after cooking?
Serve immediately. Air-fried foods lose crunch rapidly as they cool. Steam builds up inside the basket if left closed.
Remove pickles onto a wire rack, not a plate. A rack allows air circulation underneath. If you must hold them, keep the air fryer on "warm" for no more than 2 minutes.
Longer exposure dries them out unpleasantly.
What type of pickle works best for this recipe?
Dill chips offer the classic tangy profile most people expect. Their thickness holds up well against high heat. Bread-and-butter pickles are softer and sweeter.
They may release more moisture during cooking. Pat them extra dry if using this variety. Avoid very thin sandwich pickles.
They tend to curl and burn quickly. Spear pickles require slicing into manageable rounds.
🟠Chef Recommended: Oil Misters & Non-Stick Air Fryer Liners
Get maximum crunch with minimal oil while protecting your basket coating from sticky residue and propellant damage:
- Refillable Glass Oil Sprayer:Check Glass Oil Misters on Amazon →
- Reusable Silicone Air Fryer Liners:Check Reusable Silicone Liners on Amazon →
*FTC Disclosure: As an Amazon Associate, Air Fry Process earns from qualifying purchases.*
📖 Related Crispy Air Fryer Recipes:

Similar Posts