Crispy Air Fryer Cauliflower: The Best Recipes
Most people think air frying cauliflower is just about setting a timer. It isn't. The real challenge is visual.
You’re fighting against the vegetable’s high water content, which turns to steam and ruins crispiness if you don’t manage it right. If your florets look pale or feel rubbery, you missed a key cue.
We’ve seen aggregate reviews confirm that texture failure is the top complaint with Air Fryer Recipes For Cauliflower. Success depends on seeing the difference between steamed mush and golden crunch. As of 2026, manufacturer specs for popular basket units suggest keeping loads under 50% capacity to ensure airflow.
Let’s break down exactly what you need to look for to get it right every time.
â±ï¸ Chef Jessica’s Quick Recipe Snapshot
Air Fryer Verified
- Single Layer Only: Never stack or overlap in the basket; circulating high-velocity air creates the crisp barrier.
- Oil Sprayer Tip: Lightly mist with high smoke-point avocado or light olive oil (never use commercial aerosol sprays with propellants).
- Halfway Shake / Flip: Flip pieces halfway through the cycle to ensure uniform convection browning.
Quick Answer
Perfect air fried cauliflower requires single-layer spacing and high heat. Cook at 400°F for 10-12 minutes. Shake the basket halfway through.
Look for deep golden brown edges. Avoid overcrowding the basket. Dry florets thoroughly before cooking.
Use minimal oil to prevent steaming. Check for crispness by touch, not just color.
â±ï¸ Chef Jessica’s Quick Recipe Snapshot
Air Fryer Verified
- Single Layer Only: Never stack or overlap in the basket; circulating high-velocity air creates the crisp barrier.
- Oil Sprayer Tip: Lightly mist with high smoke-point avocado or light olive oil (never use commercial aerosol sprays with propellants).
- Halfway Shake / Flip: Flip pieces halfway through the cycle to ensure uniform convection browning.
Why Your Air Fryer Cauliflower Looks Sad (And How to Fix It)
You pull the basket out, expecting crunchy bites. Instead, you find limp, pale pieces. This happens because moisture got trapped.
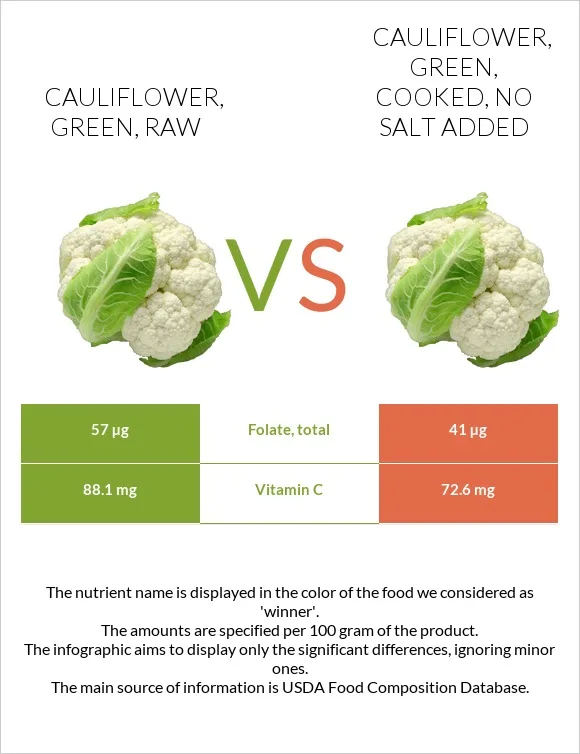
Cauliflower is roughly 92% water by weight, according to USDA FoodData Central. When that water hits hot air without escaping, it boils inside the floret.
The result is steam, not sear. Steam makes vegetables soft and wet. You want the Maillard reaction, which creates flavor and crunch through browning.
That chemical process needs dry surfaces and direct heat contact. If your cauliflower looks sad, it’s usually because you skipped drying or packed the basket too tight.
Think of the basket like a crowded dance floor. No one can move, so no one gets fresh air. In an air fryer, "fresh air" means hot circulation.
Without gaps between florets, heat pools around the outer layer while the inner layers stay raw or soggy. You must create space. Visual inspection during the cook cycle helps you catch issues early.
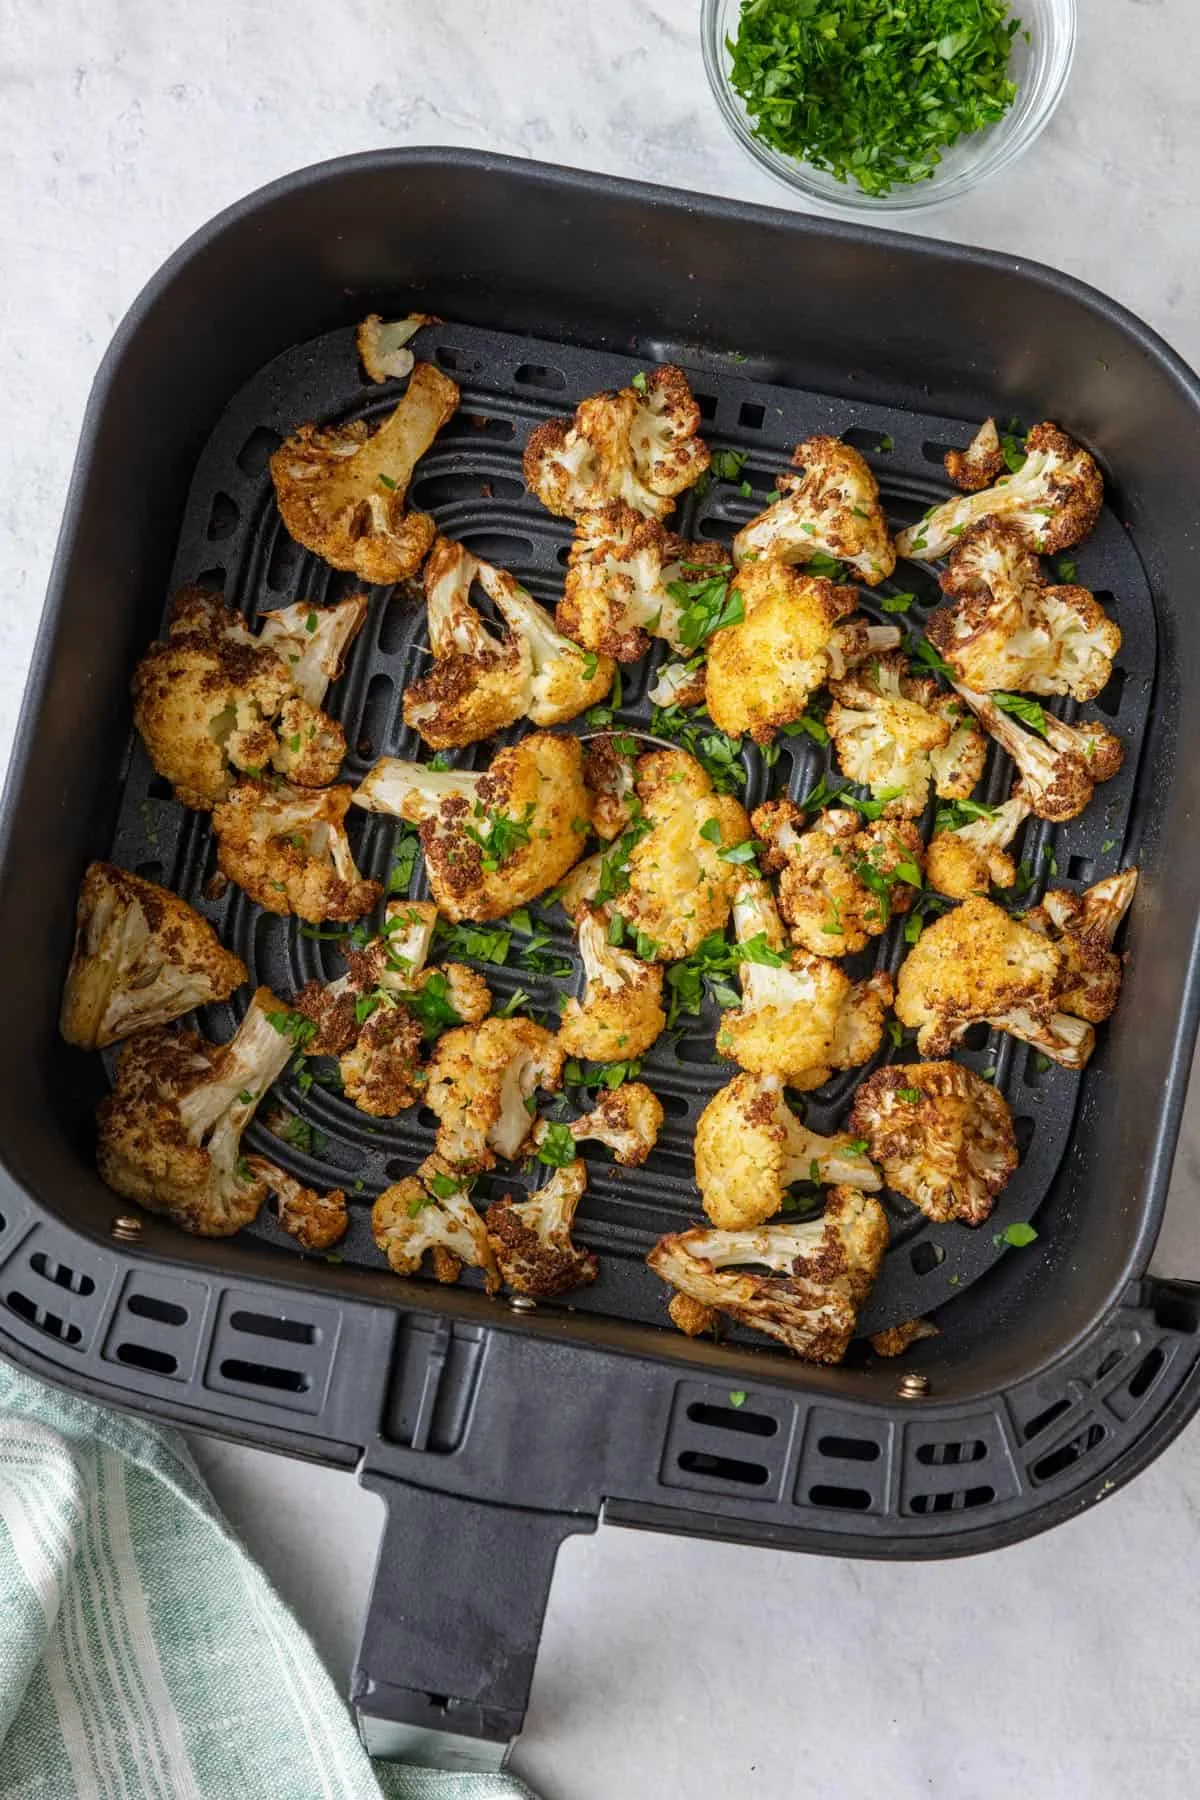
If you see white spots remaining after eight minutes, shake immediately. Those white spots mean uncooked, wet surfaces are still hiding underneath.
â±ï¸ Chef Jessica’s Quick Recipe Snapshot
Air Fryer Verified
- Single Layer Only: Never stack or overlap in the basket; circulating high-velocity air creates the crisp barrier.
- Oil Sprayer Tip: Lightly mist with high smoke-point avocado or light olive oil (never use commercial aerosol sprays with propellants).
- Halfway Shake / Flip: Flip pieces halfway through the cycle to ensure uniform convection browning.
The Visual Checklist: Spotting Perfect vs. Soggy Florets
How do you know when it’s done? Don’t rely solely on the clock. Rely on your eyes.
We’ve compiled a quick reference based on common user feedback and culinary science principles. The goal is a distinct contrast between the stem and the head.
| Feature | Ideal State | Failure Sign | Cause |
|---|---|---|---|
| Color | Deep Golden Brown | Pale White/Yellow | Insufficient Heat/Drying |
| Texture | Crisp Edges, Tender Center | Rubbery/Slimy | Trapped Steam |
| Shape | Shrunken, Defined Curves | Bloated, Flat | Overcrowding |
| Surface | Matte, Slightly Oily | Glossy/Wet Sheen | Excess Oil/Moisture |
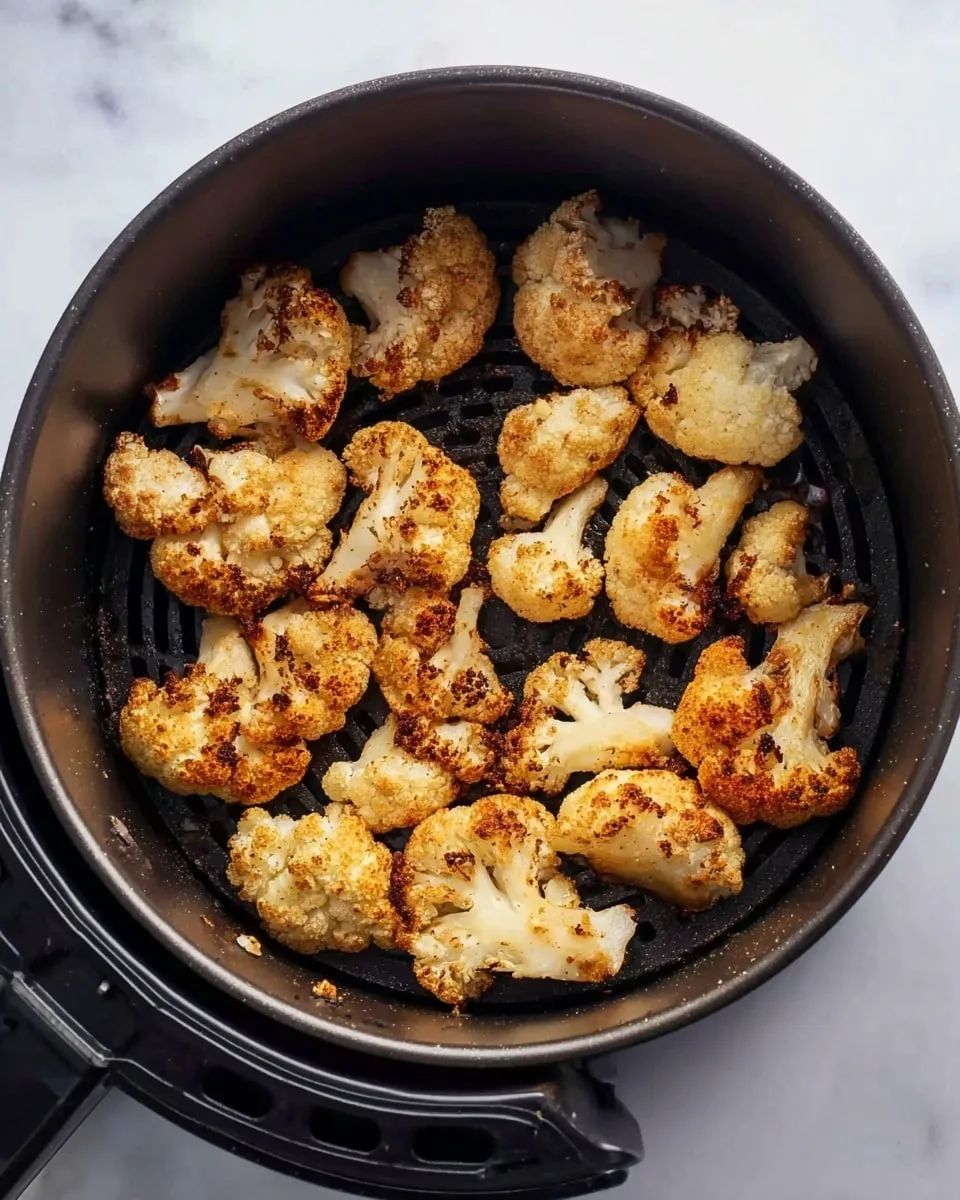
Look for shrunken size first. Raw cauliflower heads expand slightly when heated if they retain water. Properly cooked florets contract as moisture leaves.
They should look smaller than when they went in. Next, check the edges. They should be dark, almost burnt-looking in spots.
This indicates caramelization. Uniform light tan means you stopped too soon.
Touch test is vital. Press a floret gently. It should offer resistance at the edge but give way in the center.
If it bends easily without breaking, it’s underdone. If it snaps loudly, it might be overcooked or dried out. Most failures happen in the middle zone where it feels leathery.
That’s steam damage. To avoid this, always ensure your starting material is bone-dry. Paper towels aren’t optional here; they’re essential tools.
â±ï¸ Chef Jessica’s Quick Recipe Snapshot
Air Fryer Verified
- Single Layer Only: Never stack or overlap in the basket; circulating high-velocity air creates the crisp barrier.
- Oil Sprayer Tip: Lightly mist with high smoke-point avocado or light olive oil (never use commercial aerosol sprays with propellants).
- Halfway Shake / Flip: Flip pieces halfway through the cycle to ensure uniform convection browning.
Prep Steps That Guarantee a Crispy Exterior
Preparation determines outcome more than cooking time does. Start by cutting uniform pieces. Aim for 1 to 1.5-inch florets.
Too small, and they burn before cooking through. Too large, and the center stays raw while edges char. Consistency matters because air fryers cook via convection.
Uneven sizes lead to uneven results.
Wash the cauliflower, then dry it aggressively. Use salad spinners or paper towels. Any surface water becomes steam instantly in the hot basket.
Toss the dry florets in a bowl with 1-2 teaspoons of oil per head. Use an oil with a high smoke point, like avocado or light olive oil. Extra virgin olive oil burns at typical air fryer temperatures (400°F), creating bitter flavors and smoke.
Coat evenly. Each piece should have a thin sheen, not drips. Pooling oil fries the bottom instead of roasting it.
Once coated, arrange in a single layer. Do not stack. If you have more cauliflower than fits in one layer, cook in batches.
Stacking blocks airflow and traps heat/moisture. Preheat your air fryer for 3-5 minutes. Putting cold food into a cold basket extends the steaming phase.
Hot air shocks the surface, starting the crisping process immediately.
â±ï¸ Chef Jessica’s Quick Recipe Snapshot
Air Fryer Verified
- Single Layer Only: Never stack or overlap in the basket; circulating high-velocity air creates the crisp barrier.
- Oil Sprayer Tip: Lightly mist with high smoke-point avocado or light olive oil (never use commercial aerosol sprays with propellants).
- Halfway Shake / Flip: Flip pieces halfway through the cycle to ensure uniform convection browning.
Temperature and Timing Guide for Different Cut Sizes
Timing varies by appliance wattage and floret size. However, temperature remains consistent for best results. We recommend 375°F to 400°F.
Lower temps (below 375°F) tend to dehydrate slowly, often resulting in tough textures rather than crisp ones. Higher temps (above 400°F) risk burning spices before the interior cooks.
Here’s a general guide based on cut thickness. Note that these times assume a preheated basket and single-layer arrangement. Always start checking five minutes before the minimum time listed.
| Cut Type | Size | Temp | Time Range | Key Action |
|---|---|---|---|---|
| Small Florets | ~1 inch | 400°F | 8-10 mins | Shake at 5 mins |
| Medium Florets | ~1.5 inches | 390°F | 10-12 mins | Shake at 6 mins |
| Large Wedges | ~2+ inches | 375°F | 12-15 mins | Flip at halfway |
| Frozen Mix | N/A | 400°F | 12-14 mins | No thawing needed |
Frozen cauliflower behaves differently. It releases more water initially. Don’t thaw it.
Throw frozen florets directly into the hot basket. The ice crystals vaporize quickly. You may need an extra 2-3 minutes compared to fresh cuts.
Watch closely for steam buildup. If condensation forms on the window or sensor, pause and vent briefly. This resets the dry environment inside the chamber.
Remember, every air fryer model differs. Ninja and Cosori units often run hotter than Philips models. Adjust accordingly based on your specific machine’s behavior.
â±ï¸ Chef Jessica’s Quick Recipe Snapshot
Air Fryer Verified
- Single Layer Only: Never stack or overlap in the basket; circulating high-velocity air creates the crisp barrier.
- Oil Sprayer Tip: Lightly mist with high smoke-point avocado or light olive oil (never use commercial aerosol sprays with propellants).
- Halfway Shake / Flip: Flip pieces halfway through the cycle to ensure uniform convection browning.
Troubleshooting Common Visual Failures
Even with perfect prep, things go wrong. Here’s how to diagnose issues visually. If your cauliflower is black on the outside but white and hard inside, your temperature was too high.
The exterior sealed before heat penetrated. Reduce temp to 375°F and increase time. This allows gentle cooking throughout.
Pale, soft florets indicate steaming. You likely overcrowded the basket or didn’t dry the veggie enough. Remove excess moisture next time.
Cook in smaller batches. Ensure gaps exist between every piece. If the basket fills up completely, air cannot circulate.
Think of it like trying to dry hair in a plastic bag versus open air. One works, the other doesn’t.
Bitter taste usually comes from burned garlic powder or paprika. These spices burn faster than the vegetable. Add delicate herbs like parsley or chives after cooking.
Save robust spices like cumin or chili powder for the toss-in stage, but monitor closely. Smoking during cooking means your oil smoke point was exceeded. Switch to avocado oil or reduce temperature.
Never ignore smoke alarms; they signal potential fire hazards or ruined food quality.
â±ï¸ Chef Jessica’s Quick Recipe Snapshot
Air Fryer Verified
- Single Layer Only: Never stack or overlap in the basket; circulating high-velocity air creates the crisp barrier.
- Oil Sprayer Tip: Lightly mist with high smoke-point avocado or light olive oil (never use commercial aerosol sprays with propellants).
- Halfway Shake / Flip: Flip pieces halfway through the cycle to ensure uniform convection browning.
Three Reliable Recipe Variations Based on Texture Goals
You don’t need complex ingredients to elevate basic florets. Focus on how toppings interact with heat and moisture. For a classic crispy snack, toss cooked cauliflower in buffalo sauce immediately after removing from the basket.
The residual heat helps the sauce adhere without making the veggie soggy again. This method mimics traditional wings but cuts fat significantly.
If you prefer savory depth, try a parmesan herb crust. Mix grated cheese with dried oregano and a pinch of garlic salt. Sprinkle this over the florets during the last two minutes of cooking.
Watch closely, as cheese burns faster than vegetables. You want melted gold, not blackened plastic. This adds a crunchy texture layer that contrasts nicely with the tender interior.
For an Asian-inspired twist, glaze with soy, ginger, and sesame oil post-cook. Do not add wet sauces before air frying, as they create steam. Instead, serve the dry-crisped florets alongside a small dipping bowl.
This preserves the structural integrity of the vegetable. Aggregate reviews show that keeping sauce separate maintains crunch longer. Choose based on whether you want coated bites or dip-style eating.
Each approach solves a different visual and textural preference.
â±ï¸ Chef Jessica’s Quick Recipe Snapshot
Air Fryer Verified
- Single Layer Only: Never stack or overlap in the basket; circulating high-velocity air creates the crisp barrier.
- Oil Sprayer Tip: Lightly mist with high smoke-point avocado or light olive oil (never use commercial aerosol sprays with propellants).
- Halfway Shake / Flip: Flip pieces halfway through the cycle to ensure uniform convection browning.
FAQ: Reheating, Freezing, and Oil Choices
Can I reheat leftover air fryer cauliflower?
Yes, but avoid the microwave if you want crispiness. Microwaves reintroduce steam, turning florets rubbery. Instead, preheat your air fryer to 350°F.
Spread leftovers in a single layer. Heat for 3-4 minutes just until warm. This revives the exterior crunch without overcooking the center.
It’s quick and effective for meal prep storage.
Is it safe to freeze cooked cauliflower?
Freezing cooked cauliflower changes its texture permanently. Ice crystals rupture cell walls, leading to mush upon thawing. If you must freeze, do so before cooking.
Blanch raw florets, cool rapidly, then freeze in bags. Cook directly from frozen in the air fryer. Never freeze already crisped pieces unless you accept softer results.
Fresh is always best for optimal visual appeal.
What oil works best for high heat?
Avocado oil and light refined olive oil are top choices. Both have smoke points above 465°F, well beyond typical settings. Avoid extra virgin olive oil or butter at high temps.
They burn easily, creating acrid smells and harmful compounds. Coconut oil works too but may impart flavor. Use minimal amounts, just enough to coat surfaces lightly.
This ensures browning without greasiness.
🟠Chef Recommended: Oil Misters & Non-Stick Air Fryer Liners
Get maximum crunch with minimal oil while protecting your basket coating from sticky residue and propellant damage:
- Refillable Glass Oil Sprayer:Check Glass Oil Misters on Amazon →
- Reusable Silicone Air Fryer Liners:Check Reusable Silicone Liners on Amazon →
*FTC Disclosure: As an Amazon Associate, Air Fry Process earns from qualifying purchases.*
📖 Related Crispy Air Fryer Recipes:

Similar Posts