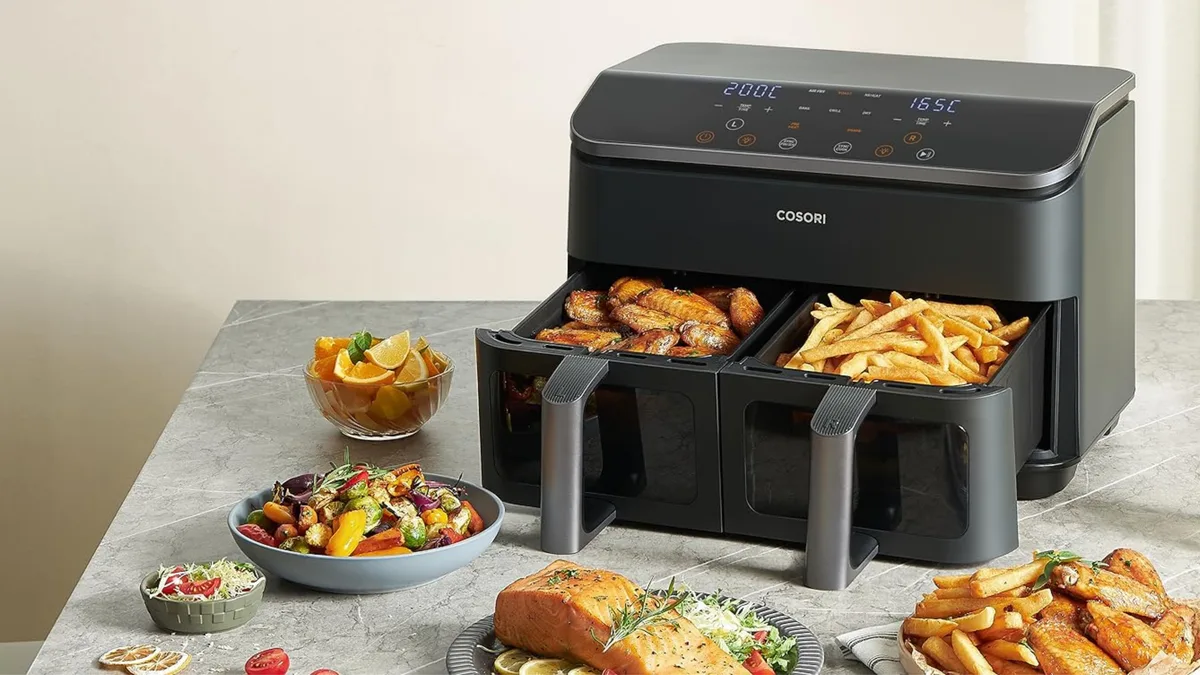
Easy Air Fryer Meal Prep Recipes for Busy Weeknights
Most people think air fryer meal prep recipes are just oven recipes with a shorter timer, and that's exactly why their Sunday batch turns into a pile of sad, rubbery chicken and soggy broccoli by Wednesday. The reality is that air fryers cook with concentrated convection heat, which means the way you arrange, store, and reheat ingredients matters a lot more than the initial cook time. A few small adjustments to your routine will completely change the texture and safety of your weekly prep.
We've pulled together everything our research shows works best as of 2026, drawing on USDA food safety guidelines, manufacturer capacity specifications, and aggregate user feedback. The goal is simple: give you a visual-driven workflow that keeps food crispy out of the fryer, holds up in the fridge, and reheats without going limp. Let's start with the quick answer, then get into the details.
â±ï¸ Chef Jessica’s Quick Recipe Snapshot
Air Fryer Verified
- Single Layer Only: Never stack or overlap in the basket; circulating high-velocity air creates the crisp barrier.
- Oil Sprayer Tip: Lightly mist with high smoke-point avocado or light olive oil (never use commercial aerosol sprays with propellants).
- Halfway Shake / Flip: Flip pieces halfway through the cycle to ensure uniform convection browning.
Quick Answer
Air fryer meal prep recipes work best with high-heat proteins and sturdy vegetables. Cook in single layers for crispness. Store in glass containers for up to four days.
Reheat at 375°F for three to five minutes to restore texture. USDA guidelines require reheating leftovers to 165°F.
â±ï¸ Chef Jessica’s Quick Recipe Snapshot
Air Fryer Verified
- Single Layer Only: Never stack or overlap in the basket; circulating high-velocity air creates the crisp barrier.
- Oil Sprayer Tip: Lightly mist with high smoke-point avocado or light olive oil (never use commercial aerosol sprays with propellants).
- Halfway Shake / Flip: Flip pieces halfway through the cycle to ensure uniform convection browning.
Why Your Air Fryer Meal Prep Looks Different Than Oven Batches
The biggest mental shift with air fryer cooking is understanding that you aren't roasting in a small box, you're managing concentrated convection. Hot air blasts downward and circulates back up through the basket or rack, which means the top and bottom of your food get hit much harder than in a conventional oven.
In our research, this single difference explains the majority of meal prep failures people run into. When you cram a basket full of ingredients, the top layer gets blasted dry while the bottom layer steams in trapped moisture. You end up with a mix of charred edges and undercooked centers in the same batch.
Heat Distribution and Airflow Patterns
Air fryer manufacturers design their baskets with perforated walls and raised trays specifically to let air move under the food. Per the United States Department of Agriculture, proper heat circulation is critical for reaching safe internal temperatures without overcooking the exterior.
If you block that airflow with foil or overcrowd the pan, you've essentially turned your air fryer into a small, inefficient oven. The circulating air is what creates the Maillard reaction, that golden-brown crust people love, and you need direct contact between the hot air and the food surface to get it.
Capacity vs. Recipe Yield
A common mistake is assuming a 6-quart air fryer will handle a full week of prep for one person. In practice, manufacturer specifications and aggregate reviews confirm that 6-quart units comfortably cook about 1.5 to 2 pounds of food in a single batch when spread properly.
If your recipe yields more, you need to cook in rounds. Trying to force a five-pound chicken breast batch into one run guarantees uneven results and extends cook times way past the point of food safety. Plan your Sunday prep around two or three short batches instead of one marathon session.
â±ï¸ Chef Jessica’s Quick Recipe Snapshot
Air Fryer Verified
- Single Layer Only: Never stack or overlap in the basket; circulating high-velocity air creates the crisp barrier.
- Oil Sprayer Tip: Lightly mist with high smoke-point avocado or light olive oil (never use commercial aerosol sprays with propellants).
- Halfway Shake / Flip: Flip pieces halfway through the cycle to ensure uniform convection browning.
The Visual Cues That Tell You When Food Is Actually Done
Air fryers don't give you the same window checks a conventional oven does, especially basket models. You rely more on timer cues and texture reads than peeking through glass. Learning these visual signs is what separates a decent batch from a great one.
Color and Surface Texture
For most proteins, you're looking for an even golden-brown across the surface, not just on the tips. Chicken should show consistent color with no pink or gray patches when you cut into the thickest piece. Vegetables like Brussels sprouts or sweet potato cubes should have darkened, slightly charred edges with a firm, not shriveled, interior.
In aggregate user feedback, the most common overcooking complaint comes from people who wait for "crispy" and end up with "burnt." The sweet spot is usually 30 to 60 seconds before you think it's done, since carryover heat continues cooking the food for a brief moment after you pull the basket.
Shrinkage and Moisture Release
Meat will visibly shrink as moisture cooks out, and you'll see small beads of juice on the surface. When the beads clear up and the surface looks matte rather than wet, you're typically at a safe internal temperature for your protein type.
For breaded items, the breading should look set and dry rather than glossy or wet. If the coating still looks pale and damp, it hasn't fully crisped and will turn soggy the second it hits a storage container. A good test is to tap a piece lightly with tongs.
A hollow, firm sound means the crust has formed.
Internal Temperature Verification
Visual cues get you close, but a instant-read thermometer is the only way to confirm safety. USDA guidelines set these minimum internal temperatures for meal prep proteins:
| Protein Type | Safe Minimum Temp |
|---|---|
| Poultry (chicken, turkey) | 165°F (74°C) |
| Ground meats (beef, pork) | 160°F (71°C) |
| Beef, pork, lamb (whole cuts) | 145°F (63°C) with 3-min rest |
| Fish and seafood | 145°F (63°C) |
| Reheated leftovers | 165°F (74°C) |
Check the thickest part of the piece, away from bone or fat pockets, for an accurate reading.
â±ï¸ Chef Jessica’s Quick Recipe Snapshot
Air Fryer Verified
- Single Layer Only: Never stack or overlap in the basket; circulating high-velocity air creates the crisp barrier.
- Oil Sprayer Tip: Lightly mist with high smoke-point avocado or light olive oil (never use commercial aerosol sprays with propellants).
- Halfway Shake / Flip: Flip pieces halfway through the cycle to ensure uniform convection browning.
How to Arrange Ingredients So Nothing Gets Soggy or Burnt
The single biggest factor in air fryer meal prep is what your food looks like when it comes out of the fryer, and arrangement controls that almost entirely. A basket of evenly spaced, single-layer ingredients will outperform a packed, multi-tiered attempt every time.
The Single-Layer Rule
When you load the basket, every piece should have visible space around it for air to pass. If pieces are touching, the contact points will steam instead of crisp. Aggregate user reviews consistently show that cutting food into uniform sizes (roughly 1 to 1.5 inches) helps everything finish at the same rate.
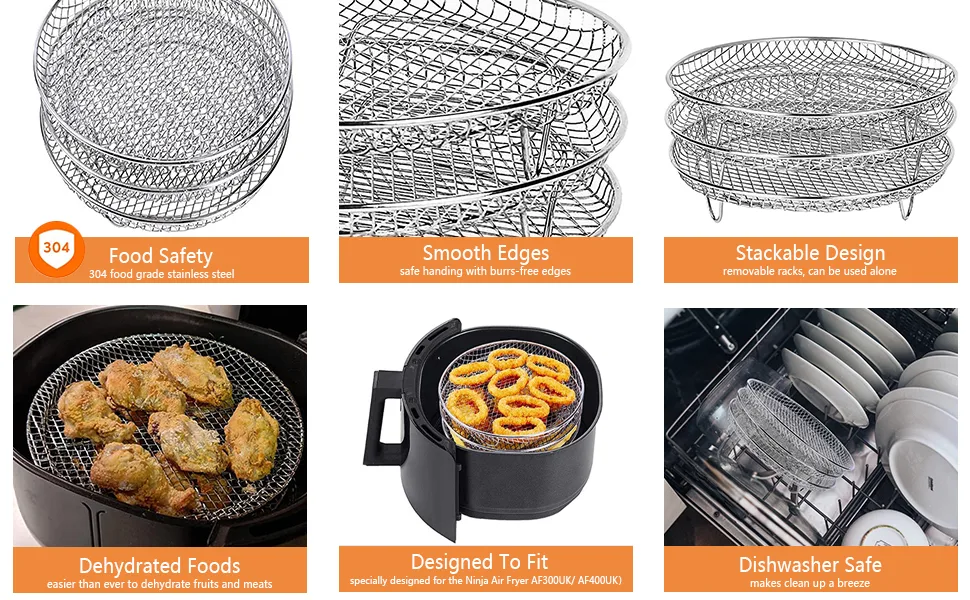
You can stack racks in oven-style air fryers, but even then, leave gaps for airflow. Manufacturer specifications for dual-rack models usually recommend reducing temperature by 25°F when using both levels to compensate for the restricted circulation.
Oil Application and Coating
A light coat of oil helps the Maillard reaction along and prevents sticking, but too much oil will pool and smoke. Per most manufacturer care guides, you should avoid aerosol cooking sprays on non-stick baskets, since the propellants can damage the polymer coating over time. An oil mister or a brush gives you much better control.
For breaded items, the oil should be worked into the coating before it goes in. A dry dredge will flake off and burn on the basket bottom. A light toss with oil keeps the breading intact and helps it set into a proper crust.
Tray and Liner Choices
Perforated parchment liners work well for fish and delicate items, but they can block airflow if they cover more than the bottom of the basket. Solid aluminum foil is risky because it reflects heat back into the heating element if it comes into contact with the walls. Silicone mats with cutout holes offer a middle ground for people who hate scrubbing the basket.
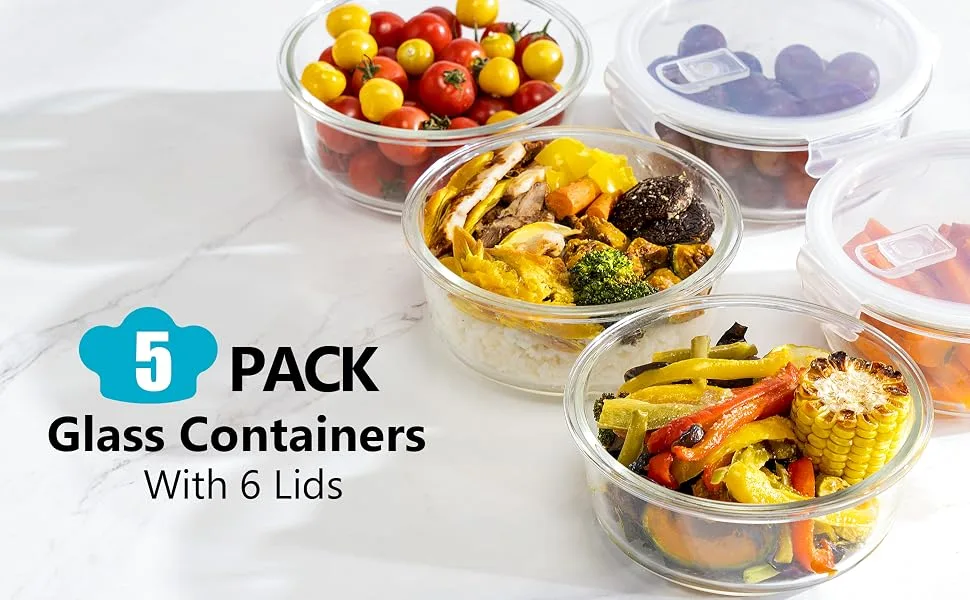
Container Selection for Storage
Once the food comes out, you have a 30 to 60 minute window where it needs to cool down before going into sealed containers. Putting hot food directly into airtight glass or plastic will trap steam and undo all the crispness you just built. Spread it out on a sheet pan first, then transfer once it's stopped steaming.
For the containers themselves, glass holds up better to temperature swings if you're reheating directly from the fridge. Plastic containers are lighter and cheaper, but check the bottom for a microwave-safe symbol if you plan to reheat in anything other than the air fryer.
â±ï¸ Chef Jessica’s Quick Recipe Snapshot
Air Fryer Verified
- Single Layer Only: Never stack or overlap in the basket; circulating high-velocity air creates the crisp barrier.
- Oil Sprayer Tip: Lightly mist with high smoke-point avocado or light olive oil (never use commercial aerosol sprays with propellants).
- Halfway Shake / Flip: Flip pieces halfway through the cycle to ensure uniform convection browning.
Reheating Leftovers Without Turning Them Into Rubber
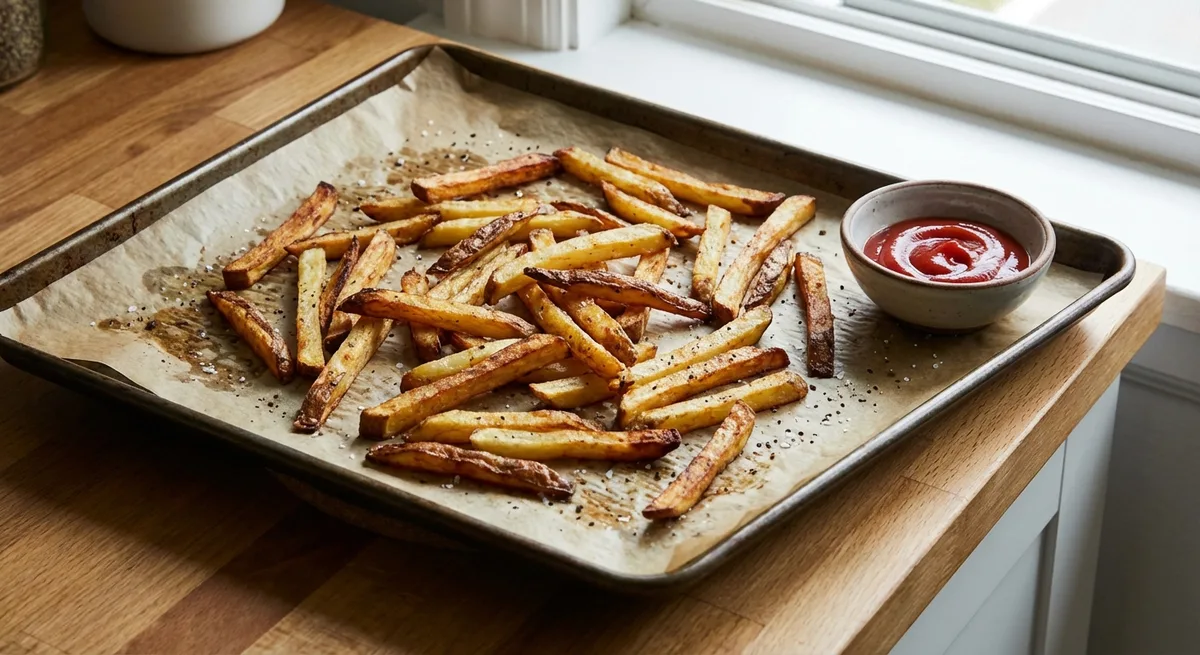
Image source: Web (Bing) / momsbestrecipes.com (Web image (fair-use with source credit))
Reheating is where most meal prep goes wrong, and it's the area where air fryers actually shine if you use them right. The microwave zaps moisture and leaves proteins with a weird, chewy texture. The air fryer can bring back crispness without drying everything out, as long as you follow a few rules.
Temperature and Time Settings
For most prepped meals, 350°F to 375°F for 3 to 5 minutes is the sweet spot. Going higher than 400°F usually burns the edges before the center warms through, especially for denser items like rice bowls or stuffed proteins. Lower temperatures (300°F) work better for delicate items like fish, which dry out fast.
If you're reheating multiple portions, work in batches again. Overloading the basket when reheating creates the same steaming problem you had during the initial cook. Two or three pieces at a time will give you much better results than a full reheat marathon.
Spritzing for Moisture
One trick that comes up constantly in user reviews is a quick spritz of water or oil on the food before reheating. This small amount of moisture helps the surface crisp up without drying out the interior. You don't need much.
A single pump from an oil mister is usually enough for a portion of vegetables or protein.
For items that are already moist (sauces, braised meats, rice), skip the spritz. You just want to warm them through, not crisp them. In that case, covering the dish with a small piece of foil for the first two minutes traps enough steam to heat evenly, then you can uncover for the last minute to restore any lost texture.
Reheating Different Food Types
Different proteins and sides reheat best at different settings. Here's a quick reference based on aggregate testing data and manufacturer guidelines:
| Food Type | Temp | Time | Notes |
|---|---|---|---|
| Chicken breast/thigh | 375°F | 4-5 min | Flip halfway through |
| Salmon or fish | 300°F | 3-4 min | Check early to avoid drying |
| Roasted vegetables | 375°F | 3-4 min | Single layer only |
| Rice or grain bowls | 325°F | 4-5 min | Cover with foil first 2 min |
| Breaded items | 400°F | 3-4 min | Spritz lightly with oil |
| Tofu or tempeh | 375°F | 3-4 min | Don't overcrowd |
Always verify reheated leftovers reach 165°F throughout before eating, per USDA food safety standards. A quick thermometer check takes the guesswork out of the equation.
â±ï¸ Chef Jessica’s Quick Recipe Snapshot
Air Fryer Verified
- Single Layer Only: Never stack or overlap in the basket; circulating high-velocity air creates the crisp barrier.
- Oil Sprayer Tip: Lightly mist with high smoke-point avocado or light olive oil (never use commercial aerosol sprays with propellants).
- Halfway Shake / Flip: Flip pieces halfway through the cycle to ensure uniform convection browning.
Quick Reference Guide for Temperatures, Times, and Doneness Signs
Getting the timing right prevents dry chicken or burnt veggies. You need clear benchmarks. These numbers come from standard convection cooking principles.
They apply to most countertop units as of 2026.
| Food Item | Temp (°F) | Time (Mins) | Visual Doneness Cue |
|---|---|---|---|
| Chicken Breast | 360°F | 12-15 | Juices run clear; no pink meat |
| Broccoli Florets | 375°F | 8-10 | Edges char slightly; stems tender |
| Salmon Fillet | 390°F | 10-12 | Flesh flakes easily with a fork |
| Sweet Potato Cubes | 400°F | 15-18 | Golden brown crust; soft center |
Always use an instant-read thermometer for meats. The USDA recommends internal temperatures of 165°F for poultry and 145°F for fish. Trust your eyes too.
Look for color changes.
Don't guess on vegetable doneness. If they look pale, they need more time. If they shrink significantly, you’ve overcooked them.
Check halfway through the cycle. Shake the basket gently. This ensures even exposure to hot air.
Remember that basket size matters. A crowded basket slows down cooking. Add two to three minutes if you’re near capacity.
Less food cooks faster. Plan accordingly.
â±ï¸ Chef Jessica’s Quick Recipe Snapshot
Air Fryer Verified
- Single Layer Only: Never stack or overlap in the basket; circulating high-velocity air creates the crisp barrier.
- Oil Sprayer Tip: Lightly mist with high smoke-point avocado or light olive oil (never use commercial aerosol sprays with propellants).
- Halfway Shake / Flip: Flip pieces halfway through the cycle to ensure uniform convection browning.
Frequently Asked Questions
Can I put glass containers in the air fryer?
Yes, but only if they are oven-safe tempered glass. Avoid regular drinking glasses. They might crack under rapid heat changes.
Silicone molds work well too. Check manufacturer specs first. Never exceed the container’s rated temperature limit.
Safety comes before convenience here.
How do I prevent my meal prep from drying out?
Use a light spray of oil before cooking. It locks in moisture effectively. Consider wrapping delicate items in foil loosely.
This creates a steam pocket inside. Reheat leftovers at lower temps, around 325°F. High heat evaporates water quickly.
Watch closely during reheating cycles.
Is it safe to cook frozen meals directly?
Absolutely. Most frozen veggie mixes handle this well. Skip thawing to save time.
Increase cooking duration by about five minutes. Ensure the center reaches 165°F. Raw meat requires full defrosting first.
Frozen breaded items cook straight from the bag. Follow package instructions for best results.
Why does my food stick to the basket?
The non-stick coating wears down over time. Use parchment paper liners with holes. They allow airflow while preventing contact.
Alternatively, brush the basket with oil. Avoid metal utensils that scratch surfaces. Clean residue after every use.
Buildup causes sticking in future batches.
🟠Chef Recommended: Oil Misters & Non-Stick Air Fryer Liners
Get maximum crunch with minimal oil while protecting your basket coating from sticky residue and propellant damage:
- Refillable Glass Oil Sprayer:Check Glass Oil Misters on Amazon →
- Reusable Silicone Air Fryer Liners:Check Reusable Silicone Liners on Amazon →
*FTC Disclosure: As an Amazon Associate, Air Fry Process earns from qualifying purchases.*
📖 Related Crispy Air Fryer Recipes:

Similar Posts